Note: Additional charges won’t work with PAYMENT TABULAR LAYOUT.
Back-End Configuration
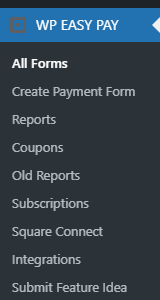
- Go to Admin Dashboard > WP EASY PAY.
- Click on the All Forms option.
- Now all the forms will be visible on your page.
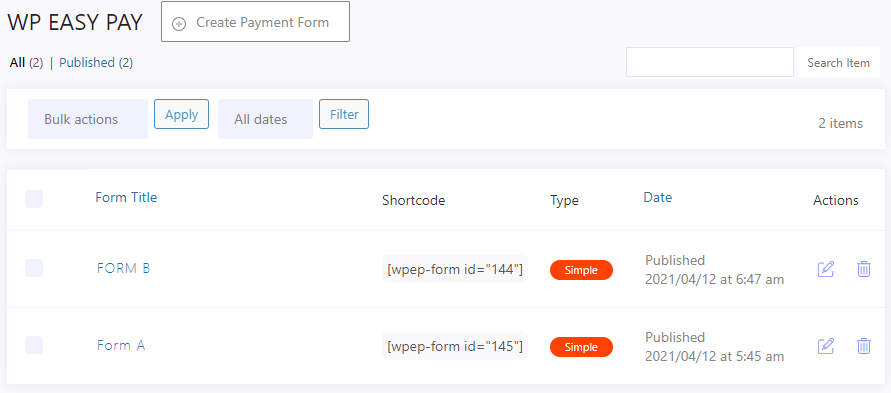
- Click on the form which was selected in the Forms Include field.
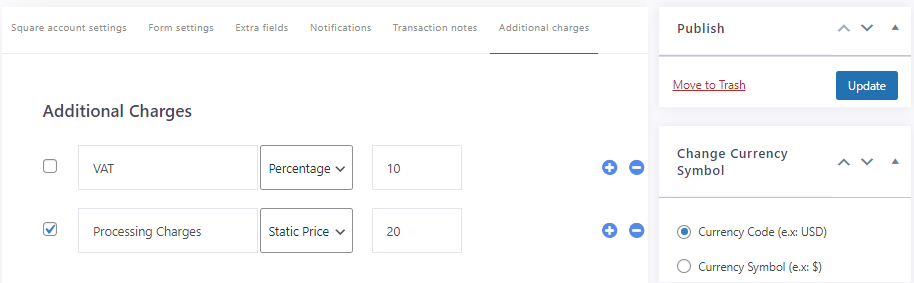
- Now go to the Additional Charges tab
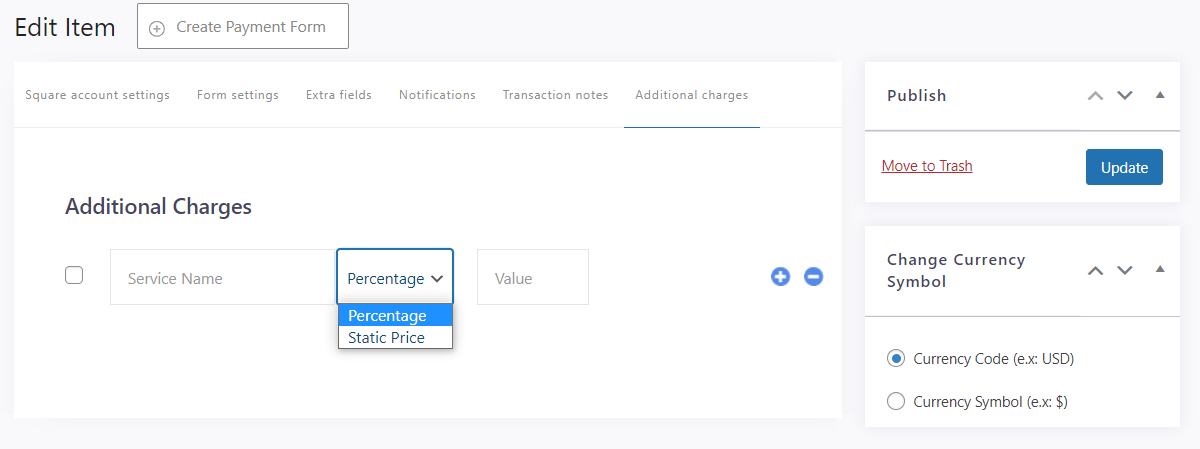
- The Additional Charges can be set based on a Percentage and Static Price.
- The user will have the flexibility to add multiple additional charges if they want to charge for multiple purposes. You can simply add the charges by clicking on the Plus (+) icon present right beside any service and also delete the respective service by clicking on the Minus (-) icon present right beside that respective service.
- You can also enable or disable the created services as per your requirement without having to remove them from the Additional Charges tab. A checkbox is integrated with every new additional charge(service) added, you can enable the respective additional charge(service) by check-marking the checkbox and disable it by unchecking the checkbox.
- Click on the Update button to save your changes.
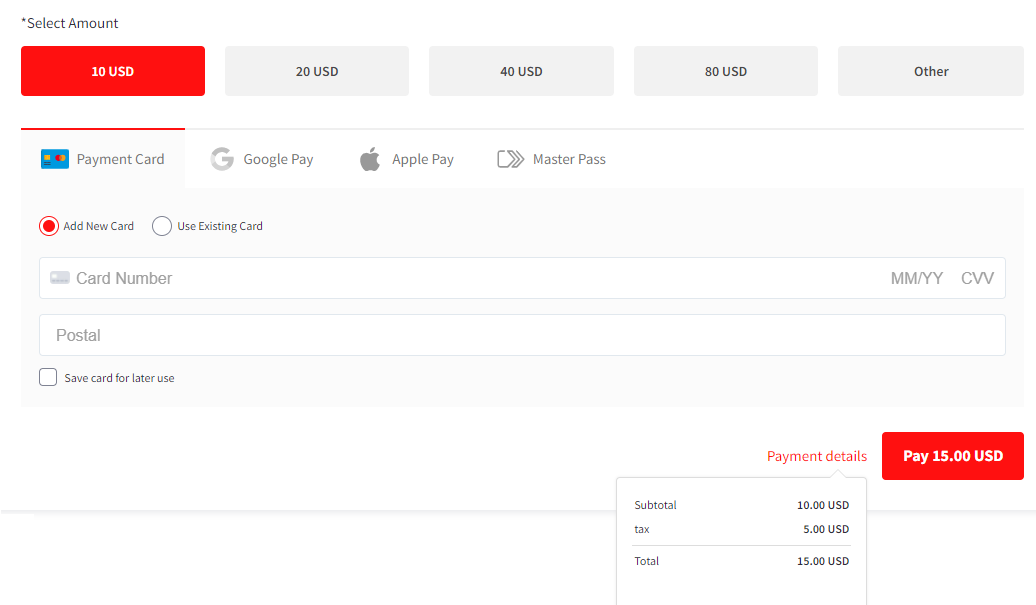
Front-End Impact
- Go to your site.
- Go to your form.
- Fill in the required fields and select the payment amount.
- At the bottom of the form, hover your mouse in the Payment Details option. All the payment details would be now.