Testing Square Payments is vital for any business. It’s similar to testing your equipment before you use them.
Payment processing is a lengthy process. What looks like a one-tap process actually involves several mediums and entities and multiple checks and verification processes. Testing your payments beforehand ensures your customer doesn’t face a problem at any part of the process.
Furthermore, it encourages professionalism, enhances experience, and builds trust. Therefore, you must test Square payments before accepting it on your WordPress or website.
This article will teach you how to test Square payments effortlessly. Plus, an easy way to accept payments on your WordPress with WP EasyPay.
Let’s dive right in!
How to Test Square Payments: 05 Easy Steps
Related blog: What is Square? Detailed Look at Features [2024]
To test Square payments, you must follow these steps:
Step #1 — Setup Square Developer Account
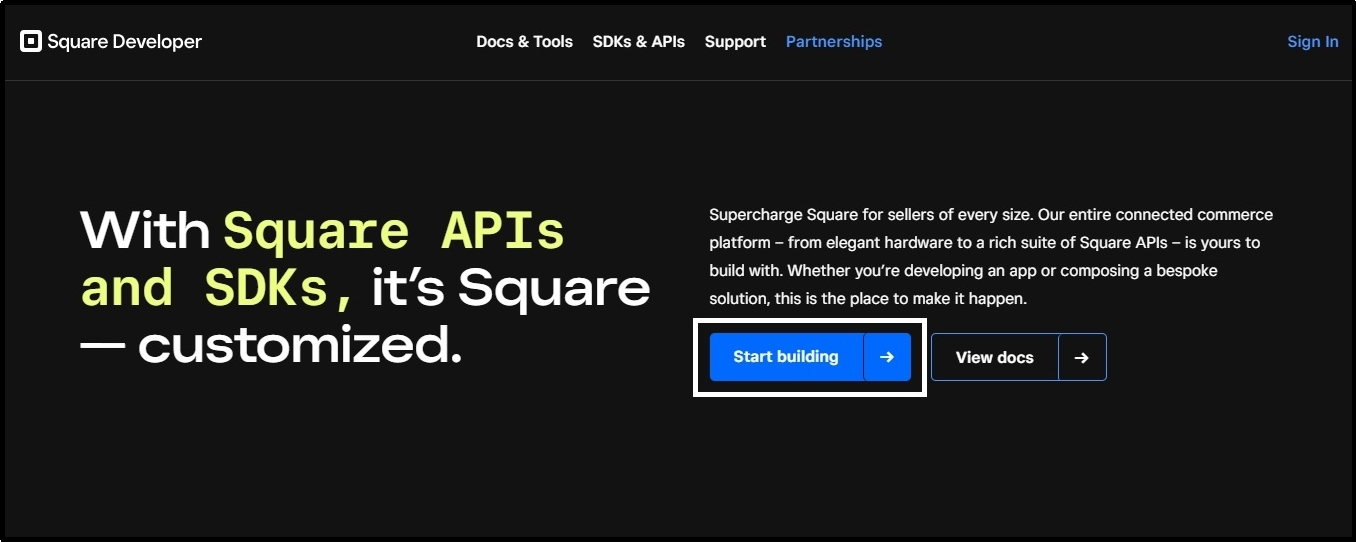
First of all, you must set up a Square developer account before you test Square payments. To do so, head over to Square Developers and create a free account using the Start building button. Or, if you already have an account, you can simply log in with the Sign in button in the top right corner.
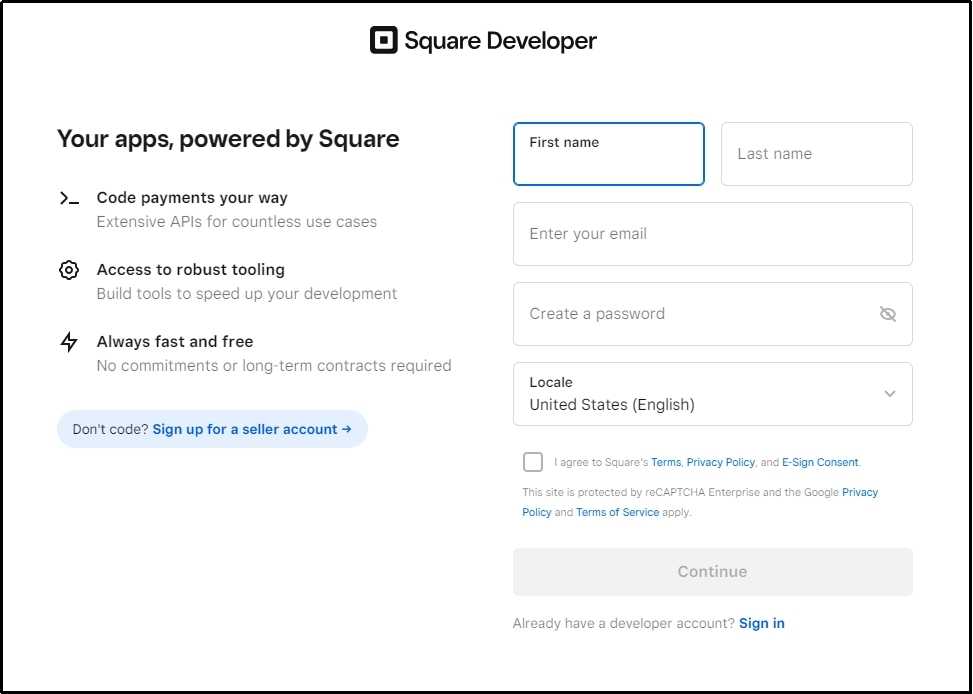
Afterward, you will land on a screen like this. Enter your first and last name, email address, and password. Finally, select your country using the Locale drop-down.
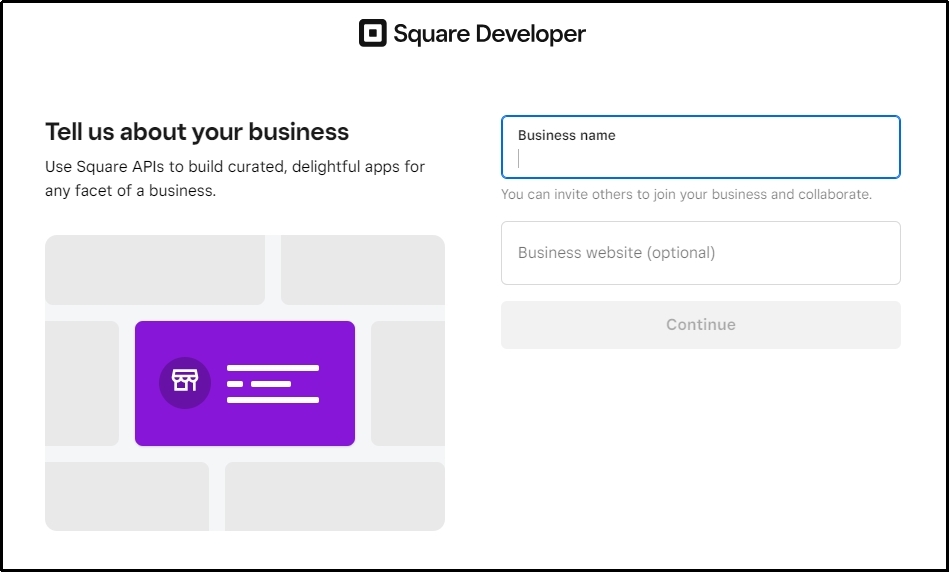
On the following screen, you will be asked for your business information, such as your business’s name and business website. Fill it out with the appropriate information.
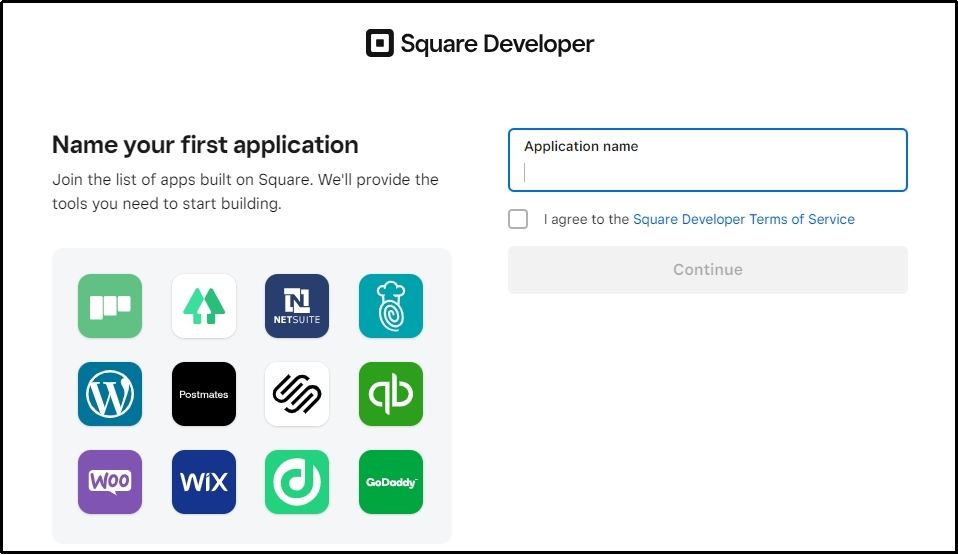
Afterward, Square will ask you to choose your favorite coder—this step is optional, and you can skip it if you don’t code—and finally, enter the name of your application and read the platform’s terms of service.
Afterward, check the tiny box underneath the input box to agree to their terms of service, which will allow you to Continue.
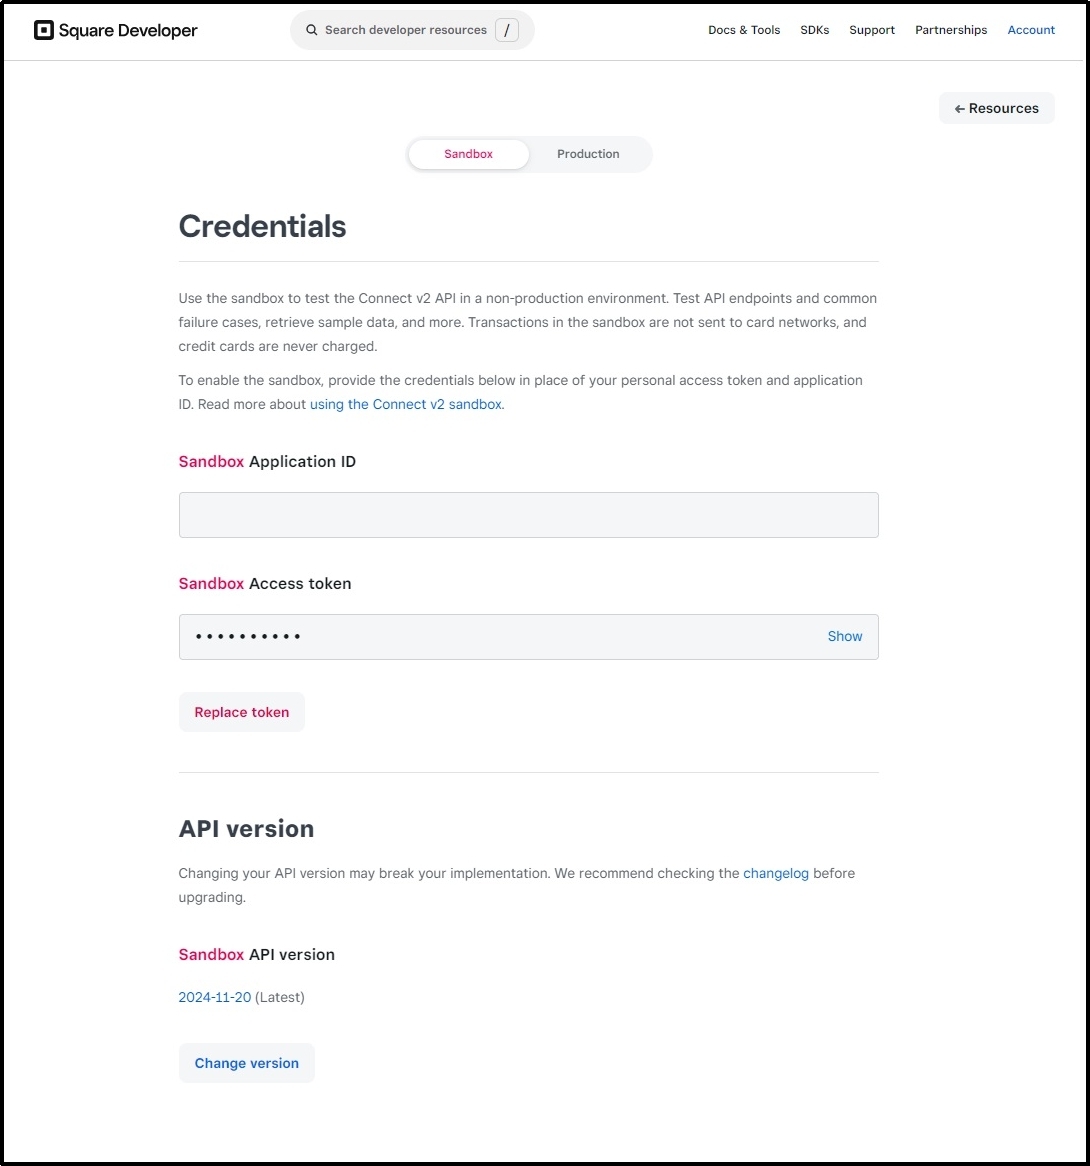
Finally, after filling out a few other optional information forms or skipping them, you will be inside your Square Developer account in no time. The main dashboard looks like this:
Step #2: Install WP EasyPay on Your WordPress
Jump to WordPress, log into your account, and install WP EasyPay—a WordPress plugin that helps connect Square with WordPress effortlessly.
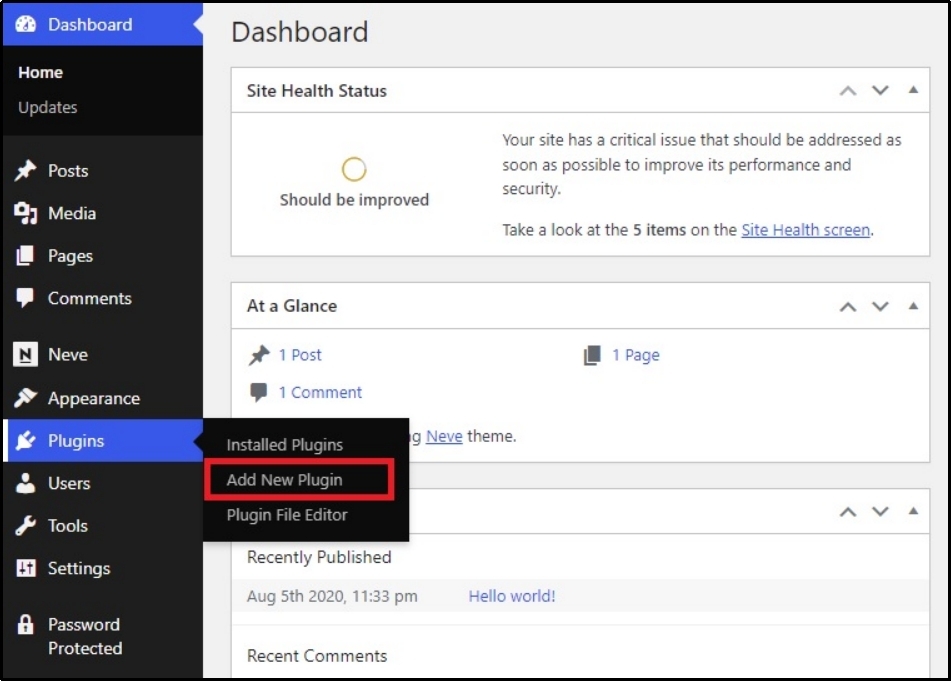
You can easily install the plugin by navigating to your WordPress dashboard >> Plugins >> Add New Plugin.
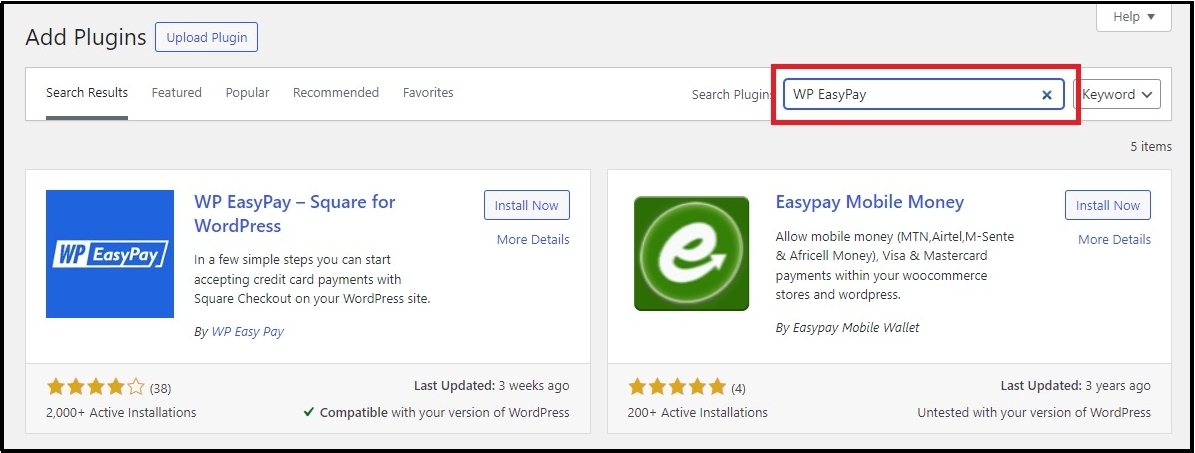
Using the search plugin bar, search for WP EasyPay.
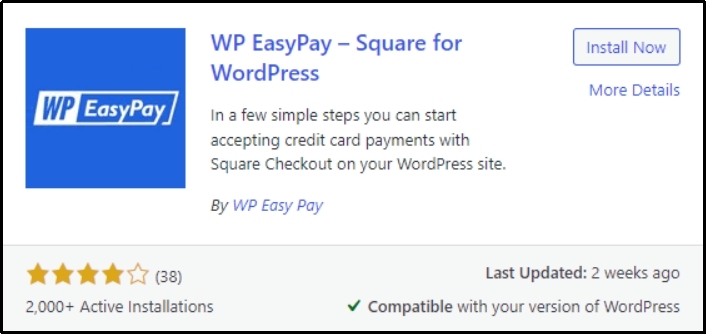
Install the plugin.
After successful installation, click the ‘Activate’ button.
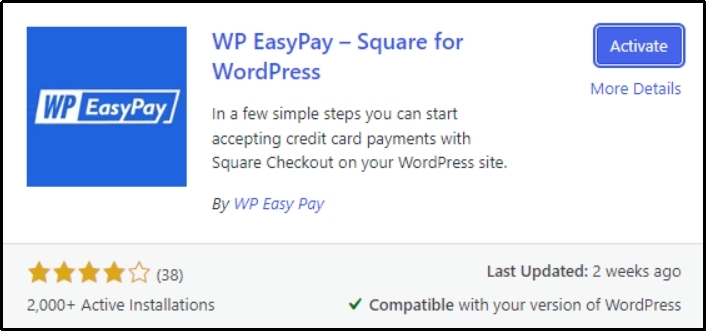
Alternatively, you can upload the plugin using the Upload Plugin button at the top left corner.

Choose the file from your device and click Install Now.

The following screen will appear to carry out your request. Wait until the package is installed, and then…
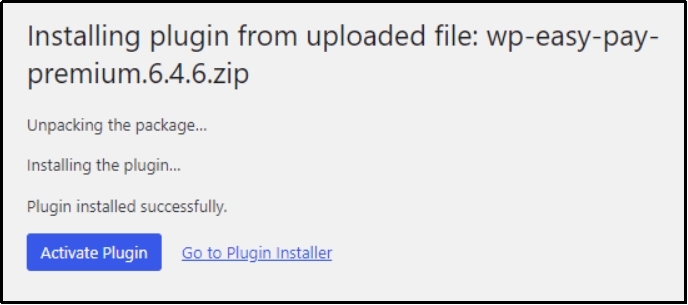
Click Activate Plugin.
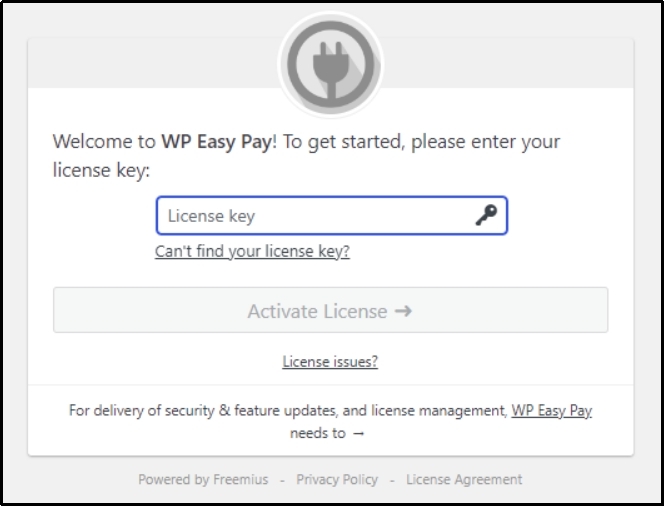
Enter your license key in the input box, and now you have WP EasyPay up and running.
Step #3: Connect Square Account with WP EasyPay
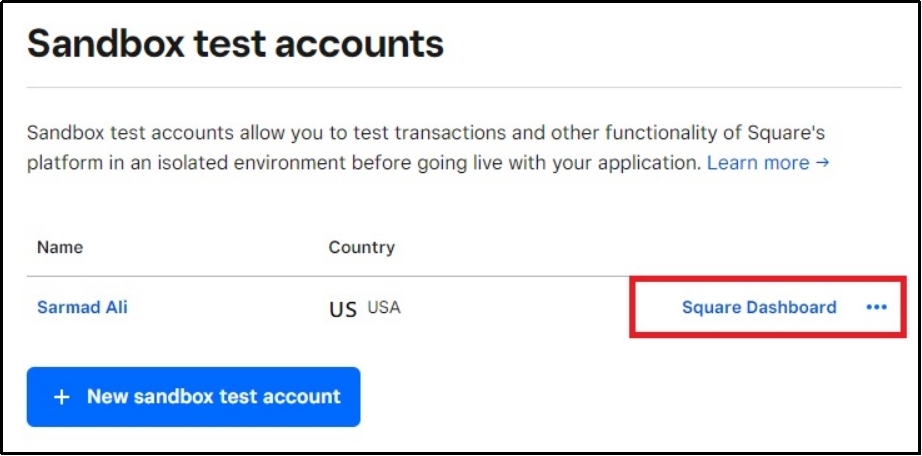
Now, it’s time to connect Square with WP EasyPay. After activating, you will be exposed to a screen like this. Make sure to pay attention to the note. You must launch the seller test account in the same browser from the developer dashboard for it to work.
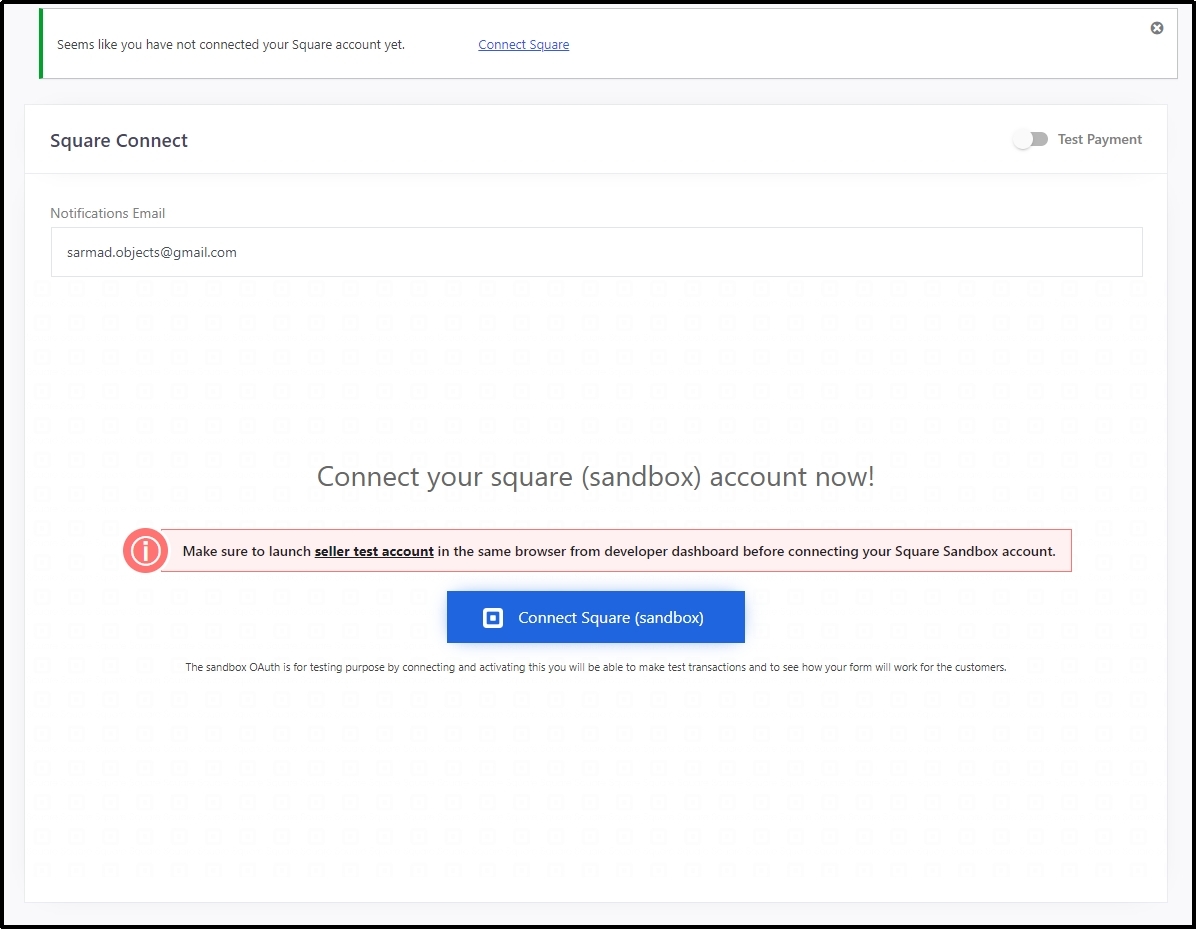
Click the seller test account and click Square Dashboard.
You will land on a dashboard like under.
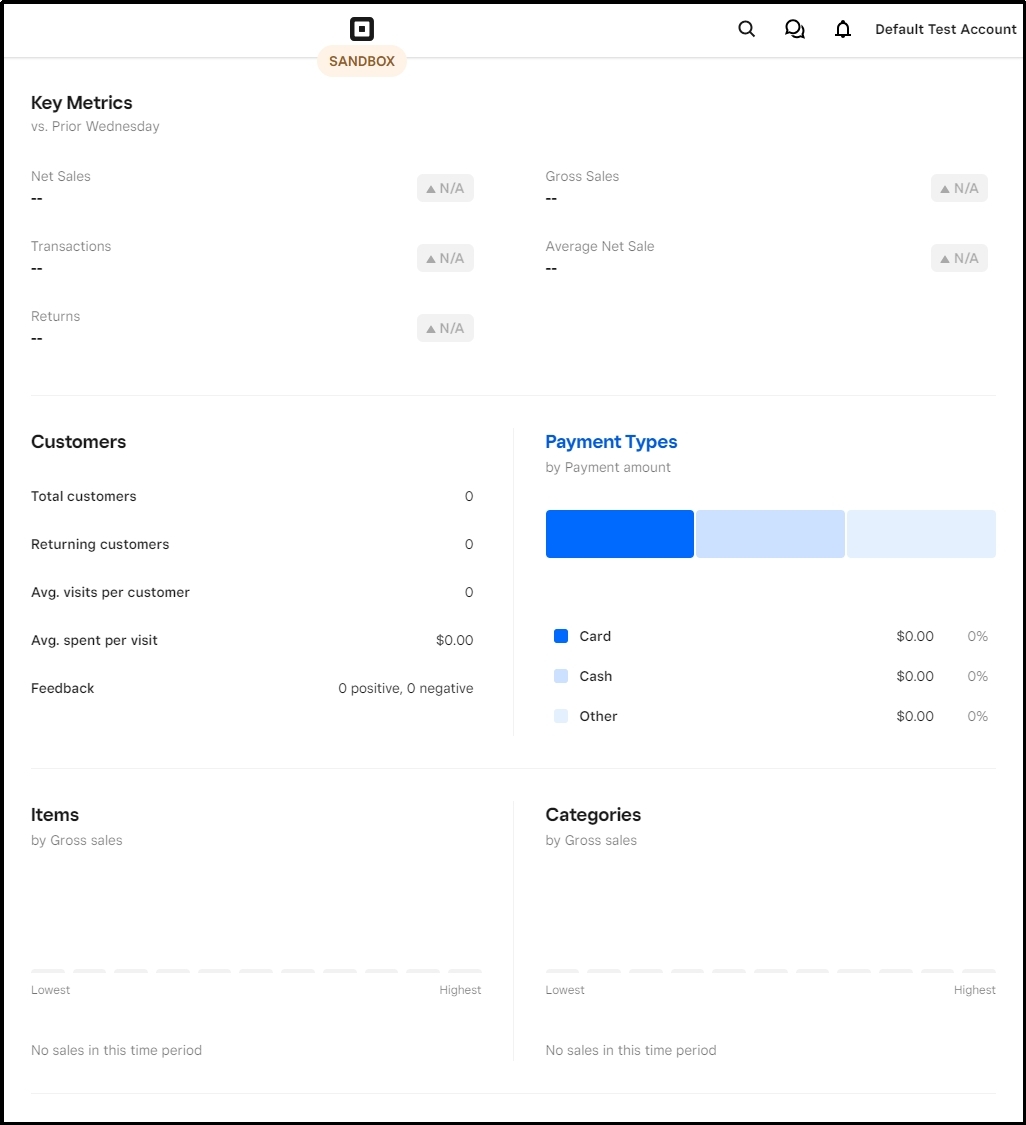
Do not close this tab. Instead, open a new tab and log in to WordPress on that tab.
Navigate to WP EasyPay and connect the Square account.
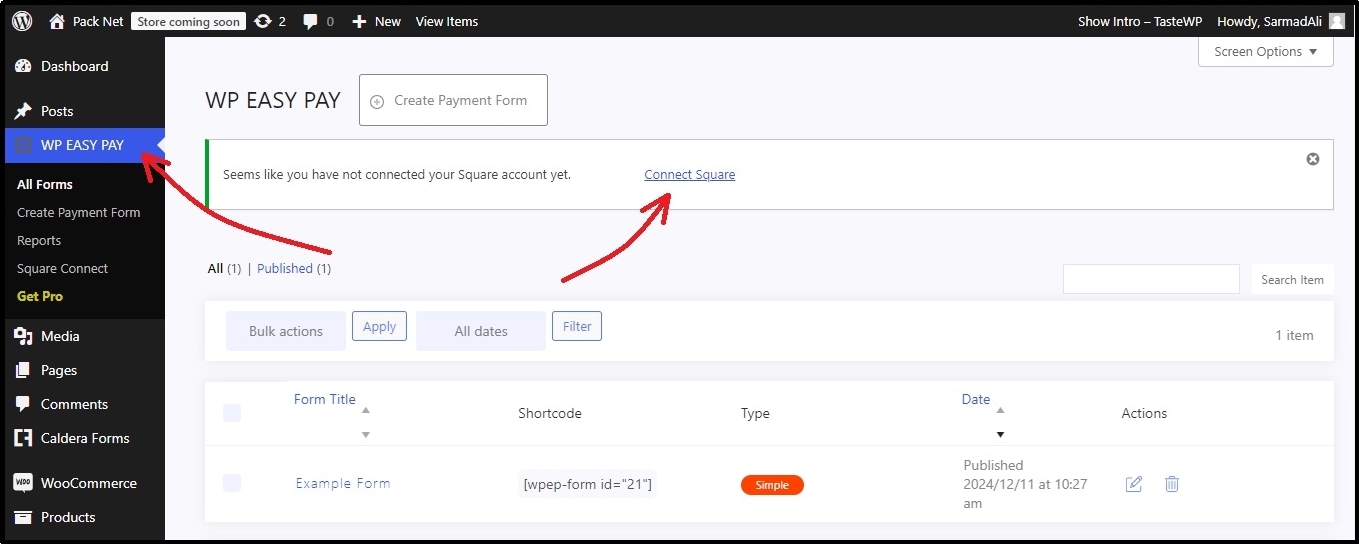
After initializing the request, Square will ask you to login.
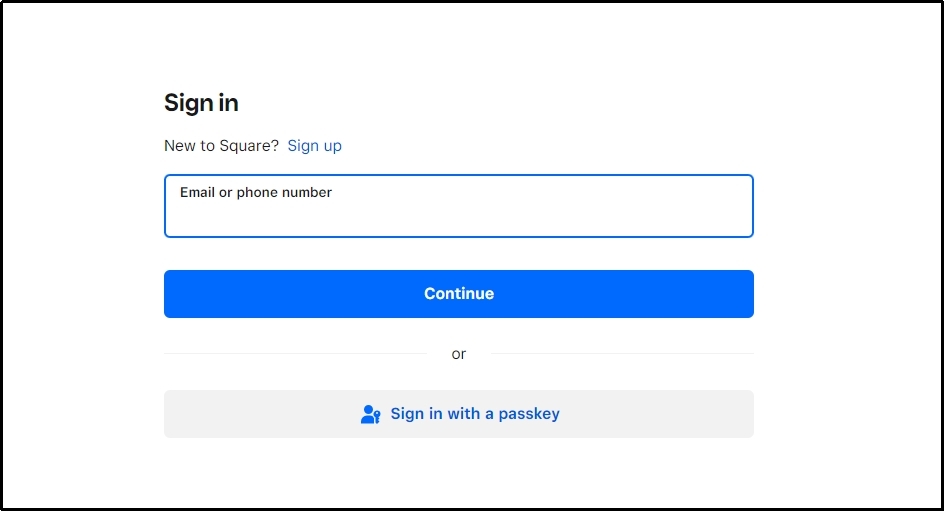
After entering your login credentials, the plugin will request permission to access your Square Account.
Click Allow.
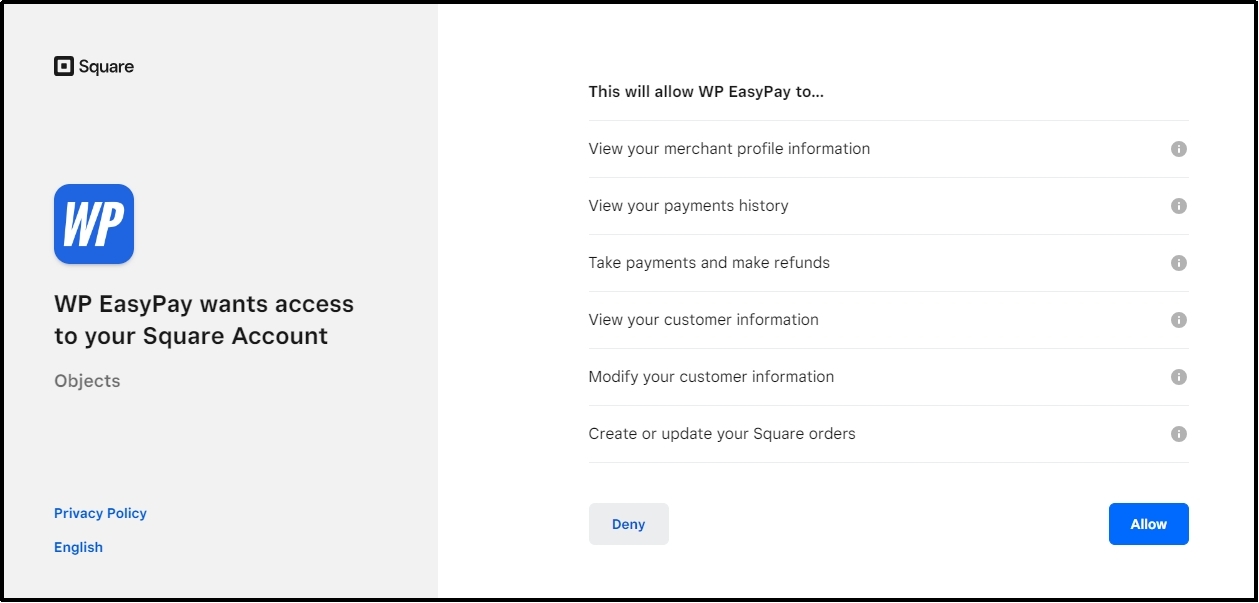
On the following screen, you will see this redirection confirmation request. Click the “THAT’S MY SITE – REDIRECT ME” button.

That should connect your Square account to WP EasyPay.

Now is the time for testing. This takes us to the fourth step.
Step #4: Create a Payment Form
Navigate to WP EasyPay >> Create Payment Form from the WordPress dashboard.
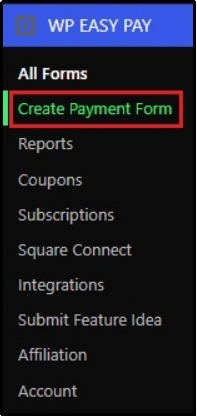
You will land on a screen like this.
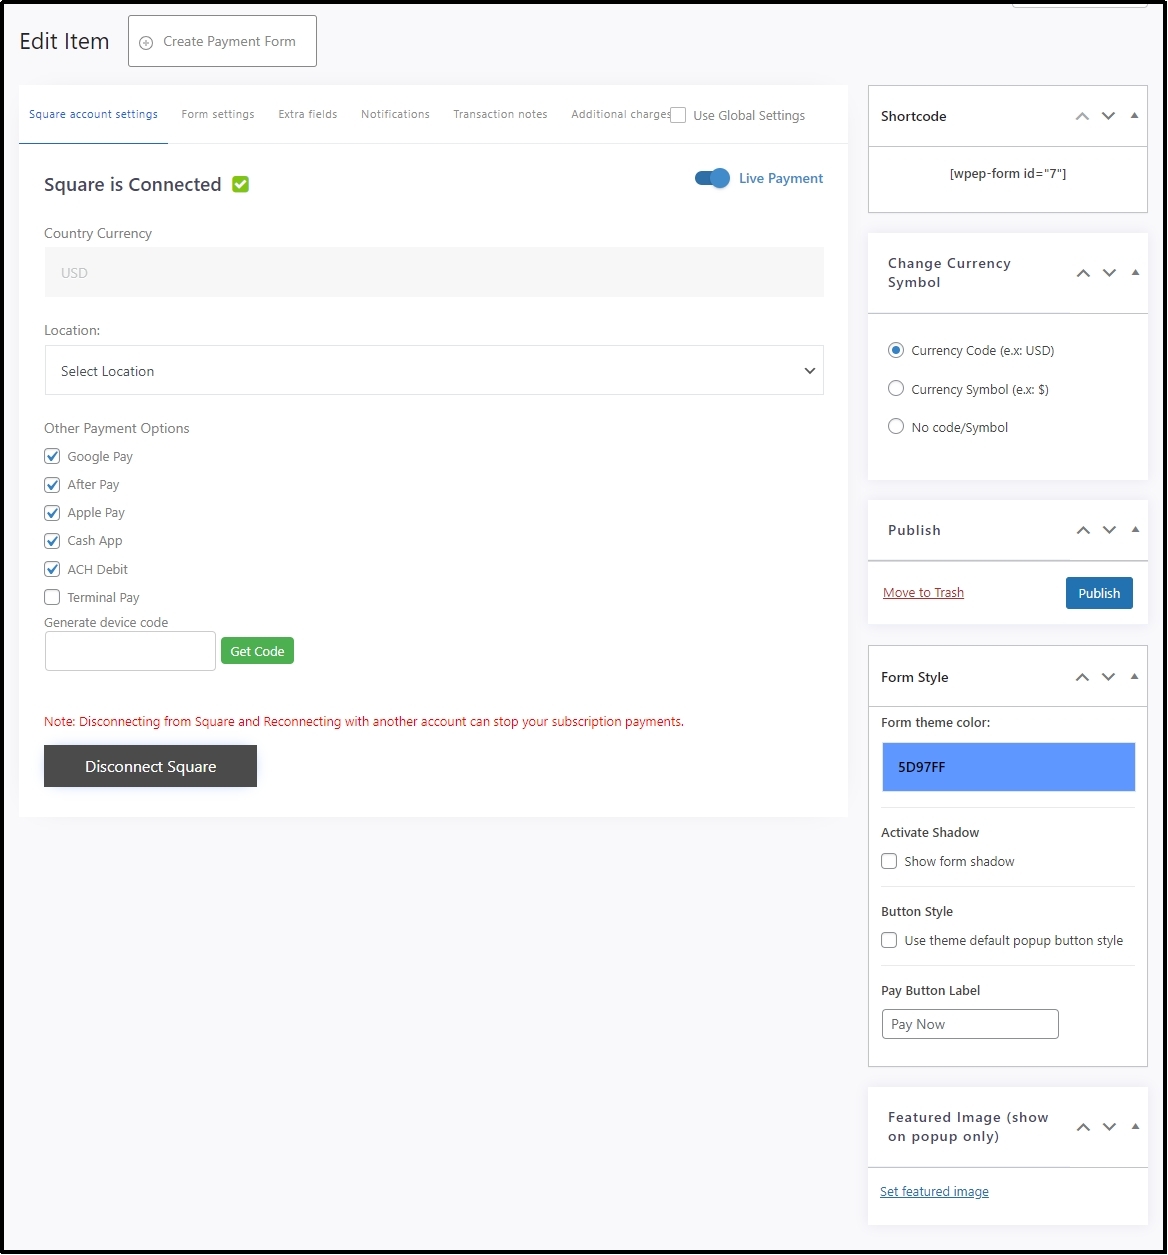
Select your currency and location from the drop-down. Finally, select all the payment options you want on your form. The options include:
- Google Pay (GPay)
- ApplePay
- Afterpay
- CashApp
- ACH Debit
- Terminal Pay
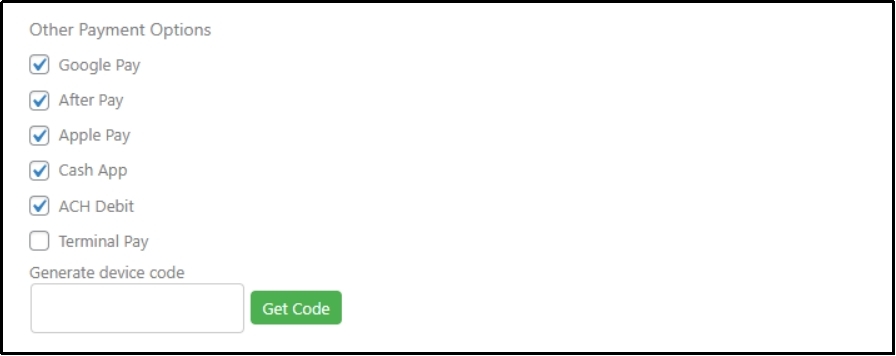
After selecting your favorites, switch to Form Settings and name your Form, write a description, select payment types, check the boxes you want, etc.; there are many other options you can play around with to design your form as you want.
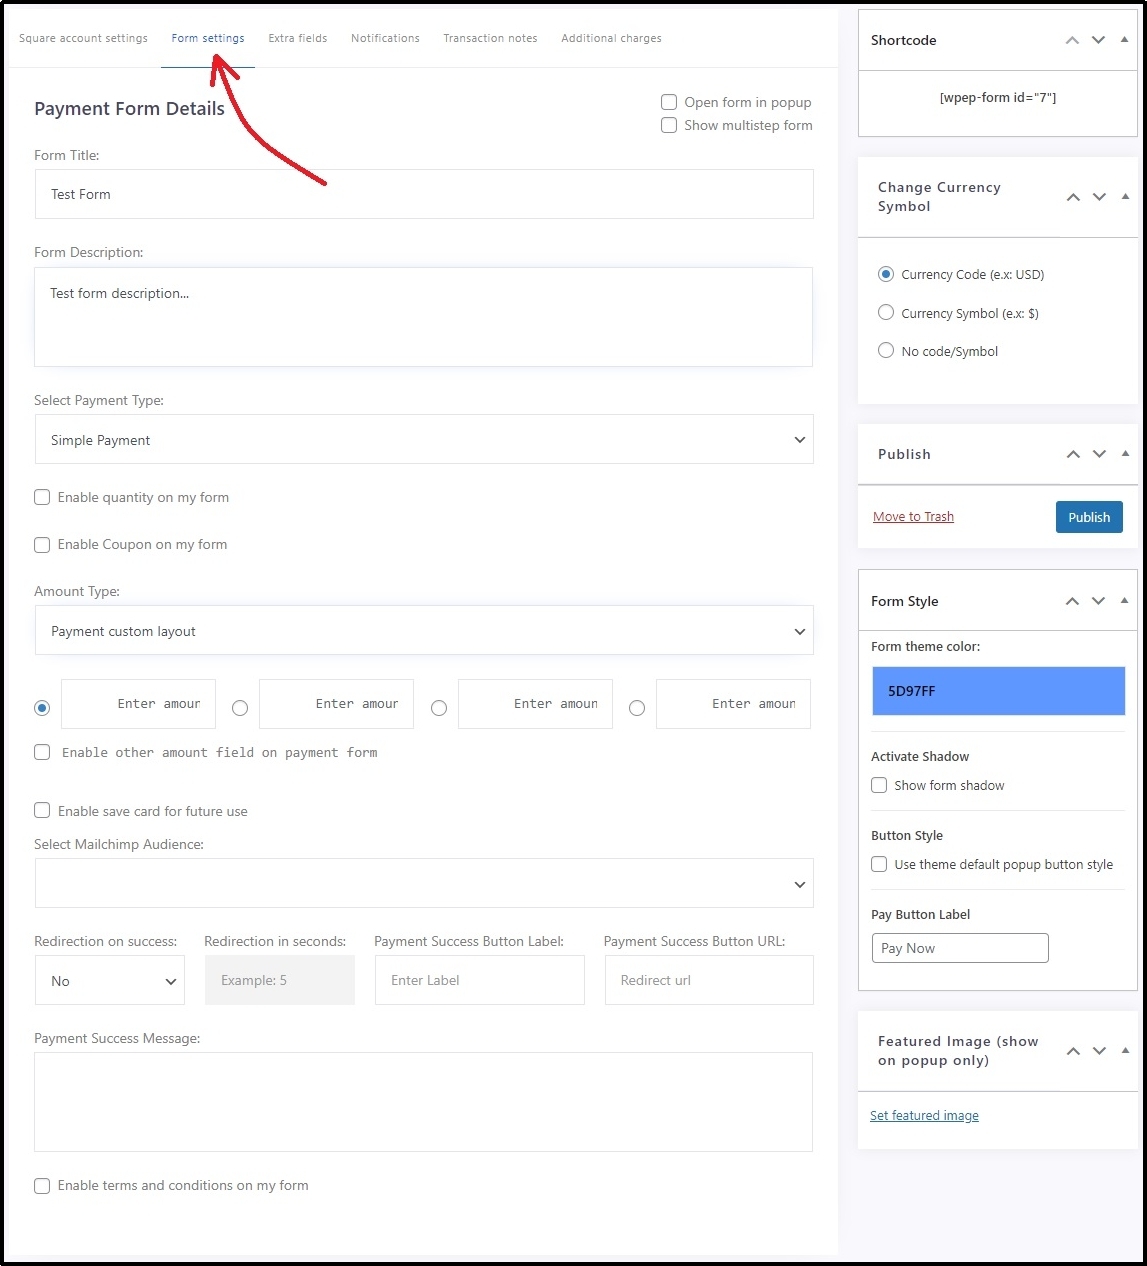
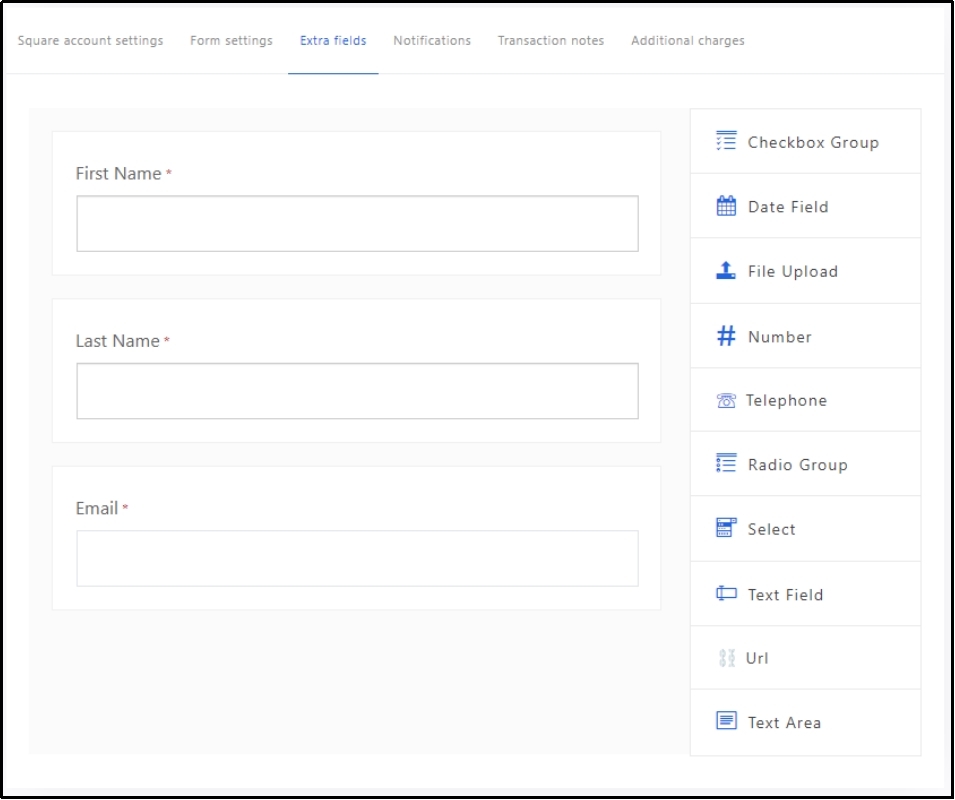
You can choose a theme color, change the currency symbol, amount type, etc., before switching to the Extra fields tab, where you can—as the name suggests—add additional fields to your form by dragging and dropping them in your form.
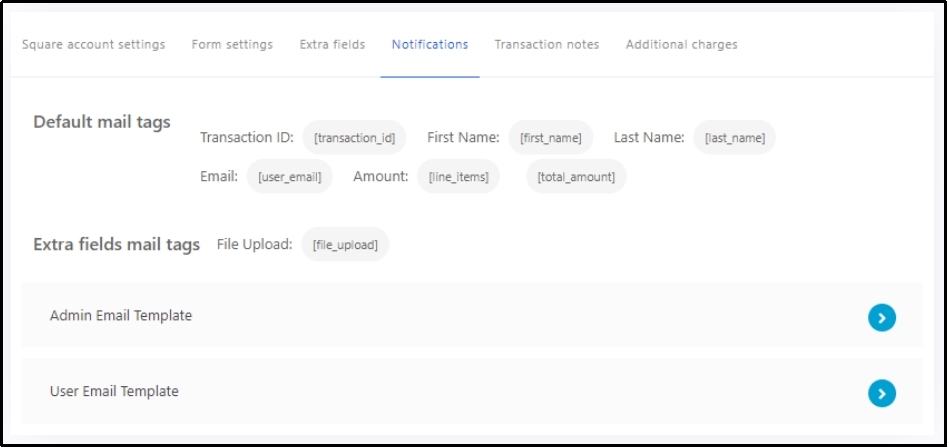
Afterward, set up the notifications by switching to the next tab.
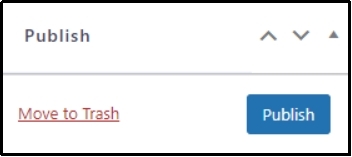
Don’t forget to publish the form after setting it up to save your progress. Let’s move on to the final step.
Step #5: Test Square Payments
Now that the form is done and published, let’s use it to test Square payments. Create a test post, select the WP EasyPay’s block, and select the form from the drop-down.
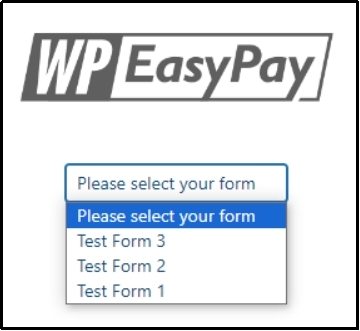
After selecting your form from the drop-down, it’s finally time to test Square payments.
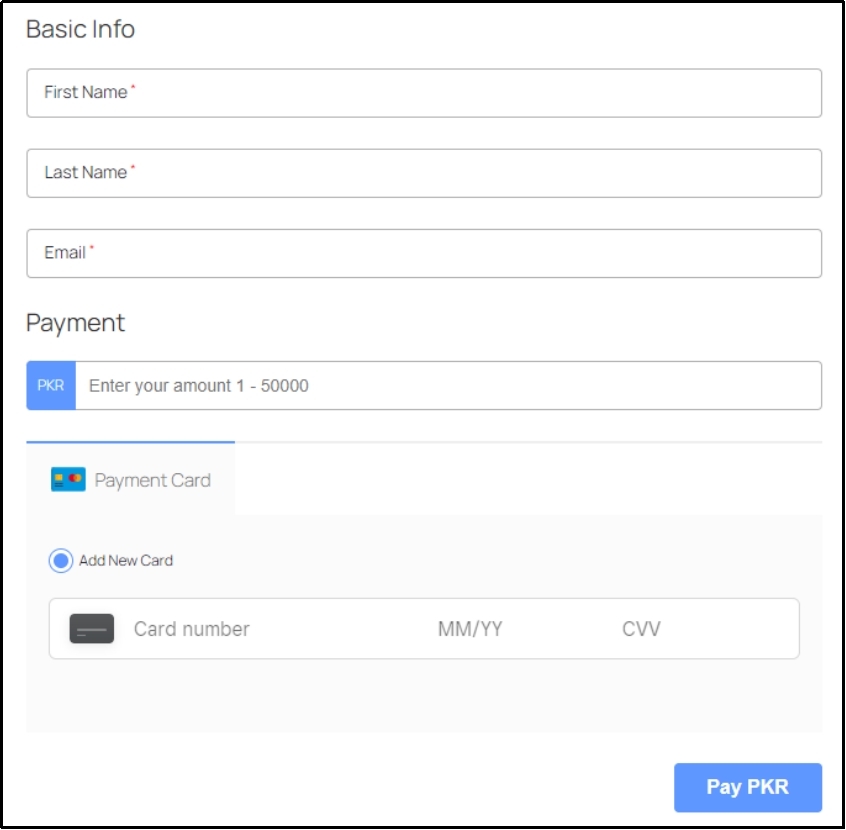
For that, you can use Square’s test credit cards.
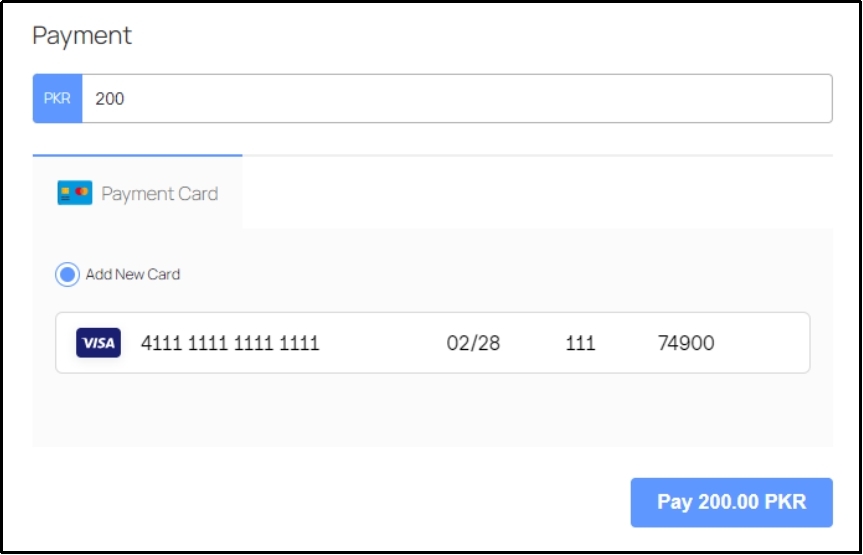
If you get a success message, congratulations!
If you don’t want to do all that, you can contact our trained support team, and we will do all the testing for you.
Conclusion
Testing Square payments is a vital step for any business owner integrating online payment systems. It helps identify potential issues so that you can provide a seamless payment experience for your customers.
By following the steps outlined in this guide, you can confidently set up, test, and deploy Square payments on your WordPress website. WP EasyPay, a super helpful WordPress plugin, makes the process straightforward, allowing you to focus on running your business instead of worrying about technical problems.
A reliable payment system strengthens customer trust and provides your customers with a hassle-free shopping experience. So, take these steps today to prepare your payment gateway for success!
Try WP EasyPay today to test Square payments before integrating Square with your WordPress!
Frequently Asked Question
Yes, you can do a test payment on Square using their developer tools. To test payments, create a Square Developer account and set up a seller test account from the dashboard. Then, connect your Square account to your WordPress website using WP EasyPay. Once connected, create a payment form and use Square’s test credit cards to simulate transactions. This process helps verify that the payment system works smoothly before you go live.
Connecting to your Square account in test mode may show an “Error: To start the OAuth flow for a sandbox account, first launch the seller test account from the Developer Dashboard” error. If that happens, open your sandbox account on another tab and log in to the Square dashboard. Set that screen aside and open a new tab. On that new tab, go to your WordPress and connect the Square account again.
Seeing the ‘Tokenization of the payment card failed’ when sending a test payment is fairly common, and it occurs when you use real credit card details to send a test payment. When testing payment, make sure to use one of Square’s test credit cards.

