How to Connect Square to Your eCommerce Platform (Step-by-Step Guide)
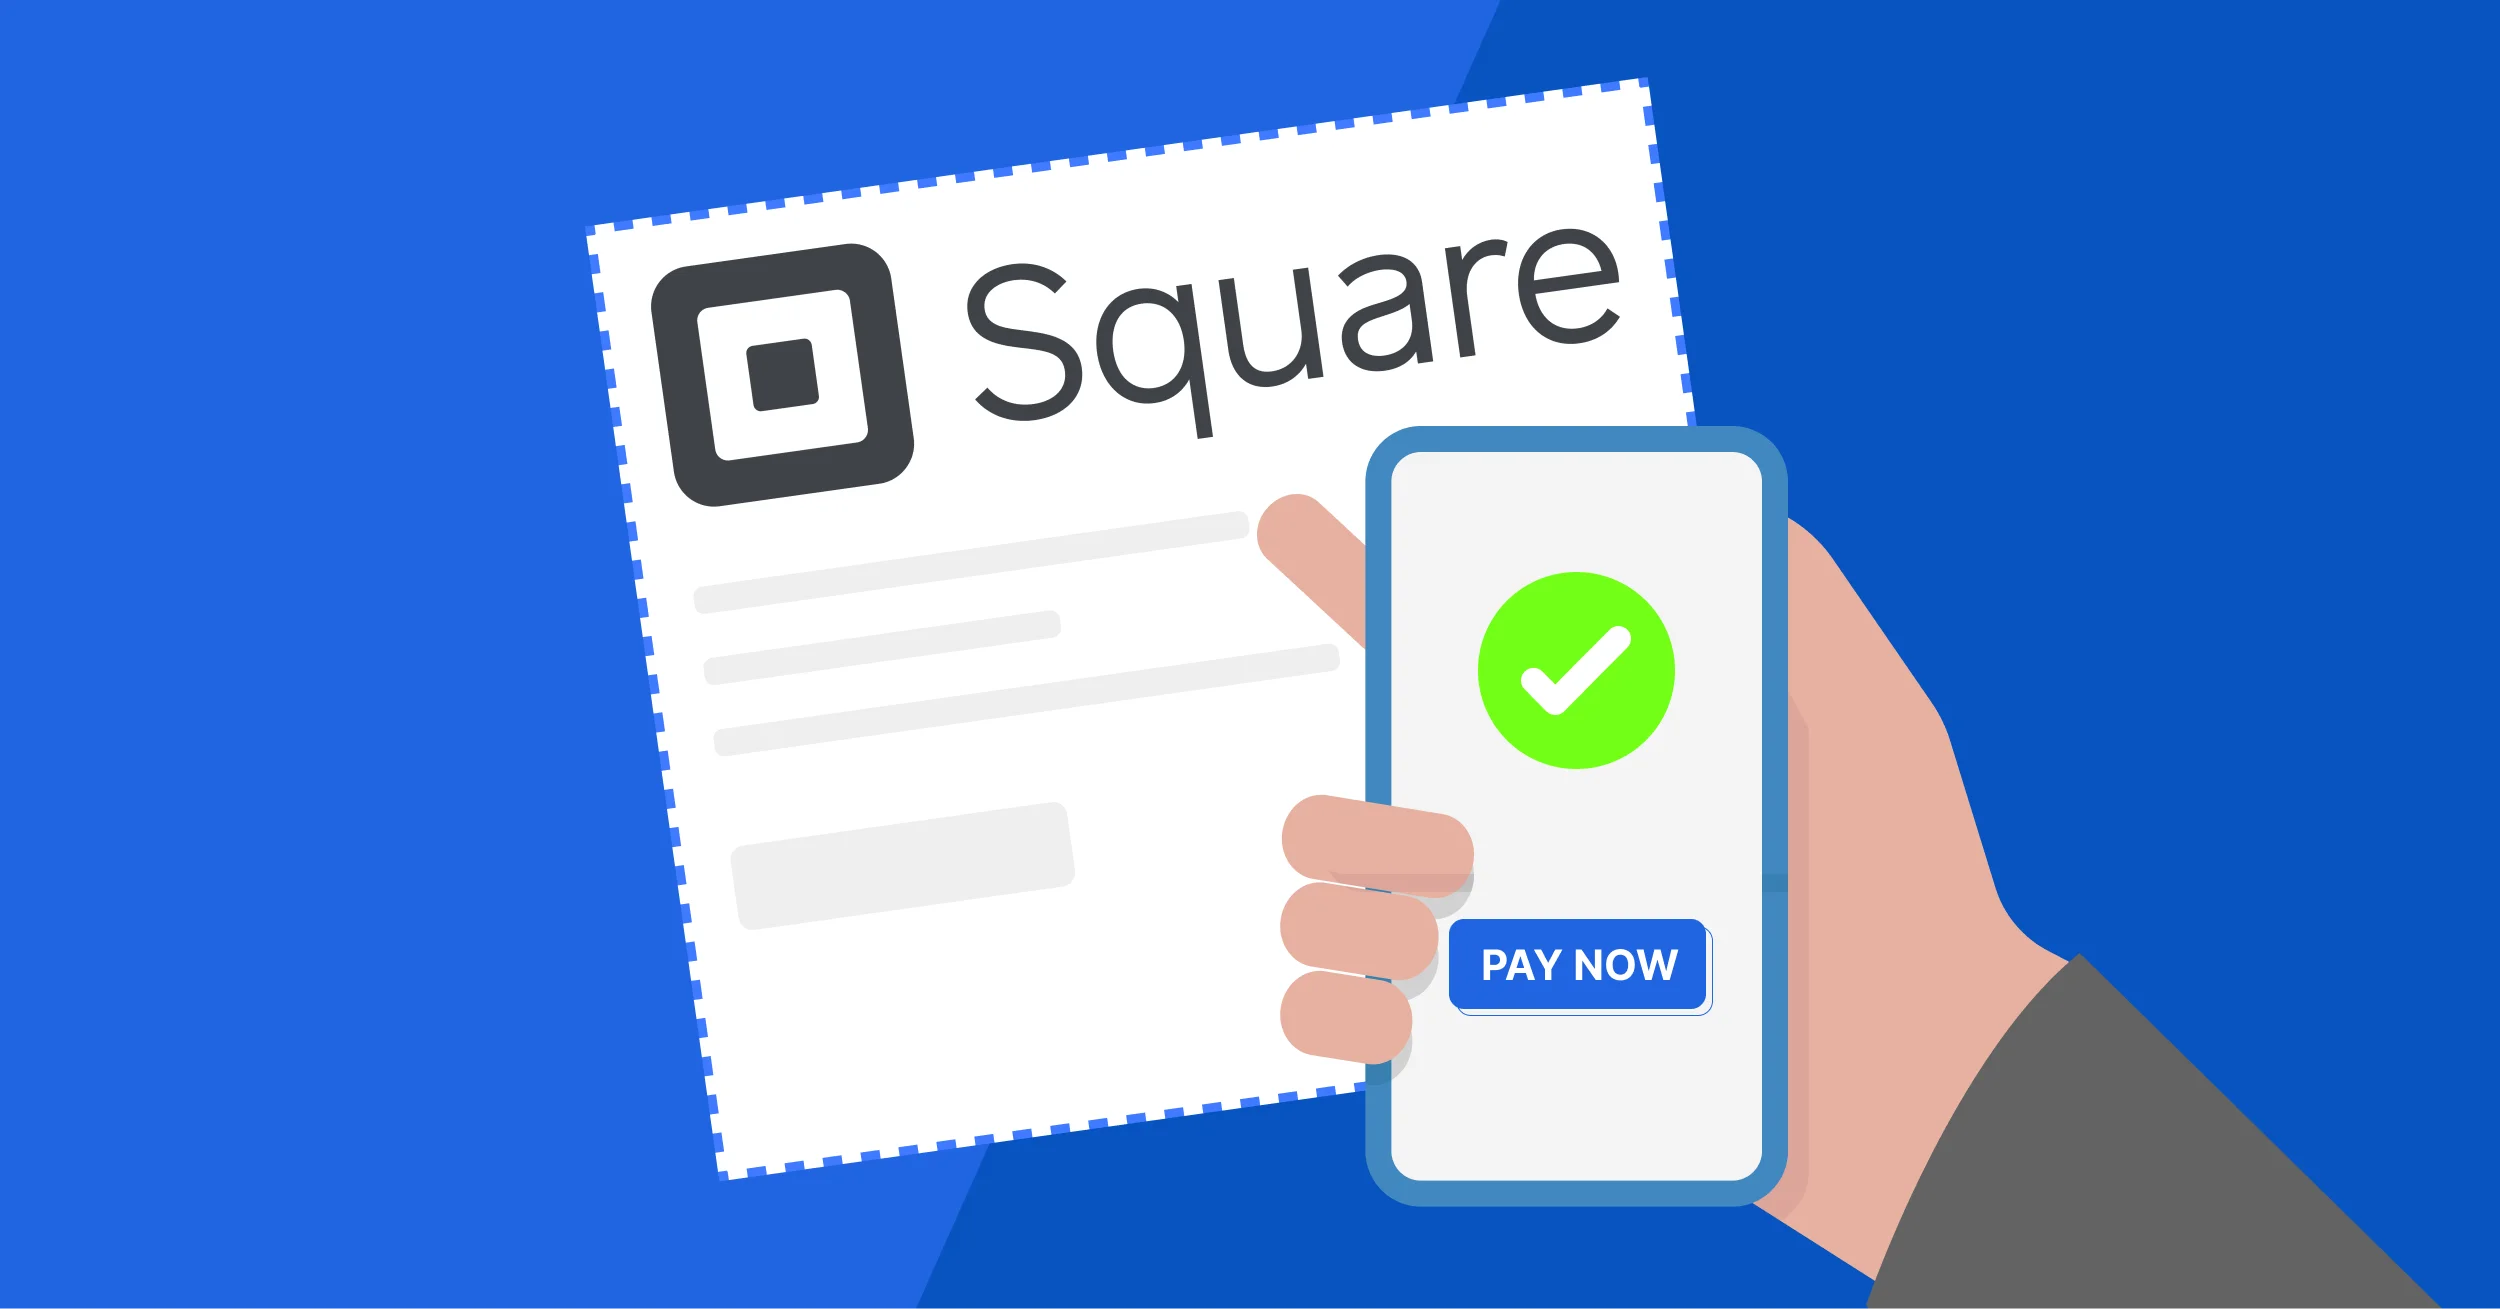
Connecting Square to your eCommerce platform allows you to accept online payments, synchronize inventory, manage orders, and keep sales data consistent across your online store and Square POS. Statista says […]