
Welcome back to another setup configuration guide where we will be discussing how you can create and set a fixed amount in your payment forms. This is a step-by-step guide where we have added images as help references.
In case you are unable to find what you are looking for, please feel free to email me at support@wpeasypay.com.
Since there are just three amount of layouts available in form settings (Radio, Dropdown, and Custom), a lot of users get confused while trying to set just one amount in the form. You can set a fixed amount in your form if you want to restrict your customers/visitors on paying a pre-defined amount and nothing else.
In this guide, we are going to teach you how you can set a fixed price in the current form.
Step # 1:
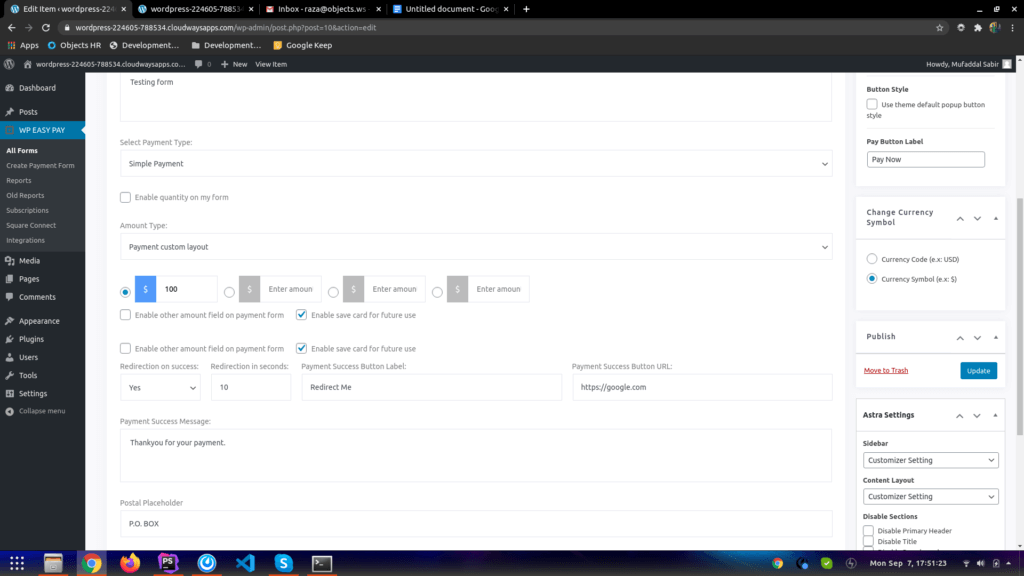
In order to set a fixed price, you will have to select the “Payment custom layout” option from the “Amount Type” dropdown menu, as shown in the image.

Step # 2:
Select and enter the amount in the first field and leave the rest of the fields blank. Keep the “Enable other amount fields on payment form” option unchecked.
Now you can update the form settings and place the shortcode on the page or post you want to display your payment form on.
Here is a look at how the form will look like.
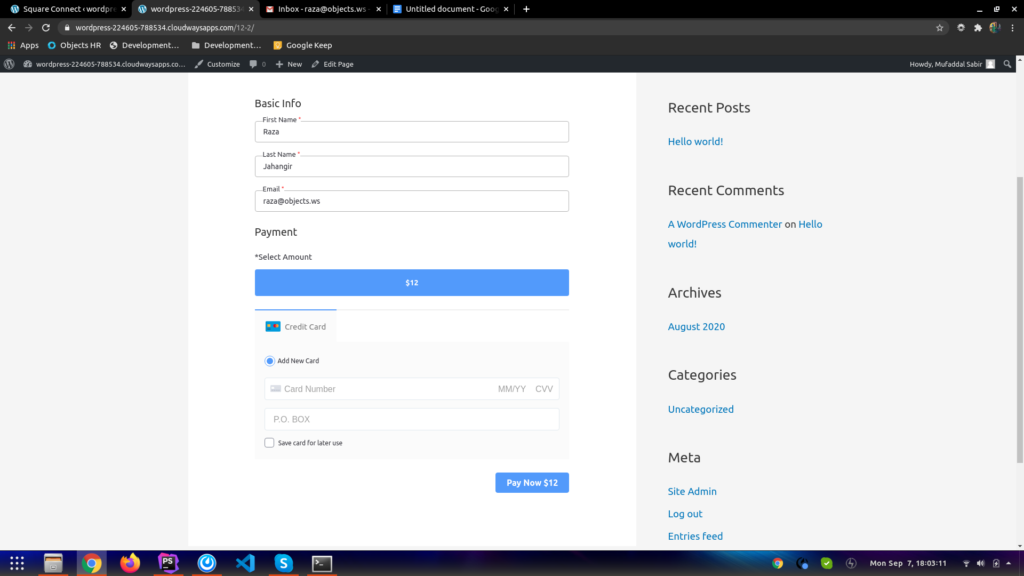
The amount you set is selected by default eliminating the need for the user to choose anything else.
In case you are wondering why we have mentioned the button with the amount, then let us tell you that it’s a workaround until we launch the fixed price feature where the user will only be able to see the amount on the Pay button and nowhere else. Until then, you can use this workaround to offer your customers the option to pay a fixed price without the hassle of selecting or typing.
Bonus Tip:
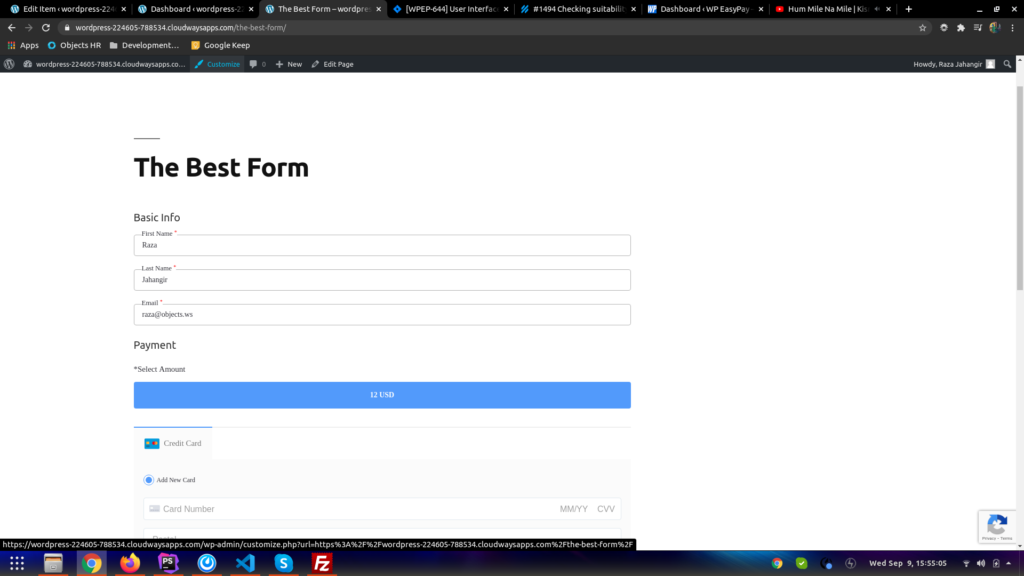
In case you wish to hide the “Select amount” text is written above the blue amount button, you can simply click the customize button on the top menu.
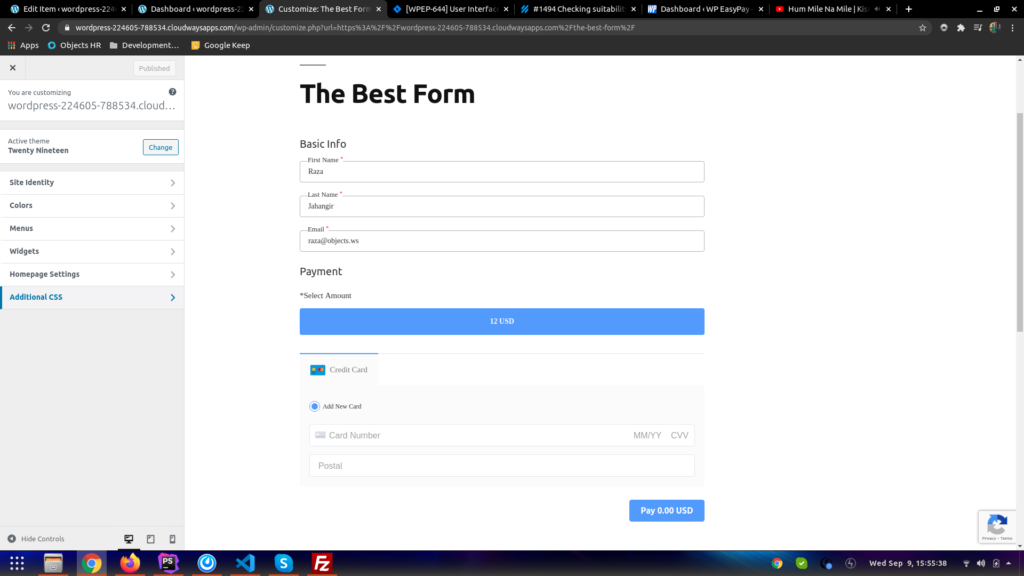
Now, click on the Additional CSS tab and paste the following code in the editor:
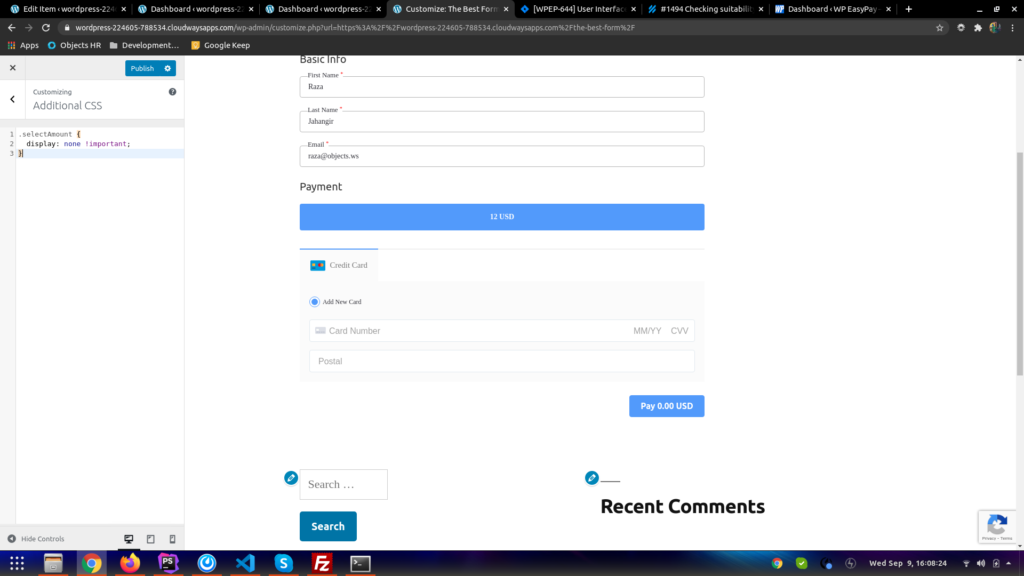
Click on the publish button to hide the select amount label.
For more questions or queries about this help guide, feel free to email us at support@wpeasypay.com.