
The timely growing progress of Square Payment Solutions has left a remarkable impact on the payment era and continues to provide the fastest and safest payment services to everyone around the world.
The website owners mostly face trouble finding a suitable payment platform to integrate into their websites to secure transactions.
To solve this problem, Square has become a trendsetter approach to solve this problem and introduced various digital devices such as Terminal, Magstripe, Register, Stand, Contactless, and Chip, making the process easy and automatic.
Since its inception, people have been adopting this payment method, and its wide range of services benefit the business owners to get everything from a one-stop shop.
Moving further, the integration is quite simple and easy to configure. This blog will discuss how to integrate the square payment solution plugin with WP EasyPay on your WordPress website.
What is WP EasyPay?
WPEasyPay is a fast and reliable WordPress plugin designed to simplify the way your website accepts Square payments via credit cards.

WP EasyPay accepts the donation, subscriptions, recurring donations, and simple payments worldwide. It is a solution provider for payment gateways and makes them more functional by building a connection with them.
Features
- Build interactive forms
- Get a one-window form where you get all options
- Build subscription and transaction reports
- Manage your subscription by pausing and resuming them from the backend whenever you want
- Create multi-step forms where you can categorize the sections
- Create custom tags for email and forms
- Add upload button with drag and drop field
- Table layout for the products
- Export your transaction reports and add fields to them as per your requirements
- Embed shortcode for adding the functionality
Now, let’s hop into the details on how to make Square integration with WP EasyPay.
WP Easy Pay – With Square Settings
WP EasyPay comes with a FREE and PAID version based on their availability of features and services.
For setting up the plugin, we will be using the PREMIUM version for a better understanding. Follow the steps below:
Sign in to your WordPress dashboard using your credentials.
Once you are in the dashboard, go to Plugins and click on Add New button and search for the WP Easy Pay – With Square in the search bar placed at the top right corner.
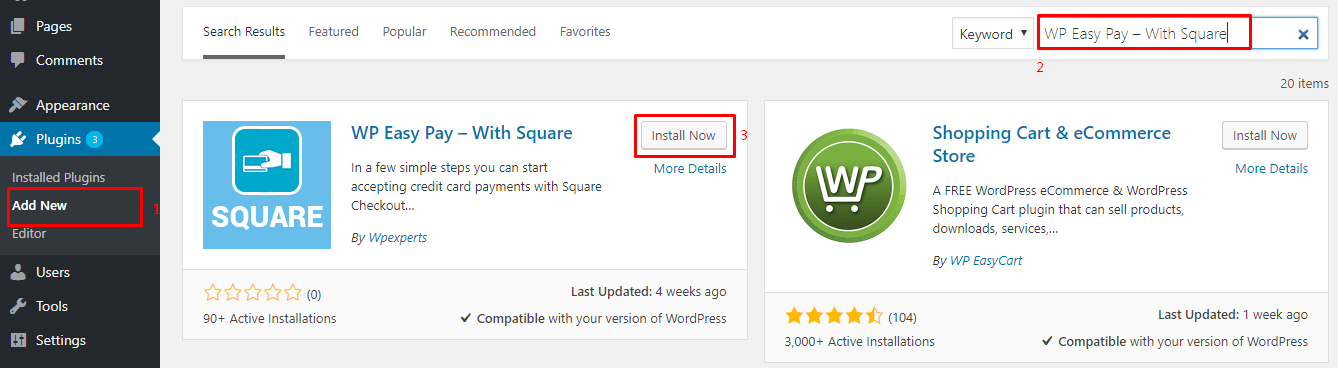
Click on the Install Now button. A screen will appear only for the very first time when you install the plugin.
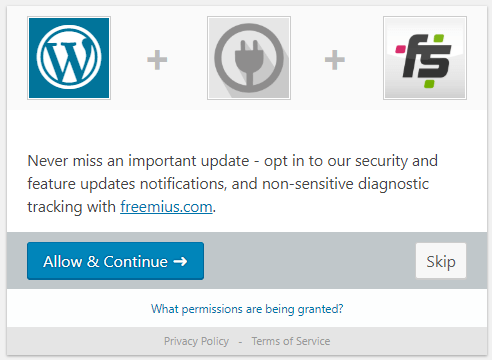
All you need to click on the Allow & Continue→ button to proceed further.
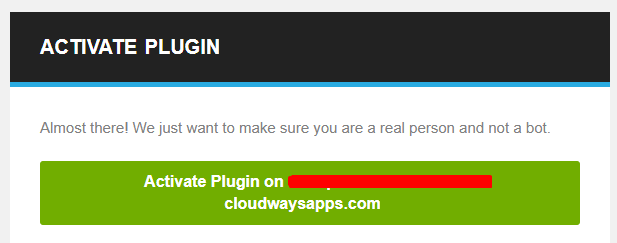
After that, go to your mailbox and check if you have received an email from WP Easy Pay. Click on the Activate button for further configuration.
Go to your Plugins, find WP Easy Pay (Premium), and click on the Activate button. It will redirect you to the page as shown in the screenshot below:
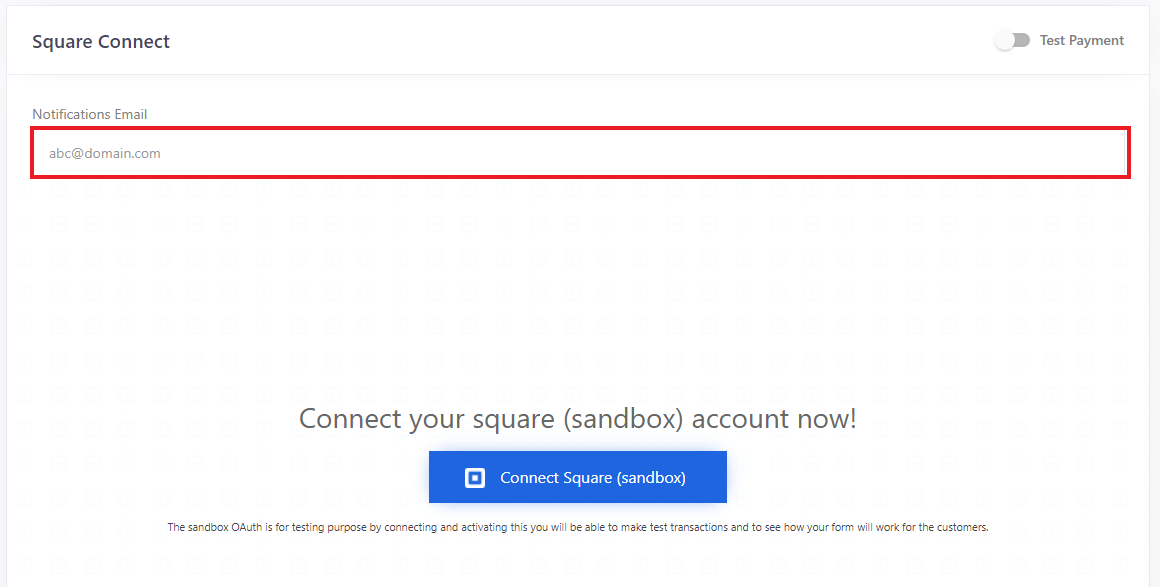
Enter your email address and turn the toggle right for Live Payment if your payment process is Live.
Before that, you will need to go to www.squareup.com and sign in to your square account using your credentials. Once signed in successfully, click on the [Connect Square] button to move further.
When you click to connect, it will ask you for either Live Payment or Test Payment. You can select as per your requirements. In this tutorial, we will be working on a Test Payment.
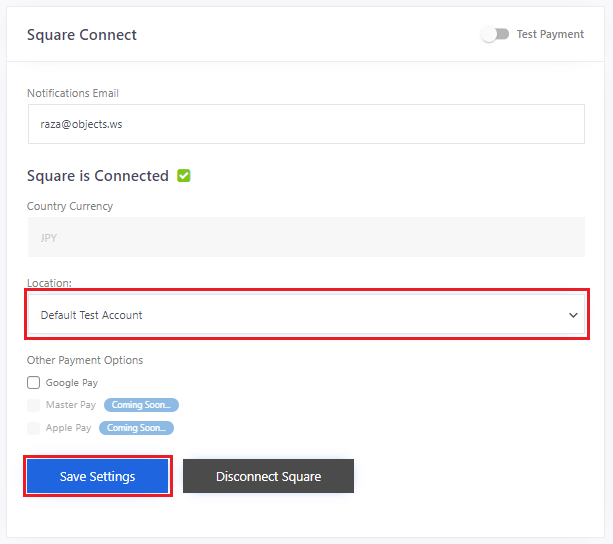
Here, you need to select your location and then click on the Save Settings button.
After that, navigate to WP EASY PAY → Create Payment Form → Form Settings.
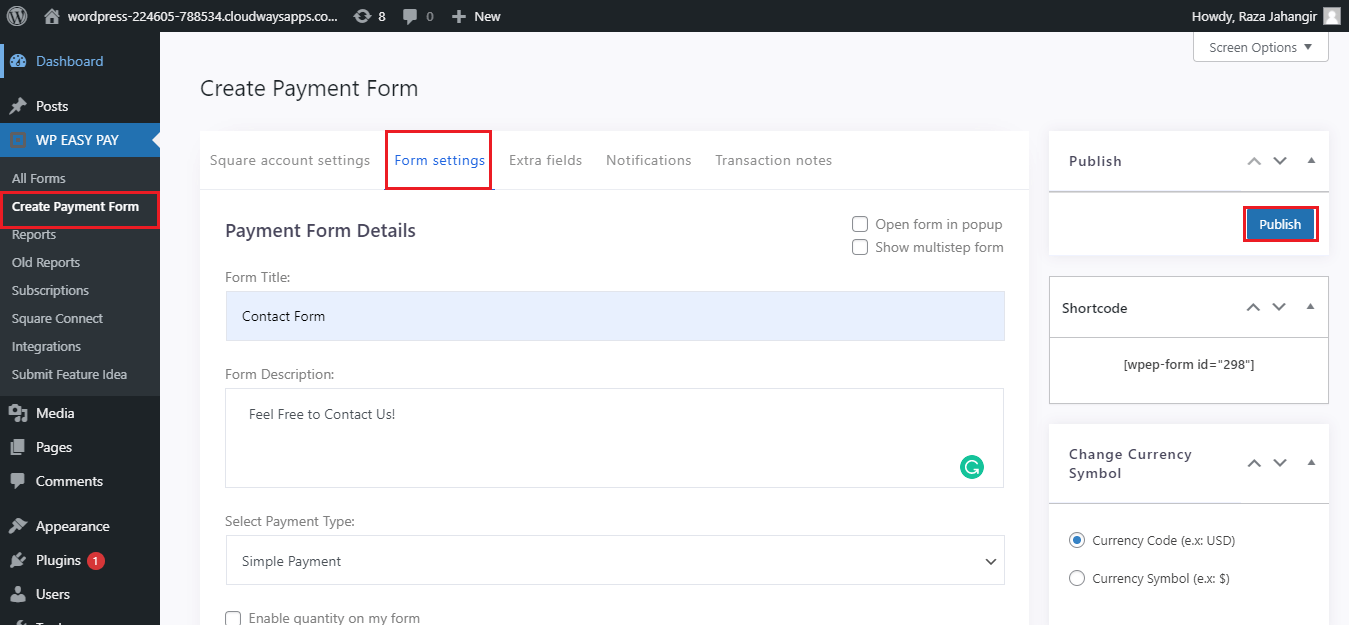
You will see the form details in this section; fill each according to your form requirements. For the readers’ understanding, we are going to define each field as bulleted below:
- Form Title – Enter the title of your form; here, I am creating Contact Form.
- Form Description – Enter the information about your form or the message you want to deliver to your users.
- Select Payment Type: Select your payment type from the drop-down menu.
- Amount Type: Select the payment layout from the drop-down menu that you want to display.
- Create your payment packages; here, I have made only two.
- Check mark on the Enable save card for future use to save the user’s card for the next transaction.
- Check mark on the Show products without images if you want to display the products even without the images.
- For the redirection process, select Yes from the drop-down menu, select time for the redirection process, insert the label on your redirection button, and insert the redirection URL.
- Payment Success Message – Type the payment success message you want to deliver to your users.
- Postal Placeholder – Insert the details of the postal placeholder.
- Check mark on the Enable terms and conditions on my form and provide a link label and link to page details if you want your users to be agreed to your Terms and Conditions.
Once you enter your details, click on the Publish button to save changes. Next, go to the Extra fields section for further customization.

In this section, you can build your form using the following options:
- Checkbox Group
- Date Field
- File Upload
- Number
- Radio Group
- Select
- Text Field
- Telephone
- URL
- Text Area
And then click on the Publish button to make changes. Next, go to the next section, i.e., Notifications.
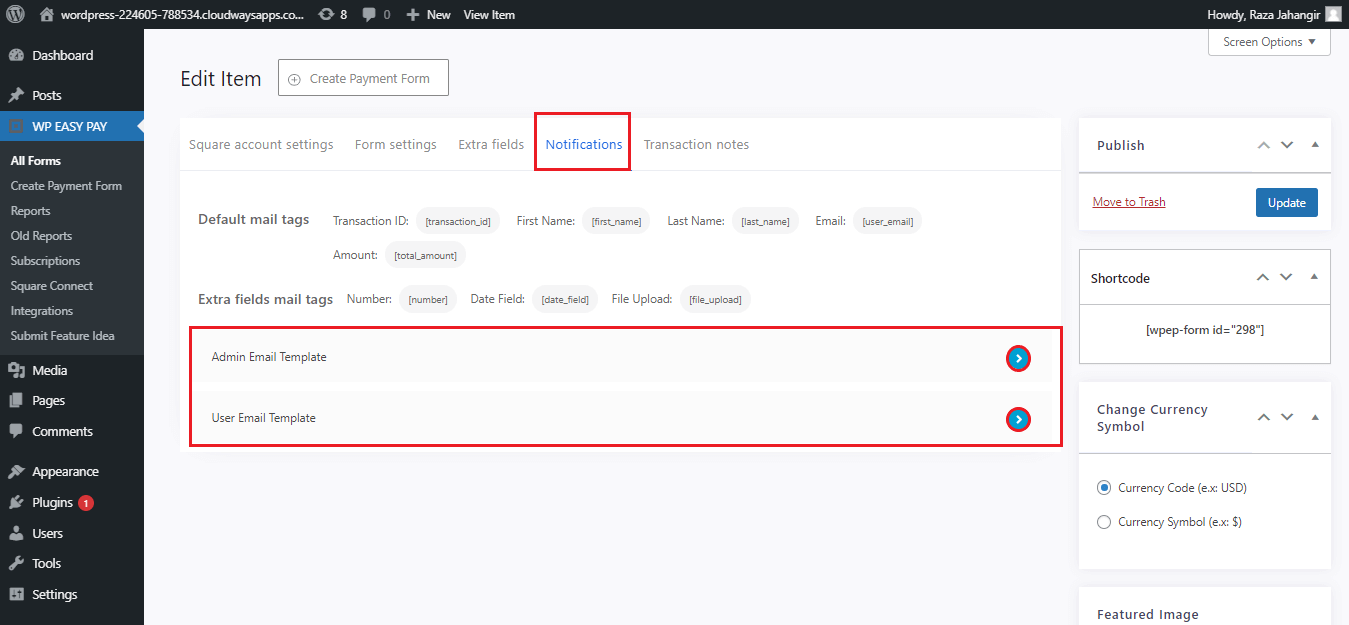
Here, you have two options:
- Admin Email Template – In this option, you can customize the Admin’s email template.
- User Email Template – In this option, you can customize the users’ email templates.
Last but not least, ![]()
Customize your transaction notes using tags and click on the Update button to save changes.
Now, add a new page and copy the shortcode of your form and paste it into the new page to display your form, as shown in the screenshot below:
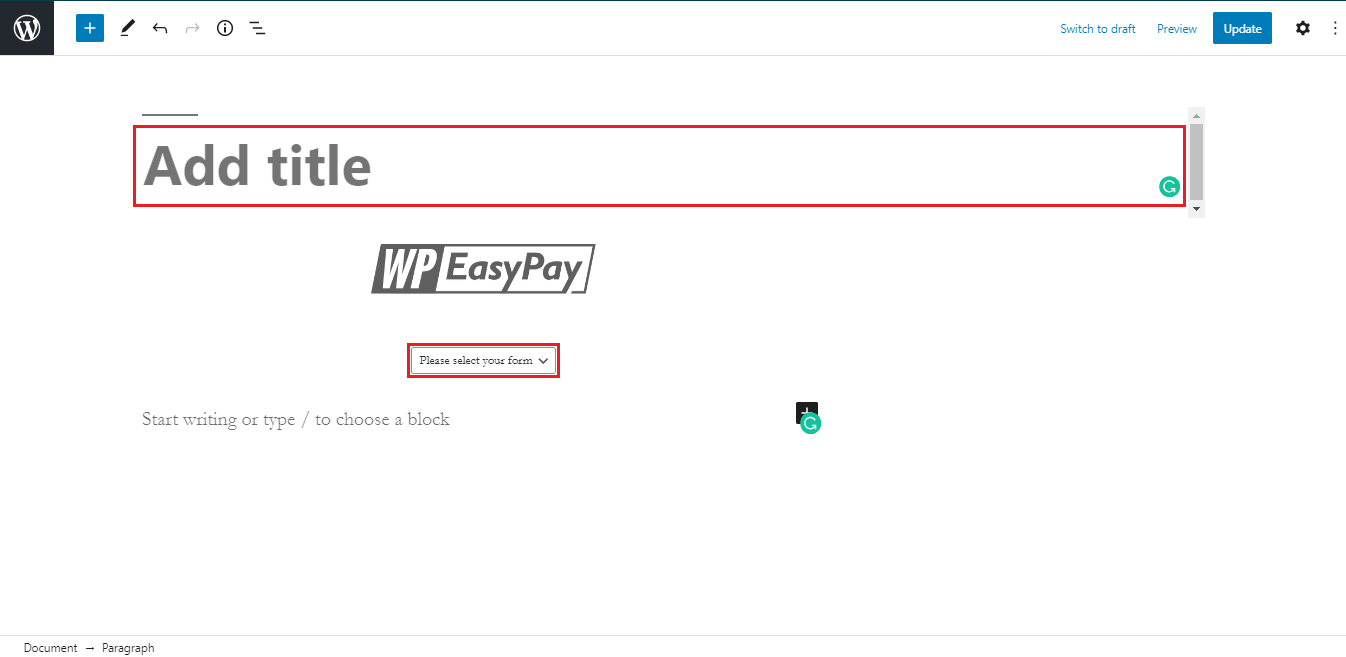
Enter your Page Title and select your form from the drop-down menu. Next, click on the Update button to publish your form.
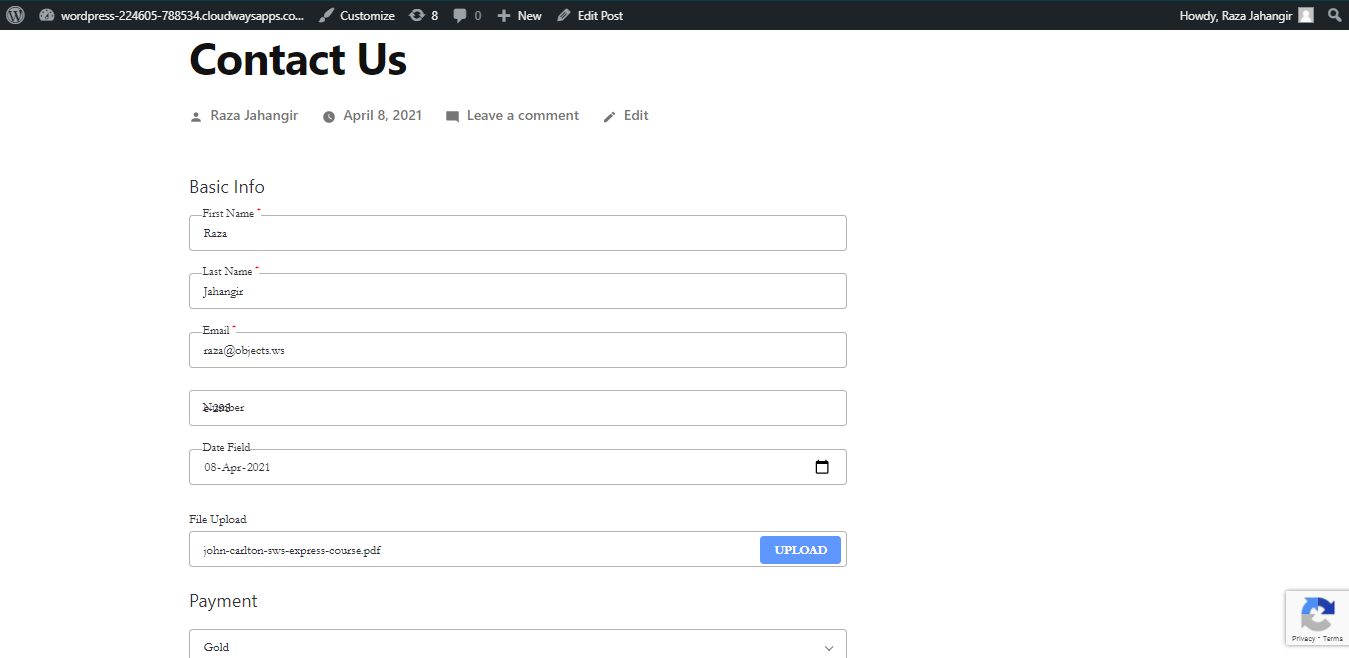
Your form will be displayed. Insert your details and click on the Pay button to proceed with your transaction.
Pricing
WP Easy Pay offers three pricing plans; Starter, Professional, and Business. For more information, you can hop to the pricing page.
Final Words
To summarize this topic, we would like to inform you that the Square Payment solution plugin with WP Easy Pay is the perfect combination for making payments on your WordPress websites. Square is the safest and easiest payment gateway that WP Easy Pay to start making payments.
For a clear picture, you can imagine Square is a gate, and WP Easy Pay is a key to open it.
There is a FREE version available, but you need to purchase a premium package from their pricing plans to add more utilizing features.
It is a one-window payment method where you get everything. For setting up your payment method, you can contact APIExperts.io; their experts will make a perfect integration of Square to your WordPress websites.
