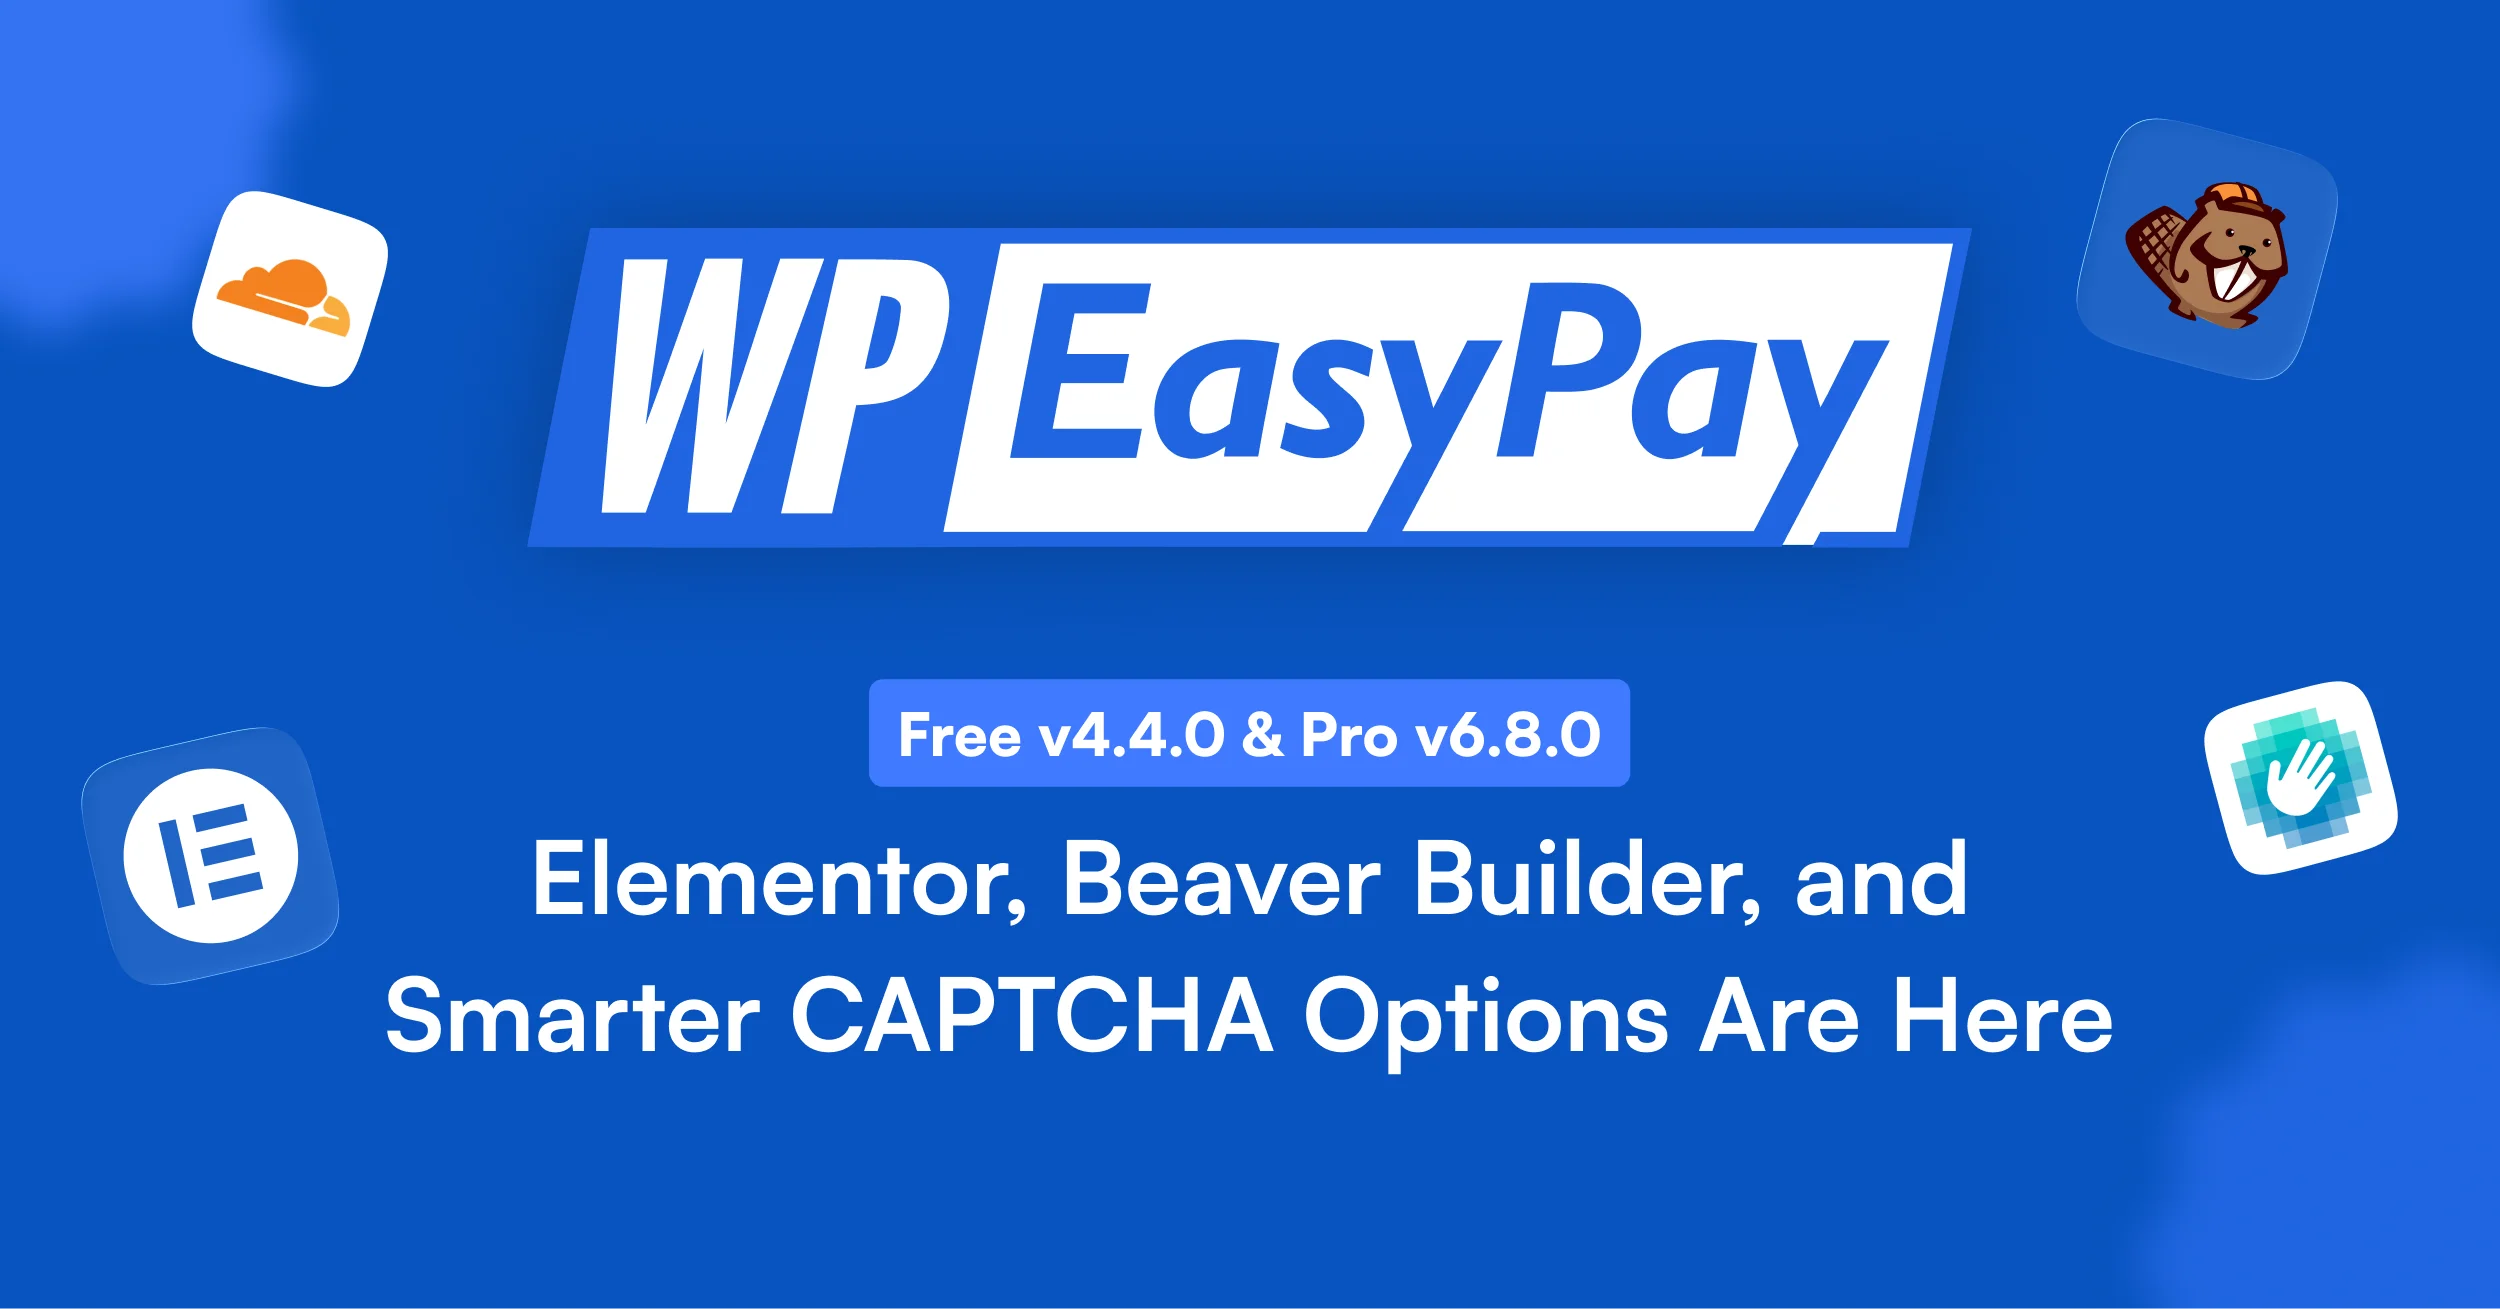
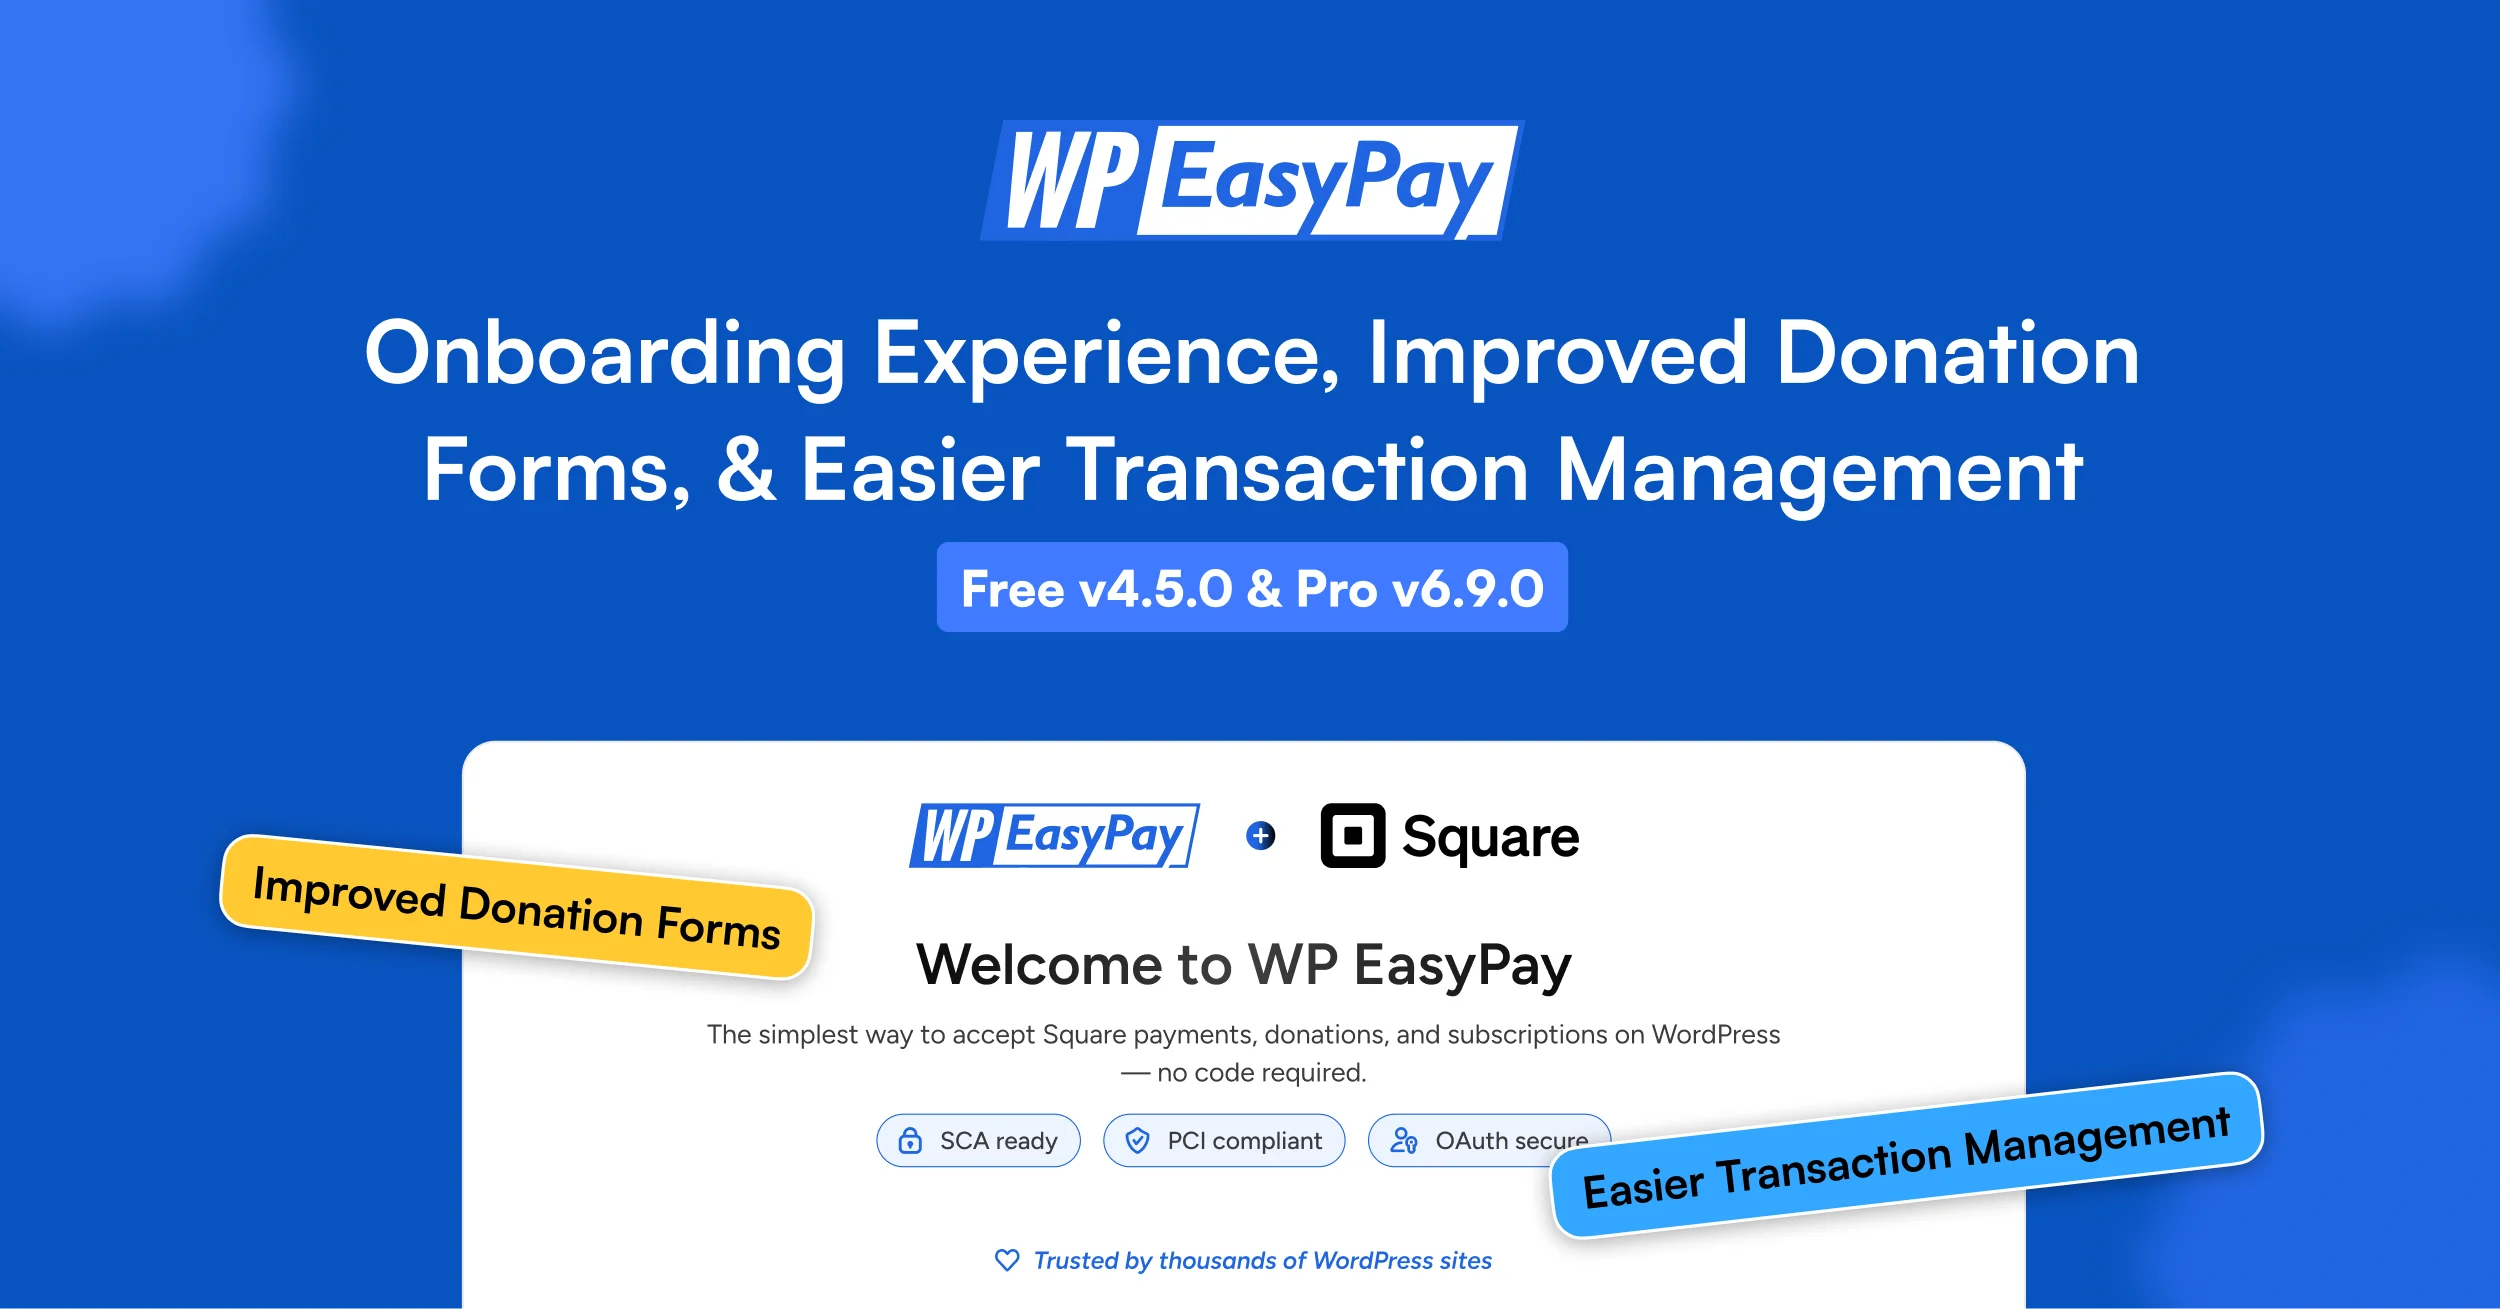
WP EasyPay v6.4.2 Release Notes | New Features to Simplify Payments and Enhance Security!

WP Easy Pay Release Notes

We are pleased to introduce WP EasyPay v6.4.2, which includes three new features that will completely transform how you make payments. We worked hard to implement these changes so that you can manage your payments more easily and feel more confident in the safety of your website. Let’s get into the specifics of these new options:

Here is the complete list of features added to the new release:

Get Payment Method:

The “Get Payment Method” feature is a game changer for administrators. You can now view your users’ payment methods and data directly from the Reports section with a few clicks. Get valuable insights into user preferences, easily navigate the WordPress Admin Dashboard, and access all user details and payment methods. This streamlined process will save you time and allow you to make more informed decisions about your payment plans.

Reports

Payment Method

Tabular Layout Coupon:

We understand the importance of coupons in driving sales and customer loyalty. We have introduced the “Tabular Layout Coupon ” feature. Managing and configuring coupons is now easier than ever before. You can customize new coupons easily by simply clicking the “Add Coupon” button. Enhance your promotions, attract more customers, and boost conversions by using this powerful coupon management functionality.

Coupons

Tabular Layout Coupon

Enter Coupon Code

Google ReCaptcha v2 & v3:

Security is a top priority for any website owner. With version 6.4.2 of WP EasyPay, we now handle both Google ReCaptcha v2 and v3. Use these strong security steps to protect your website from spam, bots, and other malicious activities. Choose the version of ReCaptcha that works best for you, turn it on in the admin dashboard’s interface settings, and copy and paste the site key and secret key. Rest easy knowing that your payment forms and customer information will be safe.

Google ReCaptcha - Integrations

ReCaptcha type

Google ReCaptcha Site Key

Please refer to our documentation and user guides for more information on leveraging these features and exploring their full capabilities. Our support team is always ready to help if you need assistance. Stay tuned for more exciting updates in the future!

Thank you for choosing WP EasyPay.

WP EasyPay Free v4.1 Release Notes

WP EasyPay Free v4.1 Release Notes

We are excited to announce the release of WP EasyPay v4.1, which offers free payment methods to all our users. This new update comes with many exciting features that make WP EasyPay even more accessible and user-friendly.

WP EasyPay Free v4.1 Release Notes

One of the most significant updates in v4.1 is the availability of payment methods including ACH Payments, Afterpay, and Cash App without any additional charges. This means that you can now accept payments from your customers without worrying about transaction fees, making running your business more accessible and more affordable than ever.

ACH Payments

ACH Payments WPEasypay

Cash App

Cash App WPEasypay

Cash App Pay WPEasypay

After pay

After Pay WPEasypay

We know that security is a top priority for our users, so we’ve taken extra measures to ensure that all transactions are processed securely. WP EasyPay uses industry-standard encryption technology to protect customers’ data and ensure all transactions are processed safely.

Update to the latest version of WP EasyPay to take advantage of the new features and improvements. If you’re new to WP EasyPay, try it out and see how easy online payments are.

Please contact our customer support team with any questions or feedback.

Please visit the technical documentation or open a support ticket for more information.

WP EasyPay v6.3 Release Notes | Cash App & ACH Payment Support

WP EasyPay v6.3 Release Notes-68

Our team has been working continuously to enhance WP EasyPay, and we’re happy to announce that the newest release does just that! New features abound in WP EasyPay v6.3.

WP EasyPay v6.3 Release Notes-68

With the new Cash APP feature, you can transfer money to a recipient by searching for them in the app using their $Cashtag.

The WP EasyPay form also now supports a new payment method called ACH Payment, which lets consumers pay directly from their bank account.

Here is the complete list of features added to the new release:

Cash APP – The WP EasyPay form includes a checkbox for this purpose. You can transfer money to a recipient by searching for them in the app using their $Cashtag. The recipient will be notified via email or text message if you choose to send money. You can request payment by sending an email.


Note: Cash App payments are supported only in the United States. Only buyers in the United States can choose Cash App as a payment option.


ACH Payments – ACH Payment is a new feature that allows users to pay with their bank account on the WP EasyPay form. After choosing the bank, the user has to select their login information.

image15

Payment Form Settings

  • To set up a payment form, navigate to the WordPress Admin Dashboard → WP EASYPAY→ Create Payment Form.

image20

image9


Note: While creating the Payment Form, Donation Recurring and Subscription Payment are not available for Cash App and ACH Debit.


Display form in the Front-End

  • WP EasyPay Gutenberg Block.
  • Navigate to the WordPress Admin DashboardPagesAdd New.
  • Click on the + button in the page editor to add a new block.
  • In the add new block window, search for the WP EasyPay Form.
  • Click on the WP EasyPay Form to add the WP EasyPay block.

image22


Note: Multiple forms on a single page are not supported; each form should be on different pages


  • The WP EasyPay Form block has been added.

image28

  • Select the Payment Form from the drop-down menu.

image16

Cash App

  • Go to your website.
  • Open the WP EasyPay Form page.
  • Enter the Form Information and select the Amount to be paid.

image25

  • Now select the Cash App option.

image14

  • And click the Cash App Pay Button.

image18

  • Once you click the Cash App Pay button, a window will appear with the QR Code.

image34

  • Scan the QR Code with your phone.
  • A link will appear, click that link, and you will be redirected to the transaction status.
  • The square will ask for approval if it is connected with the test payment.

image8

  • Once approved, the transaction will proceed to the sandbox.

image12

  • On the front end, the user can also view the status of the payment.

image11

  • And now, the user can also view the transaction on the sandbox.

image17

  • Otherwise, if the square is connected with Live payment, it will redirect to the mobile application, and then the user can proceed with their transaction.

ACH Debit

  • Go to your website.
  • Open the WP EasyPay Form page.

image29

  • Enter the Form Information and select the Amount to be paid.

image24

  • Select the ACH Debit.

image1

  • Click the Pay with Bank Account button.

image30

  • A new window will open with a popup.
  • Click the Continue button.

Connect your account

  • Select the desired bank.

desired bak

  • Now click Continue.

authenticate with chase

  • A new tab will open where it will ask for credentials.


Note: During the testing, the credential and verification codes are not required to click the buttons on each page.


  • Click the Sign In button.

Sign In button

  • Click the Get code button.

Get code button

  • Click the Submit button.

  • Select and click the checkbox of any available account.

available account

  • Now click the continue button.

continue button

  • Now select the Terms and Conditions checkbox.

image32

  • And click Connect account information button.

image31

  • After that, a new popup will appear stating the Account is linked to square successfully.

image19

  • Click the Continue button.

image4

  • Once you click the Continue button, the payment will be transacted, and a confirmation will appear on the front end.

image27

And as always, if you have any questions or comments, please don’t hesitate to get in touch with us!

Thank you for using WP EasyPay

WP Easy Pay v6.2.0 – Release Notes Blog

WP EasyPay v6.2.0

We are excited to announce the launch of WP Easy Pay v6.2.0. The new update features compatibility and support for AfterPay, a digital payment platform offered to online shoppers that allows them to delay payments on purchases. Users can make weekly payments on items purchased until they are paid in full.

WP EasyPay v6.2.0

We have also added new functionality to WP Easy Pay that includes:

Let’s talk about why we added support for AfterPay in WP Easy Pay.

Customers can sign up for a free AfterPay account, shop at select online retailers, and then use AfterPay to make purchases. AfterPay is an easy, convenient payment method for online shoppers.

If you choose to add AfterPay as your payment method at checkout, you can accept Square payments and also sell your products to customers on a budget. The shop now, pay later option allows your customers to pay for their item over 6 weeks without paying any interest.

Square Subscription API

Subscriptions enable sellers to generate a reliable cash flow and recurring revenue to grow their businesses. Sellers can easily create subscription plans and automatically charge customers on a recurring basis.

Benefits of integrating the Subscriptions API in your application include:

  • Simplified billing – Subscription billing can be hard, but Square has simplified the experience. You do not need to worry about when to charge a customer, who has paid, and who has not paid for their subscriptions. Square follows up with your customers based on the subscription plan by sending an invoice to the customer’s email address or automatically charging the customer for the subscription.
  • Seamless customer, card, and invoice management – You are often concerned about creating and managing customers, customer cards, and invoices when offering subscription services. The subscriptions API integrates with the rest of the Square platform, including APIs such as Customers and Invoices, which solve these problems.
  • Invoices are available in the Square Seller Dashboard – A seller can review the invoices generated by subscriptions in the Square Seller Dashboard.

Square Web Payments SDK

The Square Web Payments SDK supports various payment methods for a given payment scenario with a seller. The Square Web Payments SDK is a JavaScript browser-client SDK that provides a secure payment-card entry method, along with other secure payment methods. The SDK is the client part of the client/server Square payment solution.

The following payment methods are available to your application to accept payment with the Web Payments SDK:

Please read our technical documentation or visit our support channels for more information. 

Thank you for using WP Easy Pay.

WP EasyPay v5.0 Release Notes – New Features & Updates

WP EasyPay v5.0 release notes - New Features & Updates

Hello Readers!

We’re excited to announce the release of WP EasyPay Version 5.0, which focuses on new features and updates.

WP EasyPay v5.0 release notes - New Features & Updates Banner

Let’s have a look at the latest features introduced in this release:

  • Donation Goal
  • Partial Refund Option
  • Subscription Handling
  • Email Editor
  • Sign Up Fees

Donation Goal

  • To enable the donation goal functionality, the user must select the donation payment type in the payment form and click the enable goal radio button from the form settings.
    donation goal select payment
  • The newest functionality of setting a donation goal allows the user to set donation collection campaigns. The feature provides a minimalist and well-structured donation goal functionality. When enabled, the plugin will showcase a progress bar in the payment form, and the bar will update in real-time with each transaction. 
  • To set the amount for the donation field has been added just beneath the donation goal activation button, the user can simply define the donation amount they want to collect, and the plugin will fetch and display the amount on the front-end with the progress bar.

donation goal start

  • As the donation goal option is enabled, the plugin will showcase the progress bar for the donation goal on the payment form.
  • Along with each transaction, the progress bar automatically updates and displays the amount received as an integral part of the donation goal. The plugin will also update the remaining amount displayed beneath the progress bar that is to be collected from the remaining donation amount.

donation goal target

  • The activation button for the goal message consists of a text field that has been integrated from the message that can be set to display when the donation goal is easily achieved.

enable goal message

  • Once the donation campaign proceeds and the set amount is achieved, the plugin will instantly close the payment form and popups a message that has been set in the donation goal message field.

thanks for donation contribution

  • The message will also be displayed if the form is set in the pop-up view; the plugin will dynamically display the message is based on how the payment form is set either in the simple or pop-up view.

popup-thank your for donation contribution

  • Users can easily set the plugin to keep collecting the donation amount even after achieving the goal. Allowing this functionality will not close the payment form after the goals have been achieved.
  • The option to close the payment form once the goal has been achieved needs to be deactivated by unchecking the radio button to enable the functionality.

close when goal acheived

  • The progress bar will update the donation amount on the front-end screen, and the plugin keeps collecting the donations as per the user preferences. 

donation goal target acheive

  • Accordingly, the goal can also be reset, and the plugin will effectively reset the progress and amount on the front-end screen. The functionality can be completed by clicking the reset you goal button.

reset goal

  • Simultaneously, the button will be displayed after the first goal has been successfully achieved.
  • Additionally, clicking the button will simply reset the goal and update the amount that needs to be collected for donation purposes if you have included another amount on the same payment form.

donation goal target

Partial Refund Option

  • A newly added utility of partial refunds has been added to the plugin to improve payment processing functionality further.
  • The functionality will enable the user to give out partial refunds of the payments received from the plugin and cover all the aspects of the plugin’s payment types, such as simple payment, donation payment, donation-recurring payments, and subscription payments. 
  • An additional field gets added in which the amount which will be refunded can be defined as the amount that can be refunded in whole numbers or decimal points. 
  • The plugin will highlight the amount provided in the field on the refund payment button.

partial payment refund now

  • A detailed and comprehensive functionality has also been implemented as the plugin displays the collect amount. And it also highlights the amount that has been refunded from the actual amount.
  • A field has been implemented in which the amount will be refunded that can be defined. The amount can be refunded in whole numbers or decimal points. 
  • The plugin will display the amount included in the field on the refund payment button.

partial payment refund now

  • After the refund button is clicked, the plugin will highlight a prompt message window to confirm if the user wants to proceed with the refund.

partial payment refund confirmation

  • Once the refund is confirmed, the plugin automatically updates the actual amount left after deduction of the refund, and it will highlight the refunded amount in the reports

partial payment refund detail

  • A refund ID  will also generate and update in the particular transaction report. It can also calculate the total number of refunds with transaction receipts generated in the square account dashboard.

refund id

  • The refund will be displayed in the square dashboard with the details of the payments and with refund ID initials highlighted in the transaction receipts in the square account.

refund

Subscription Handling

  • Subscription Handling functionality enables users to pause or cancel the subscription. Still, they have provided the new functionality to renew the subscription by simply clicking on the renew button in the new update. 
  • Subscription payment is made by the plugin, and the subscription details are generated in the square dashboard and subscriptions tab. Hence, if you want to access an individual subscription will show the option to handle the details of the subscription.

seheduled payment

subscription action

  • If the user wishes to pause the subscription, the user can click on the pause button to pause the subscription.
  • If you want to cancel the subscription, the user can click on the cancel button. As the cancel button is clicked, the plugin will seamlessly update the current status of the subscription to cancel, and Renew Now button will be displayed.

edit item

  • If you want to renew the subscription, the Renew Now button must be clicked. The plugin will update the transaction record and displays the renew transaction in the table when the button is clicked.

related transection completed

  • Furthermore, the renewed subscription transaction will also be displayed on the square dashboard with the name of ‘scheduled payment .’ the plugin will also include the initials of the original transaction ID in the scheduled payment to be computed with the original subscription transaction.

seheduled payment

Email Editor

  • A new email editor has been implemented in the plugin, enabling users to generate detailed transaction receipts sent by email to the user and the admin as soon as the transaction is successfully achieved.
  • A new email editor has been added for both the admin email and the user email templates.
  • Add transaction-related tags in the email and edit the email with various customization options provided by the email editor.
  • The user can simply set heading size, select the bold text, select the italic text, or use the bold and italic style collectively. The user can also incorporate hyperlinks in the body text; the numbered list is also provided to be set and sent in the message box.

message body

  • When a transaction is successfully achieved via the plugin, the plugin will instantly generate an email message and add all the relevant details entered in the message body.

transection receipt

Sign Up Fees

  • The plugin has an extra functionality of signup fees, and this additional charge is only applicable to the donation recurring and subscription payment types.
  • Suppose you want to enable this additional charge. In that case, you must open the additional charge tab in the payment form settings. The additional charge field will also be displayed when the donation recurring and subscription payment type is selected.
  • To allow the additional charge, one has the name of the additional charge, and in another field, the amount can be defined, which will be added with each donation recurring and subscription payment.

signup fee

  • When the user opens the payment form where this additional charge is activated, they will display the additional signup fees charges in the payment section of the payment form.

payment information

  • The additional sign-up fees charge will also be highlighted in the transaction report.

signup fees

Read the technical documentation to understand the setup and configuration aspects of the afore-mentioned newly added features. 

WP EasyPay Is Launching Version 4.0 With “Nine” New Premium Features

WP EasyPay is is launching new features in version 4.0

new premium features

Hello WP EasyPay users,

We’re happy to announce the release of WP EasyPay Version 4.0. To give our users what they want, we always keep an eye on feedback comments, support emails, and forums. Like always, our team of dedicated experts has worked hard on creating features that will give you optimum performance and an unparalleled user experience.

If you haven’t downloaded WP EasyPay, you can visit WP EasyPay on WordPress.

You can visit WP EasyPay pricing plans here.

What’s New in Version 4.0?

Add “Upload” Fields Using Drag-&-Drop Functionality

You can now easily add an ‘UPLOAD FIELD‘ to your payment form using the drag & drop functionality. Adding this option will give your users the option to upload any important document to your payment form.

Date and Time Field With Integrated Calendar Feature

Adding a ‘Date and time’ field to your payment form will allow your users to select a date and time before submitting their form. Users can also click on the ‘calendar button’ to load the calendar and select any date, month, or year.

Details

Tabular Products Feature

Add multiple tabs on your payment form featuring products that you would like to sell online. Each tab comes with a variety of options like Product Picture, Product Price, Set Label, and Set Quantity.

Item Quantity-to-Price Adjustment

Users can select the quantity of the product given in any payment type, and the plugin will automatically update the price point according to the set quantity.

Details

Sandbox OAuth Support

WP EasyPay is now integrated with the Square ‘Sandbox OAuth’ feature which enables you to connect to the Square sandbox account without the need to copy credentials from the developer app into the plugin.

Transaction ID Tag Added in Email Notifications Feature

You can now add the ‘Transaction ID’ tag to emails sent by the admin.  You can add this tag by navigating to the email notification settings.

Export Transaction Reports

You can now export and download transaction reports with an additional ability to select fields as per your requirement.

This means that you can either export reports with complete information or select the fields that you require. These fields include First Name, Last Name, Email Address, Transaction type, Transaction ID, Refund ID, Charge Amount, Transaction Status, and Form ID.

Add Shortcode Using Gutenberg Block 

WP EasyPay now supports Gutenberg, making it easy for you to add your payment form’s shortcode on any page or post. WP EasyPay will automatically fetch and synchronize the available payment forms once the shortcode has been pasted in the Gutenberg block.

Details

Submit an Idea Tab (Productstash)

WP EasyPay’s integration with ‘ProductStash’ gives you the ability to collect reviews, comments, and ideas from your valued customers.

Read the technical documentation on how to configure the settings for the above-mentioned features.