Our team has been working continuously to enhance WP EasyPay, and we’re happy to announce that the newest release does just that! New features abound in WP EasyPay v6.3.
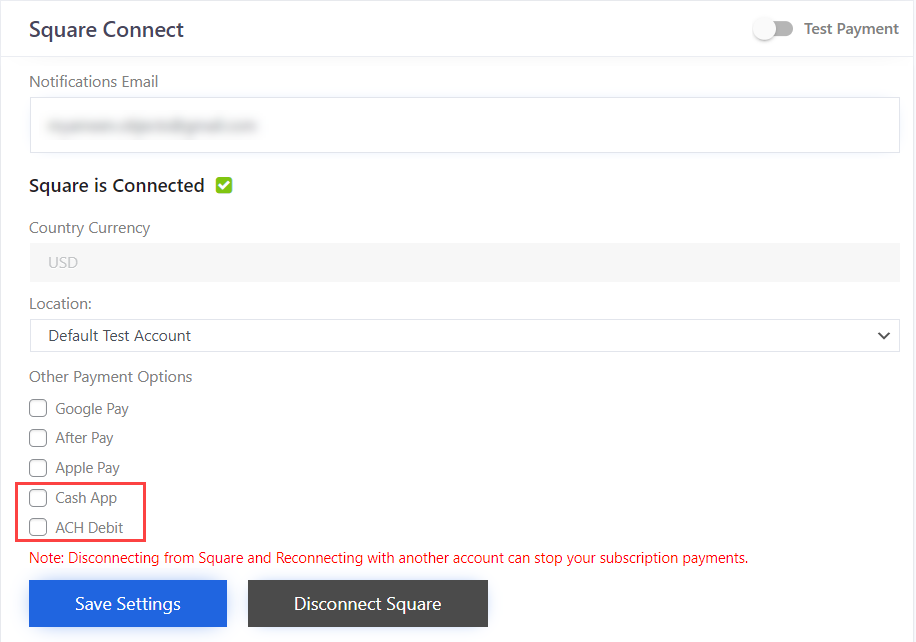
With the new Cash APP feature, you can transfer money to a recipient by searching for them in the app using their $Cashtag.
The WP EasyPay form also now supports a new payment method called ACH Payment, which lets consumers pay directly from their bank account.
Here is the complete list of features added to the new release:
Cash APP – The WP EasyPay form includes a checkbox for this purpose. You can transfer money to a recipient by searching for them in the app using their $Cashtag. The recipient will be notified via email or text message if you choose to send money. You can request payment by sending an email.
Note: Cash App payments are supported only in the United States. Only buyers in the United States can choose Cash App as a payment option.
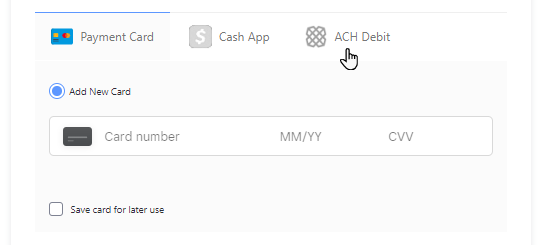
ACH Payments – ACH Payment is a new feature that allows users to pay with their bank account on the WP EasyPay form. After choosing the bank, the user has to select their login information.
Payment Form Settings
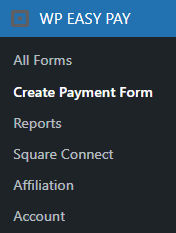
- To set up a payment form, navigate to the WordPress Admin Dashboard → WP EASYPAY→ Create Payment Form.
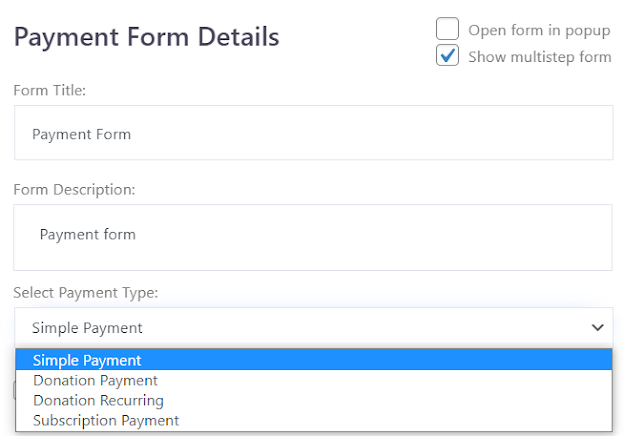
Note: While creating the Payment Form, Donation Recurring and Subscription Payment are not available for Cash App and ACH Debit.
Display form in the Front-End
- WP EasyPay Gutenberg Block.
- Navigate to the WordPress Admin Dashboard → Pages→ Add New.
- Click on the + button in the page editor to add a new block.
- In the add new block window, search for the WP EasyPay Form.
- Click on the WP EasyPay Form to add the WP EasyPay block.

Note: Multiple forms on a single page are not supported; each form should be on different pages
- The WP EasyPay Form block has been added.

- Select the Payment Form from the drop-down menu.
Cash App
- Go to your website.
- Open the WP EasyPay Form page.
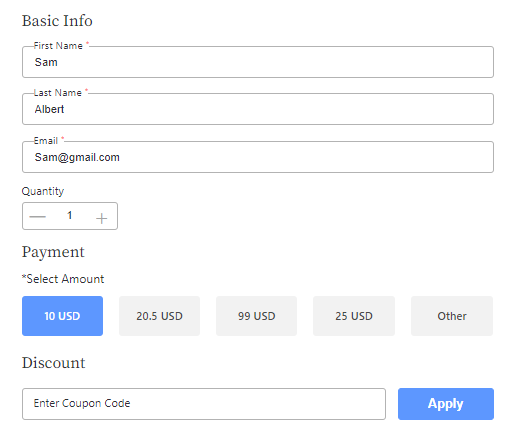
- Enter the Form Information and select the Amount to be paid.
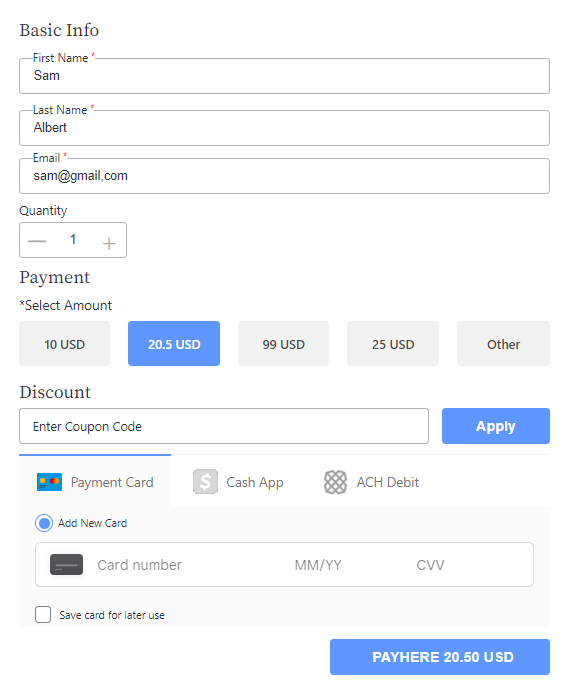
- Now select the Cash App option.
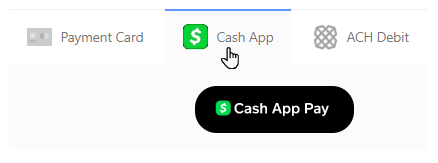
- And click the Cash App Pay Button.
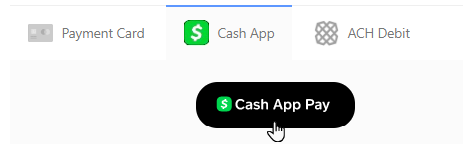
- Once you click the Cash App Pay button, a window will appear with the QR Code.
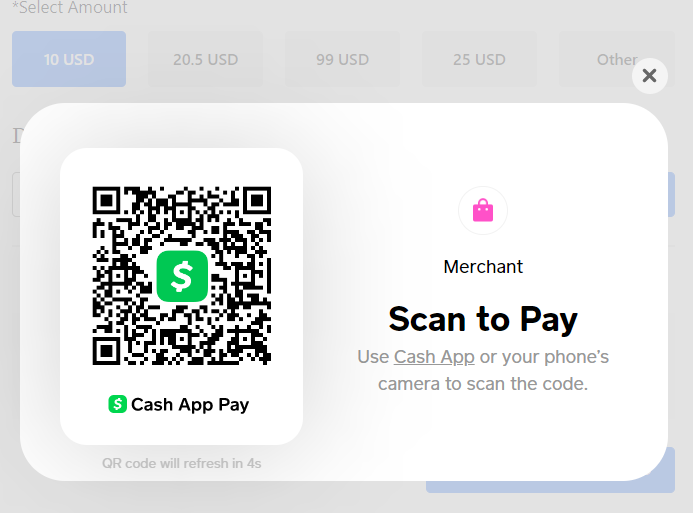
- Scan the QR Code with your phone.
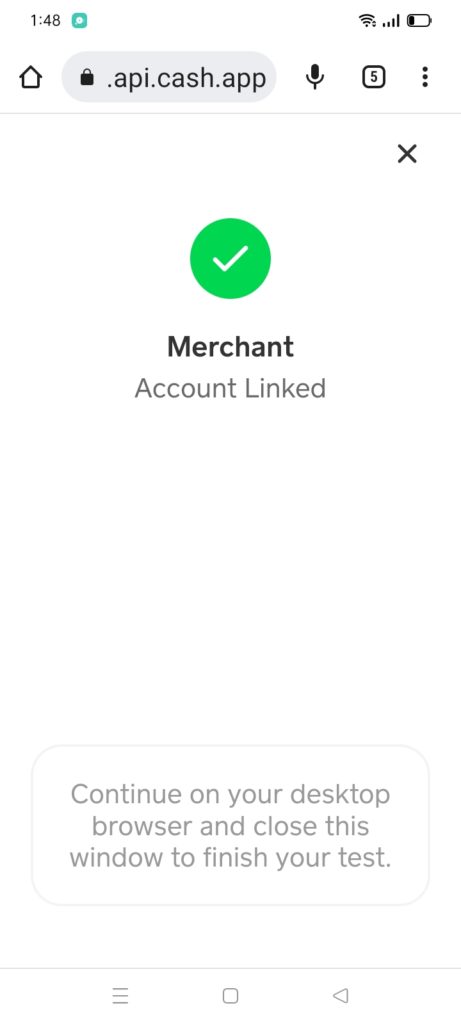
- A link will appear, click that link, and you will be redirected to the transaction status.
- The square will ask for approval if it is connected with the test payment.

- Once approved, the transaction will proceed to the sandbox.
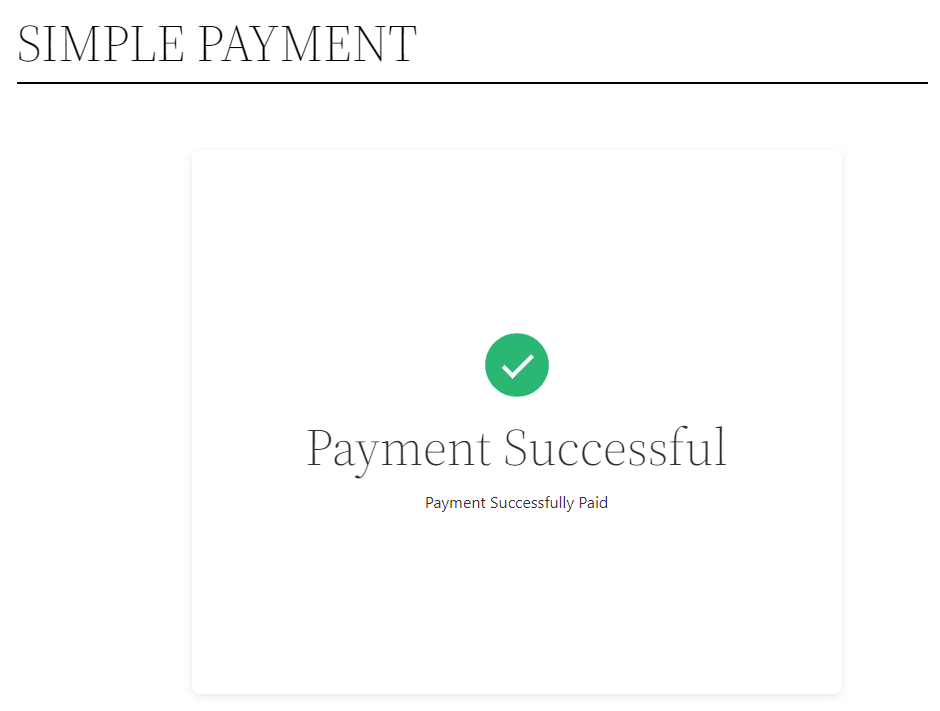
- On the front end, the user can also view the status of the payment.
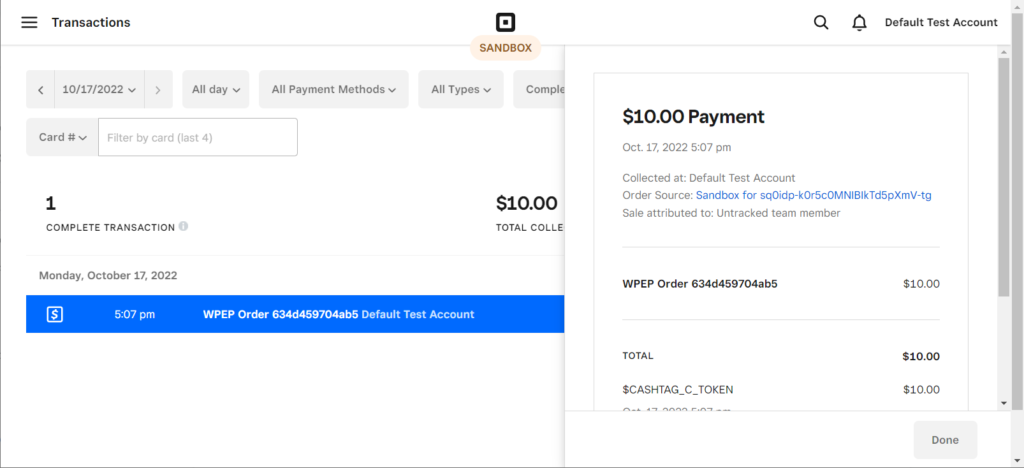
- And now, the user can also view the transaction on the sandbox.
- Otherwise, if the square is connected with Live payment, it will redirect to the mobile application, and then the user can proceed with their transaction.
ACH Debit
- Go to your website.
- Open the WP EasyPay Form page.
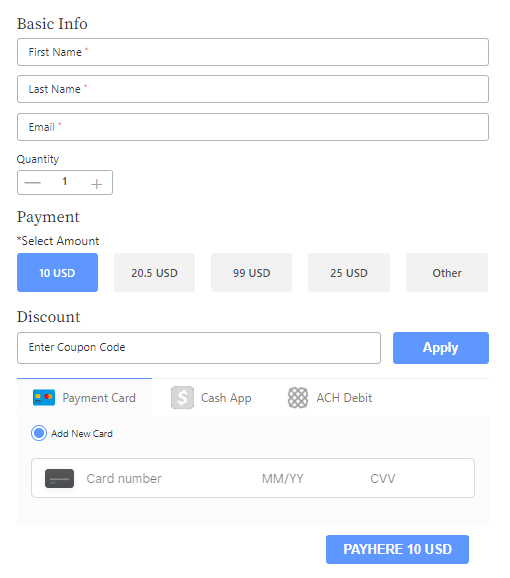
- Enter the Form Information and select the Amount to be paid.
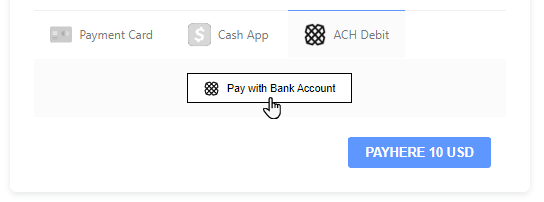
- Select the ACH Debit.
- Click the Pay with Bank Account button.
- A new window will open with a popup.
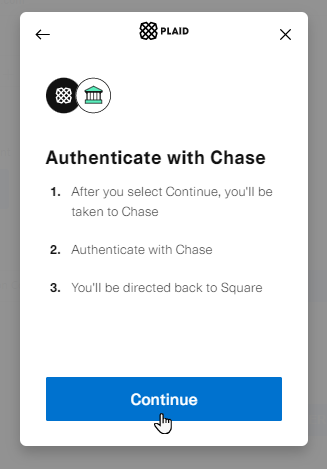
- Click the Continue button.

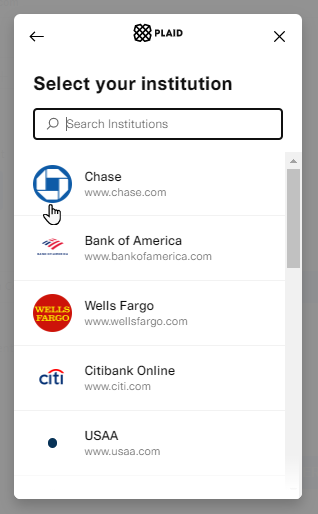
- Select the desired bank.
- Now click Continue.
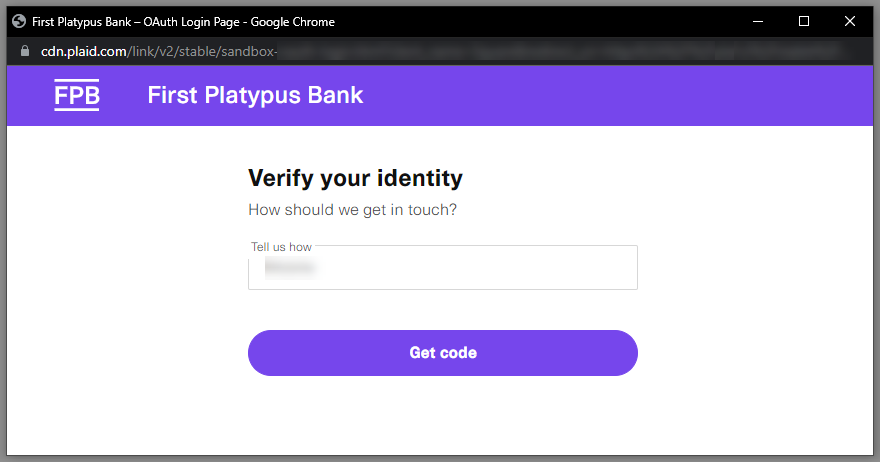
- A new tab will open where it will ask for credentials.
Note: During the testing, the credential and verification codes are not required to click the buttons on each page.
- Click the Sign In button.

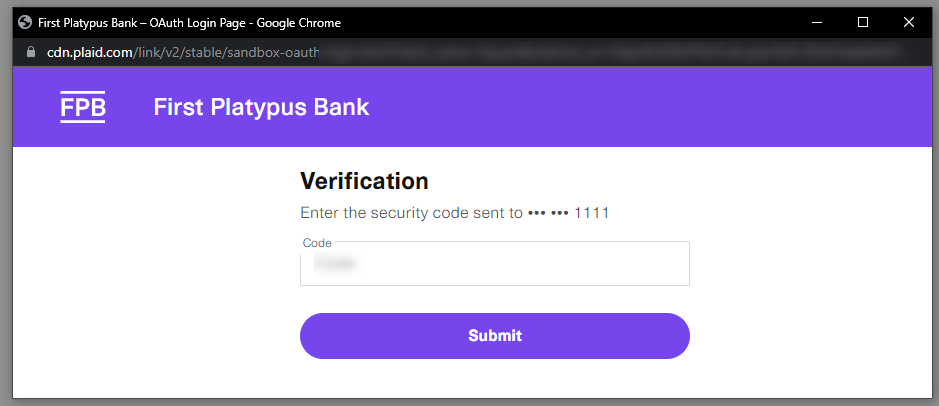
- Click the Get code button.
- Click the Submit button.
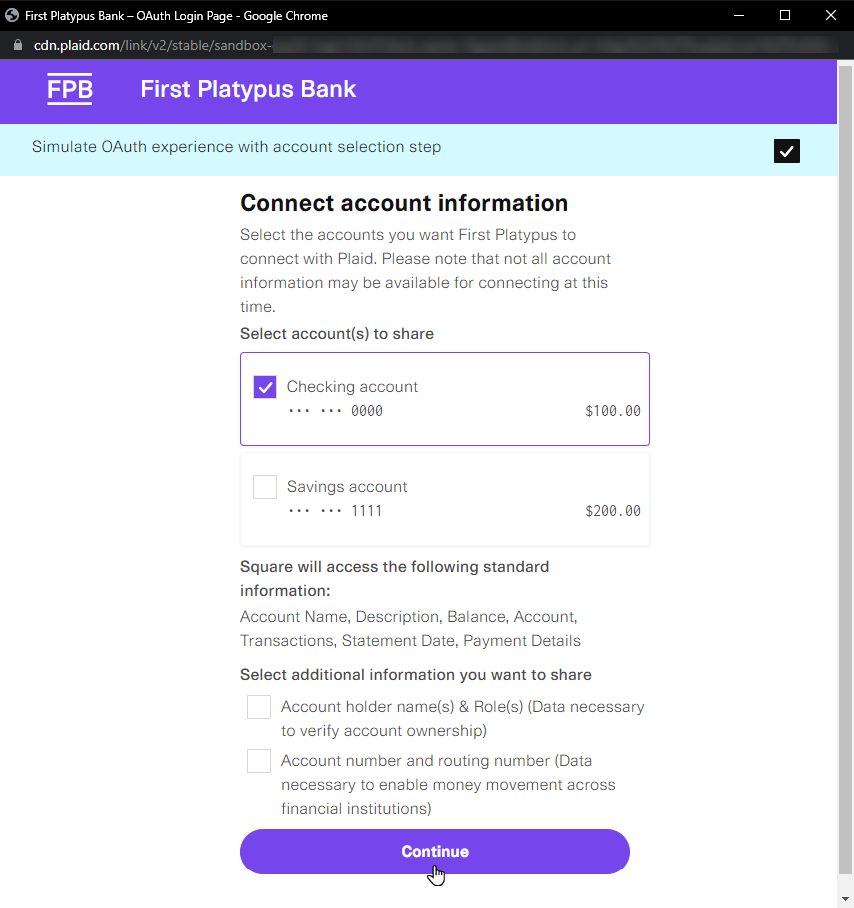
- Select and click the checkbox of any available account.
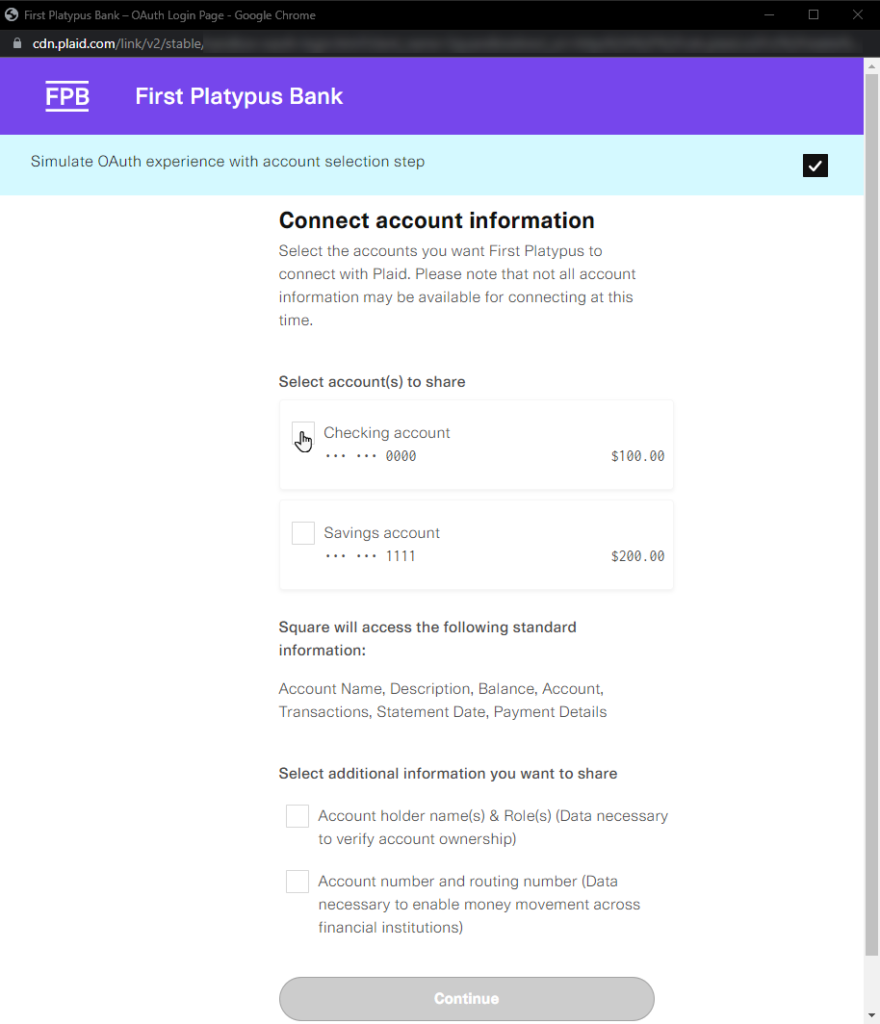
- Now click the continue button.
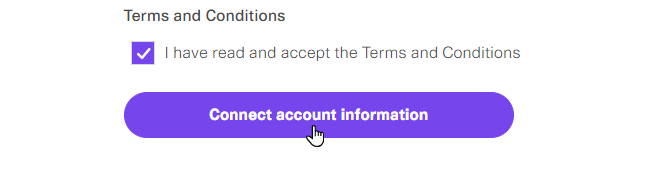
- Now select the Terms and Conditions checkbox.

- And click Connect account information button.
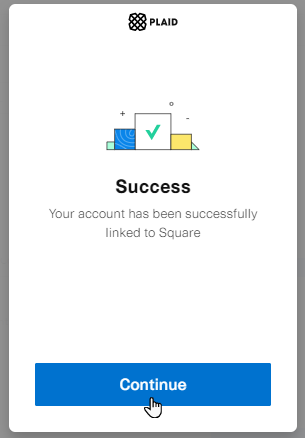
- After that, a new popup will appear stating the Account is linked to square successfully.
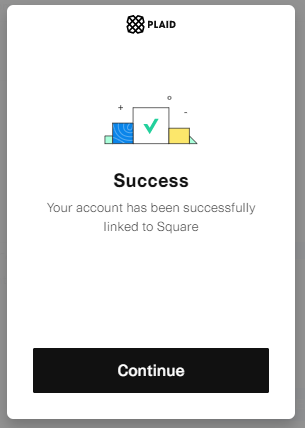
- Click the Continue button.
- Once you click the Continue button, the payment will be transacted, and a confirmation will appear on the front end.
And as always, if you have any questions or comments, please don’t hesitate to get in touch with us!
Thank you for using WP EasyPay
