
According to EMARKETER, global Buy Now Pay Later adoption increased by 34.5% in 2025, reflecting the growing demand for flexible payment options among online shoppers.
Buy Now Pay Later (BNPL) allows customers to split purchases into smaller installments instead of paying the full amount upfront. By reducing the immediate cost of a purchase, BNPL helps businesses increase conversions, reduce cart abandonment, and encourage larger orders.
If you run a WordPress website, you can enable BNPL using a payment plugin that supports providers such as Square Afterpay. Instead of building a custom checkout, you simply activate the payment option and allow eligible customers to choose installment payments during checkout.
In this guide, you’ll learn how Buy Now Pay Later works in WordPress, what you need before enabling it, and how to set up Afterpay using WP Easy Pay.
What is Buy Now Pay Later in WordPress?
Buy Now Pay Later (BNPL) is a flexible payment solution that allows customers to purchase products immediately and pay in smaller, scheduled installments rather than paying the full amount at once.
During checkout, customers select Buy Now Pay Later as their payment method. They then choose an installment plan offered by the BNPL provider, complete a quick eligibility check if required, and finish the purchase within minutes.
Once the transaction is approved, the BNPL provider settles the payment to the merchant according to its settlement schedule, while the customer repays the provider in installments. If you’re unfamiliar with how transactions flow behind the scenes, understanding how payment processing works can give you better insight into BNPL systems.
One of the most popular BNPL providers is Afterpay, which is available through Square in supported countries. If your Square account supports Afterpay, you can enable it on WP Easy Pay payment forms without requiring a separate integration.
Benefits of Offering Buy Now Pay Later on Your WordPress Site
Adding a Buy Now Pay Later service to your payment options on your WordPress site directly helps turn more visitors into paying customers.
- Reduce Checkout Abandonment: Large one-time payments often discourage customers from completing a purchase. Splitting the cost into smaller installments makes purchases feel more affordable and encourages more customers to complete the payment form.
- Increase average order value (AOV): Customers are more willing to purchase premium products or add additional items when they can spread payments over several installments.
- Give Customers More Flexible Payment Options: Many Buy Now Pay Later plans offer eligible customers interest-free installments, giving them greater flexibility to manage purchases without paying the full amount upfront.
- Competitive advantage: Many WordPress sites still don’t offer Buy Now Pay Later options. Adding it puts you ahead of competitors who accept cards as the only method for online payments.
Supported Buy Now Pay Later (BNPL) Providers for WordPress
Several Buy Now Pay Later (BNPL) providers integrate with WordPress, including Afterpay, Klarna, Affirm, Zip, and PayPal Pay Later. However, availability depends on your payment processor and country.
If you use Square, you can enable Afterpay directly through supported integrations like WP Easy Pay. This approach lets customers select Afterpay during checkout without installing a separate BNPL plugin or managing another payment provider.
How to Set Up Buy Now Pay Later in WordPress Using WP Easy Pay
There isn’t just one way to add Buy Now Pay Later in WordPress, especially if you’re looking for a Buy Now Pay Later plugin WordPress solution. But the easiest way to add Buy Now Pay Later functionality to your WordPress site is by using WP Easy Pay – the #1 Square WordPress Payment Form Plugin.
Note: To integrate BNPL features, you must have the WP Easy Pay Business plan. Upon purchase, you will receive an email containing a ZIP file and its license key. Download the file and keep it, along with the license key, for later use.
Here’s how you can add the BNPL plugin in WordPress and create a Buy Now Pay Later payment form
Step 01: Install WP Easy Pay Plugin
- Go to your WordPress dashboard, then head to Plugins → Add Plugin.
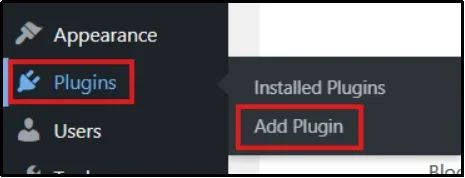
- In the top left, click on Upload Plugin.
- Go to Choose File and select the appropriate ZIP file.
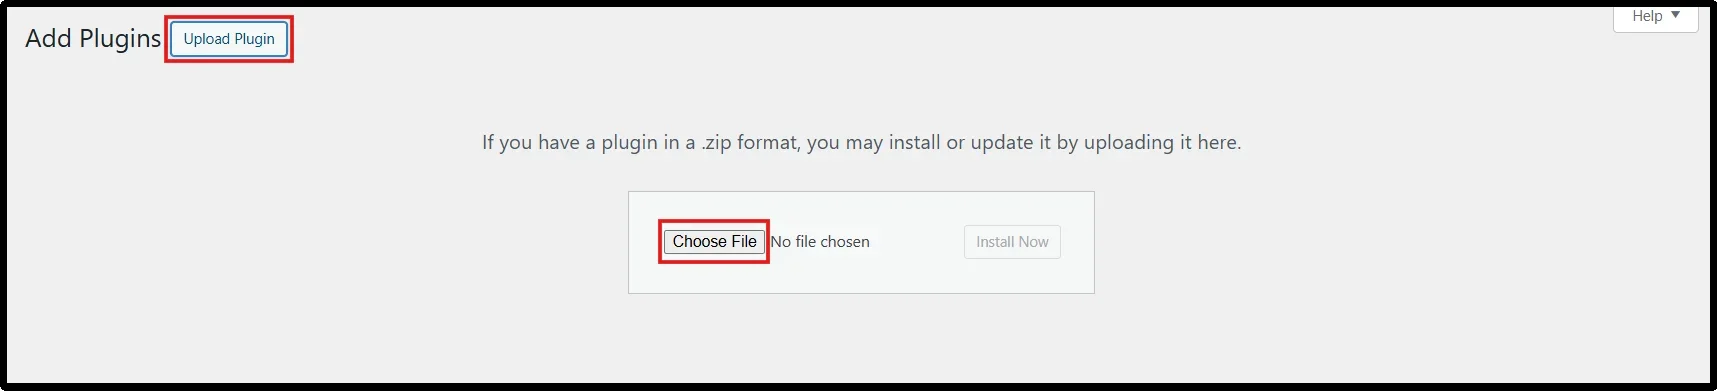
- Now click Install Now, then click Activate after a few seconds.
- You will be redirected to the license key form.
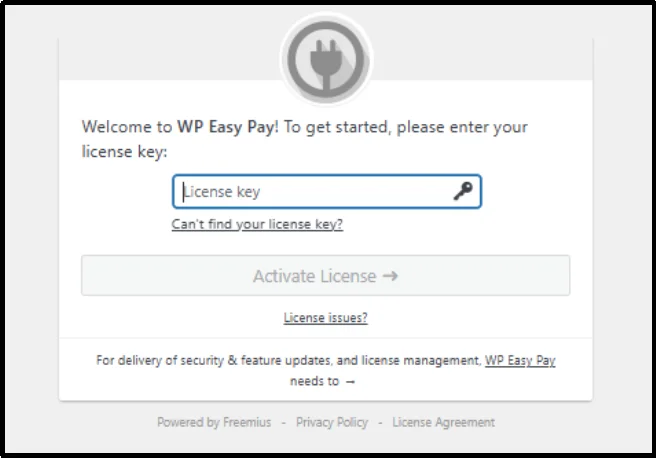
- Paste your license key, then click Agree & Activate License.
You have successfully installed WP Easy Pay Business.
Step 02: Connect Your Square Account and Enable Afterpay
WP Easy Pay uses Square’s secure infrastructure, so every transaction stays protected and reliable. To connect the Square account, follow the steps below:
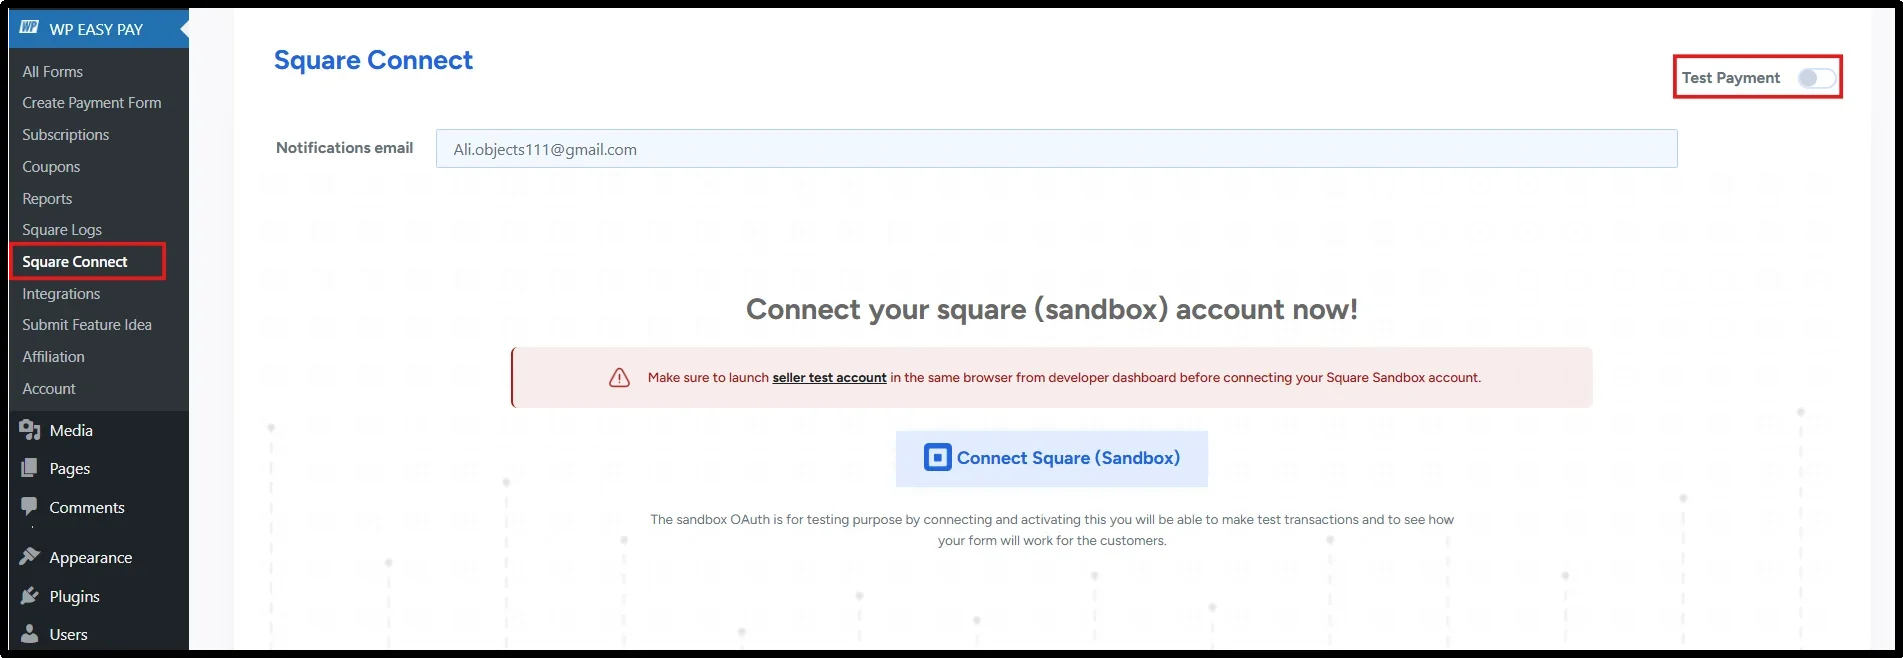
- Open your WordPress dashboard and navigate to WP Easy Pay.
- Click Square Connect to connect your WordPress site to Square as your payment processor. Choose Sandbox for testing or Production for live transactions, then click Connect Square.
- Once redirected to the official Square page, enter your Square account login details and click Sign In.
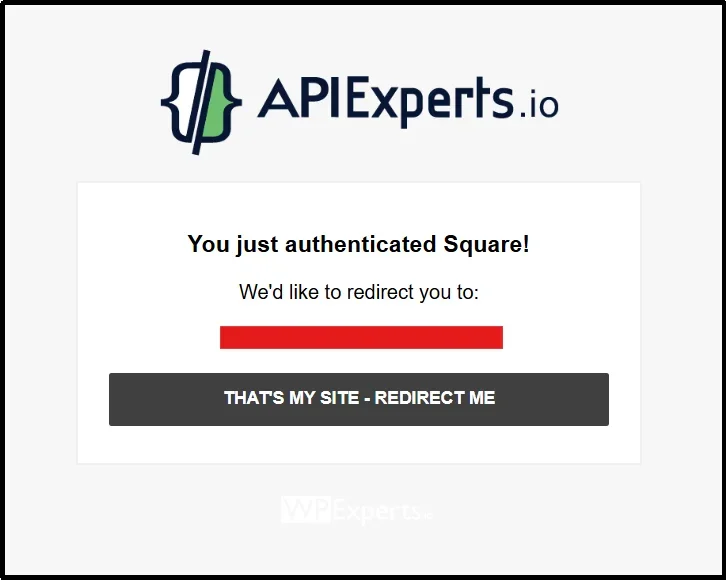
- Click Allow to authorize WP Easy Pay to connect with your Square account.
- Once authorized, click “That’s My Site – Redirect Me” to return to your WordPress site.
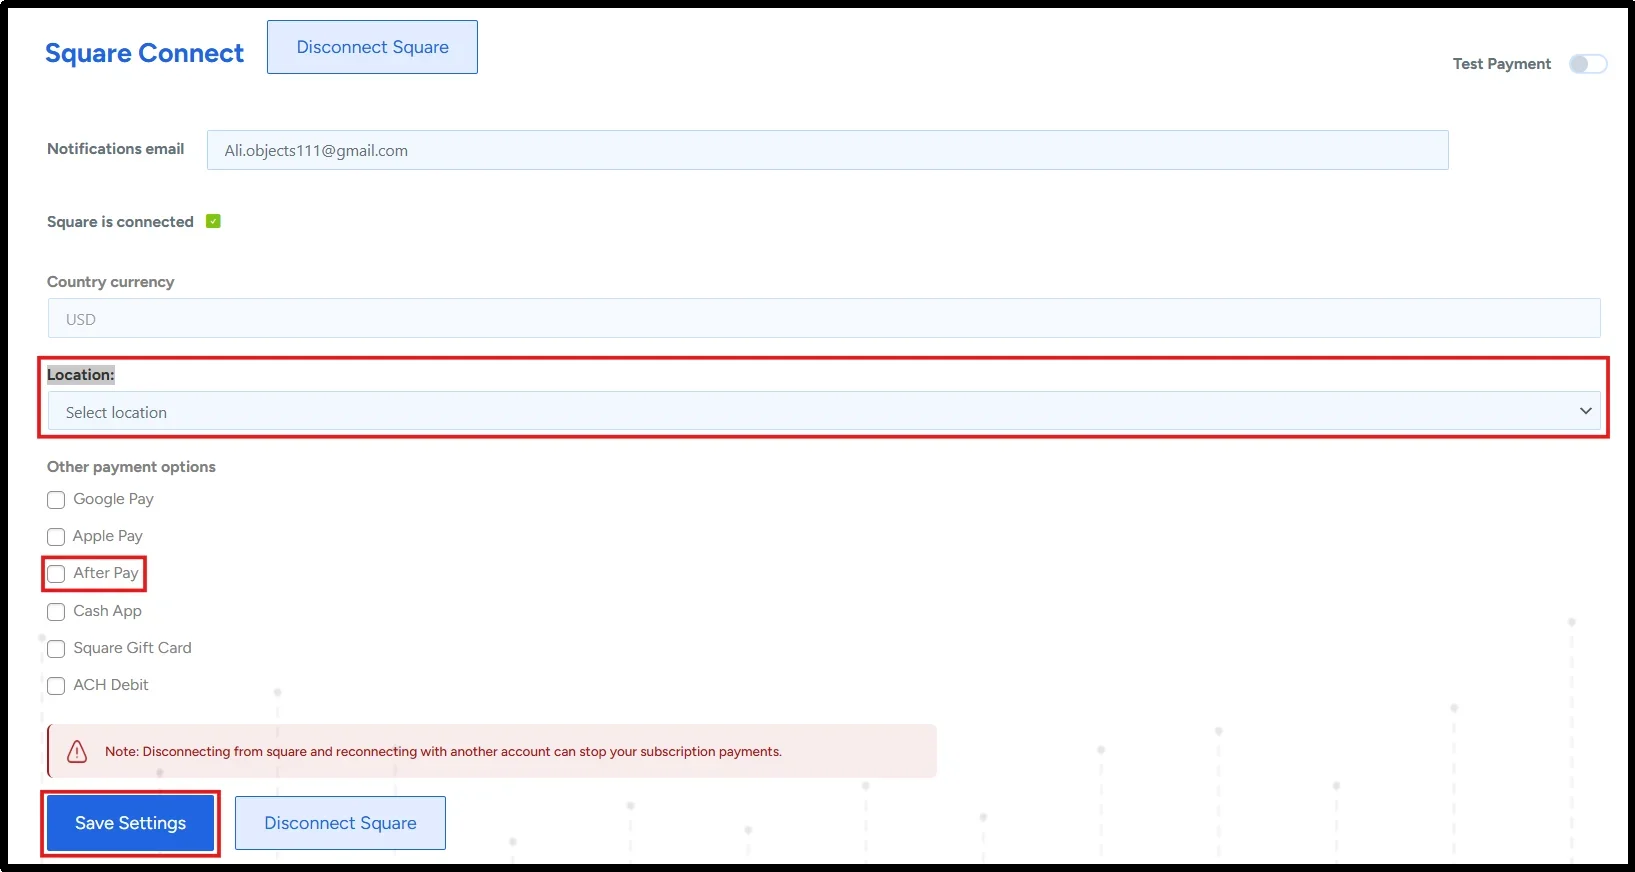
- From the dropdown menu, select your preferred Square location, select “Afterpay” as the payment method, and click Save Changes.
Note: Afterpay only appears for eligible customers in countries where Square supports Afterpay. Availability also depends on the purchase amount and customer eligibility.
Step 03: Create a BNPL Payment Form
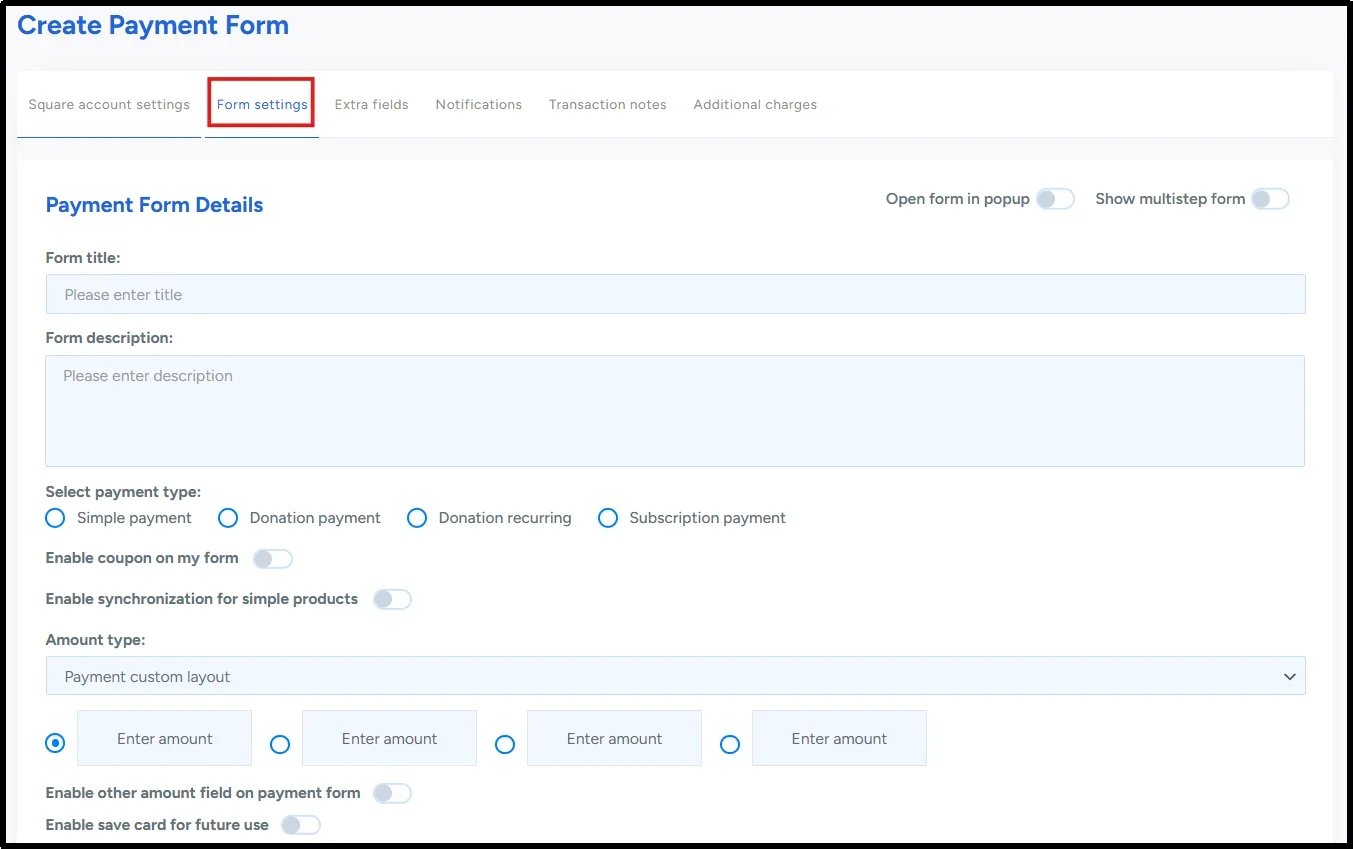
- Head to WP Easy Pay → Create Payment Form.
- Under the Form Settings tab, add all the necessary information, including form title, description, payment type, successful message, etc.
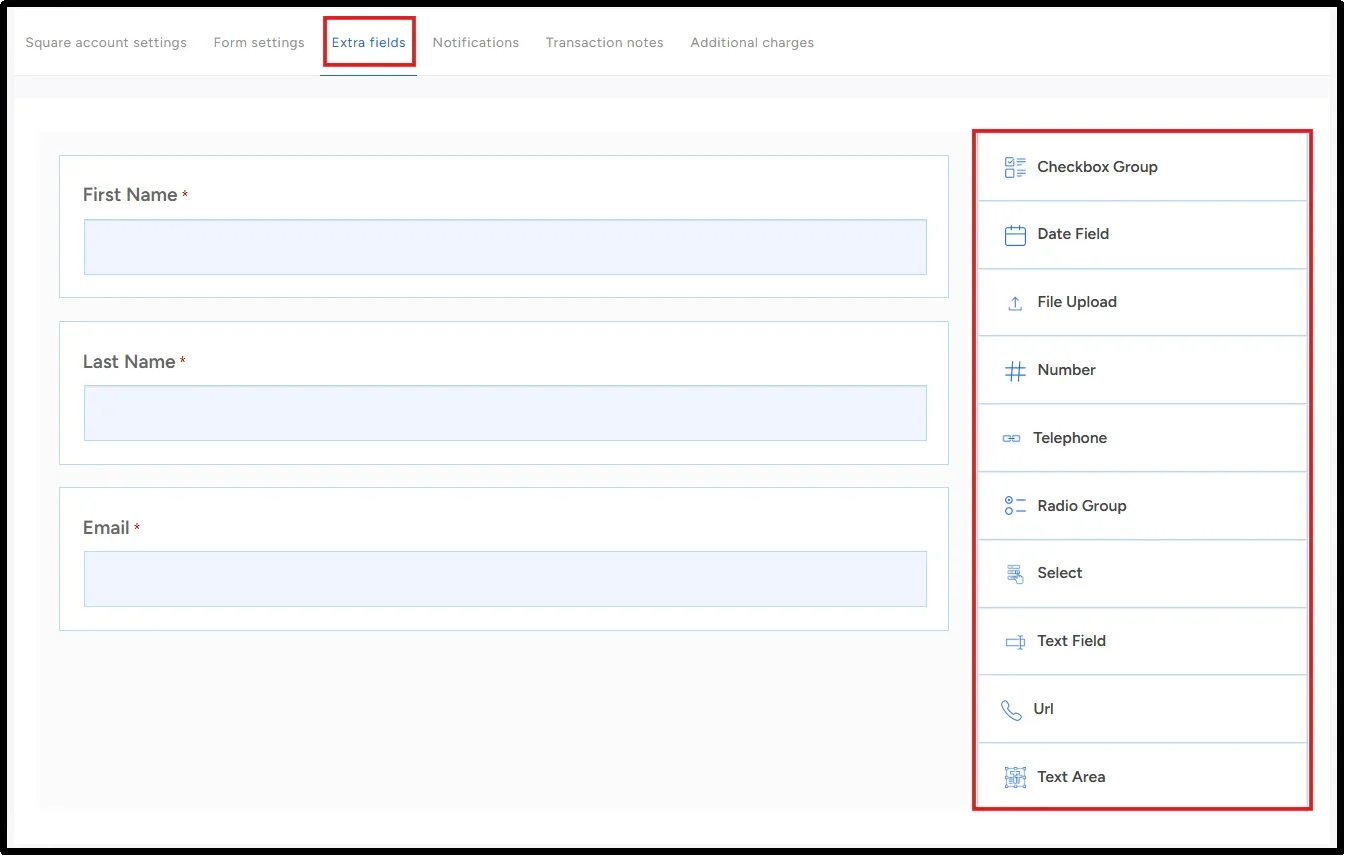
- Remember, you can customize the form further by going to the Extra Fields tab and adding more fields as per your preference (Drag-and-Drop).
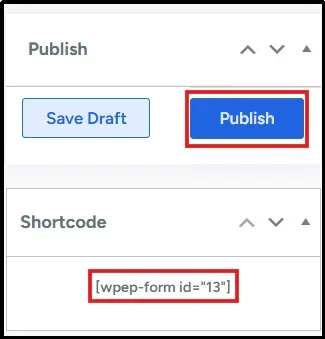
- After completing everything, double-check it and then press Publish. Also, click on the Shortcode to copy it for later use.
You can also use the same process to create other types of forms, such as recurring donations, subscription payments, or other payment forms.
Step 04: Embed the Payment Form in a WordPress Page
Now that you have created a functioning payment form, you have to embed the payment form on a WordPress page.
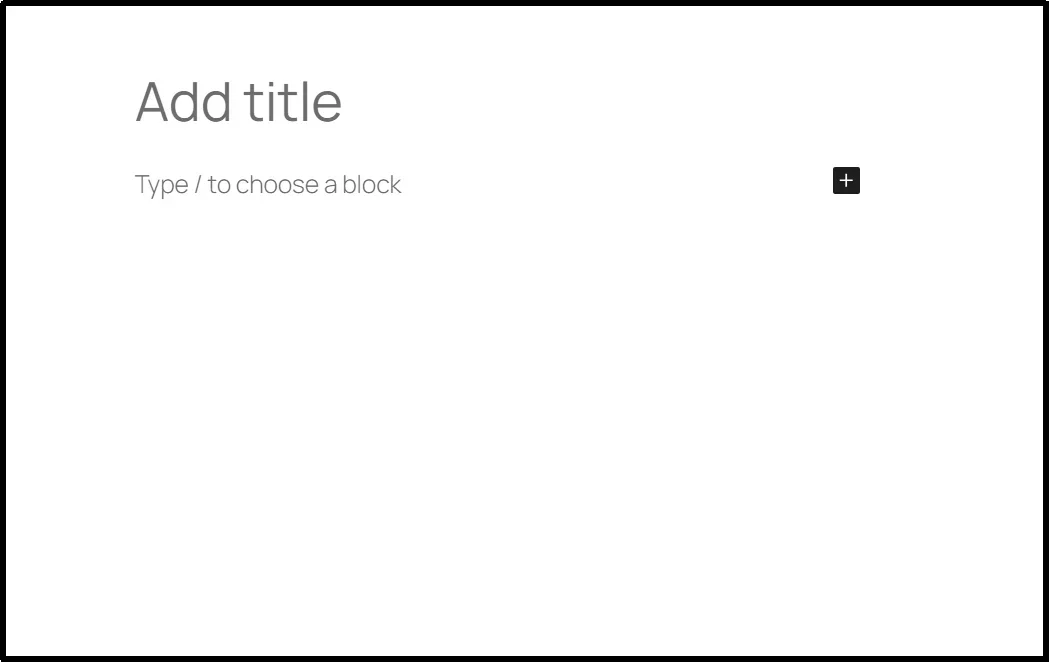
- Navigate to Pages → Add Page
- Enter your desired Page Title, in this case – Buy Now Pay Later
- In the new block, paste the Shortcode you copied earlier, or type /wpeasypay, then select your desired payment form.
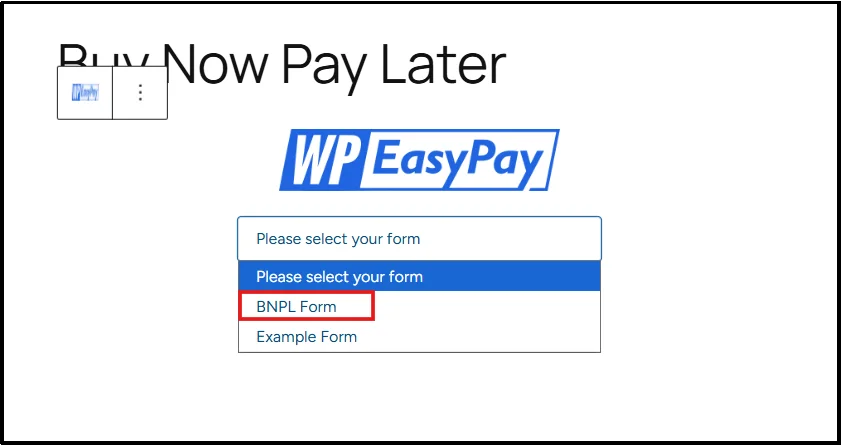
- Publish the page once you are satisfied.
Your Buy Now Pay Later payment form is now ready to accept eligible Afterpay installment payments through Square.

Congratulations! Your Buy Now Pay Later payment form is now live on your WordPress site.
Before accepting live payments, test your payment form in Square Sandbox mode to verify that Afterpay, payment processing, and confirmation messages work correctly.
Best Practices for Promoting Buy Now Pay Later on WordPress
Setting up BNPL is only half the job. How you display it matters just as much. If customers don’t notice the option, they won’t use it, and you lose the conversion benefit entirely.
In fact, many WordPress site owners unknowingly make common payment method mistakes that reduce conversions, especially when introducing new payment options like BNPL.
Here’s what actually works:
- Promote BNPL Before Customers Reach Checkout
Don’t wait until the payment form to mention BNPL. Add a small line on your product detail pages right below the price, something like “Pay in 4 installments with Afterpay.” Customers who see this early are already mentally budgeting before they even proceed to the payment form.
- Highlight BNPL on the Payment Page
Place a visible banner or notice at the top of your payment form page to remind customers that BNPL is available while choosing a payment option in the form. At this stage, a customer is already close to converting. A simple reminder can push them over the line.
- Keep Your BNPL Messaging Short
A short line like “Split into 4 easy payments” works better than a paragraph of terms. Customers want to know one thing: will this cost me less right now?
- Make Your Payment Form Easy to Access
If you’ve embedded your WP Easy Pay payment form on a dedicated page, link to it from your navigation menu or product pages. The fewer clicks it takes for a customer to reach the BNPL option, the better.
- Test Every Payment Scenario Before Launch
WP Easy Pay lets you run sandbox payments before switching to production mode. Use this to check that your Afterpay integration works correctly, the form loads properly, and the confirmation message appears as expected. Don’t launch it untested.
Increase Your Conversions with BNPL Options
High upfront costs often create hesitation during checkout, even when customers genuinely want to buy. Buy Now Pay Later removes much of that friction by spreading payments across manageable installments while allowing you to receive payment through Square according to its settlement process.
With WP Easy Pay, you can enable Afterpay in just a few steps and offer customers a more flexible way to pay without creating a complicated checkout experience.
Set up WP Easy Pay today to start accepting Afterpay installment payments, reduce payment abandonment, and give customers a more flexible way to pay on your WordPress site.
Frequently Asked Questions
Which WordPress plugins support BNPL payments?
Several WordPress plugins support BNPL, depending on the provider. WP Easy Pay is a simple option that integrates with Square and supports Afterpay without additional setup.
Does it cost extra to offer BNPL?
Yes. Merchants pay a transaction fee to the BNPL provider (such as Afterpay), similar to standard card processing fees. Rates vary by provider and agreement.
Can I enable BNPL for specific products only?
Yes. With WP Easy Pay, you can enable Afterpay on individual payment forms, giving you control over which products or services offer BNPL.
Are there any legal requirements for offering BNPL?
Yes. BNPL regulations vary by country. Make sure you clearly display payment terms and comply with local consumer credit laws where applicable.
Can I track BNPL payments in WordPress?
Yes. WP Easy Pay records payment activity in WordPress, while Square provides detailed transaction, installment, and customer information in its dashboard.
Does Buy Now Pay Later affect a merchant’s payout schedule?
No. With supported providers like Afterpay through Square, eligible merchants typically receive payment according to Square’s standard settlement schedule, while customers repay Afterpay in installments.
Is Buy Now Pay Later available in every country?
No. Afterpay and other BNPL providers only operate in supported countries. Availability depends on your payment provider, business location, and local regulations.
Do customers need approval to use Afterpay?
Yes. Afterpay determines customer eligibility during checkout. Approval depends on factors such as the customer’s account history, purchase amount, and regional availability.
