
Traditional WordPress eCommerce setups, especially those built with full shopping cart systems— often introduce unnecessary complexity: product catalogs, multi-step checkout flows, tax configurations, shipping rules, and ongoing maintenance.
Research from Baymard Institute shows that nearly 70% of online shopping carts are abandoned, often because checkout processes are too long, complicated, or require unnecessary steps.
While these systems work well for large online stores, they can feel overwhelming for businesses that simply want to accept payments quickly and efficiently.
This is where a WordPress payment form comes in.
In this article, we will show you how to set up a WordPress payment form using WP EasyPay plugin.
Ready? Let’s get started!
Why Skip the Shopping Cart?
Shopping cart plugins like WooCommerce are powerful, but for many small businesses, they introduce unnecessary technical overhead.
For many small businesses, solopreneurs, and service providers, traditional carts introduce more friction than value. Setting up a full ecommerce store often requires installing multiple plugins, configuring taxes and shipping rules, managing product pages, and ensuring PCI compliance and secure payment handling.
On top of that, carts demand ongoing updates, performance optimization, and higher hosting costs.
If you’re selling a single product, a few services, or digital assets, this level of complexity can slow you down.
WP EasyPay eliminates these pain points by replacing the shopping cart with individual payment forms. Each form represents a product or service and handles the entire payment process from price display to checkout and confirmation.
This approach is ideal for:
- Consultants and freelancers selling services
- Coaches offering sessions or packages
- Digital product creators
- Event organizers selling tickets
- Nonprofits accepting donations
- Businesses selling one or two physical products
Without the burden of a full store, selling becomes cleaner, faster, and more secure.
WP EasyPay Core Features That Make Selling Easy
WP EasyPay is built for WordPress users who want to accept payments without dealing with technical complexity. Instead of juggling multiple plugins or learning ecommerce settings, you get a focused set of tools designed to help you collect payments quickly, securely, and reliably. Each feature is purpose-built to remove friction for you and your customers.
Below are the core features that make WP EasyPay an efficient alternative to traditional shopping carts.
Seamless Square Integration
WP EasyPay connects directly to your Square account using secure OAuth authentication. This means customer payment details never pass through your WordPress website. Square processes all transactions and automatically handles PCI compliance, giving you enterprise-level security without extra setup or ongoing maintenance.
No-Code Payment Form Builder
The built-in drag-and-drop payment form builder lets you create custom WordPress payment forms without writing a single line of code. Using a simple drag-and-drop interface, you can add fields like name, email, phone number, notes, or instructions. You can set fixed prices for products or services, or allow customers to enter custom amounts for one-time and recurring donations or flexible payments.
Multiple Payment Methods
WP EasyPay supports a wide range of payment options, including credit and debit cards, Apple Pay, Google Pay, Cash App, Afterpay, and ACH bank transfers. The plugin also supports Square Gift Cards. Offering multiple ways to pay reduces checkout friction and helps increase completed payments.
Flexible Display Options
Payment forms can be added to any page or post using shortcodes or the dedicated block for WordPress block editor, Elementor, Beaver Builder, etc. For multiple pricing options, tabular payment forms display plans or packages in a clean, easy-to-compare layout, ideal for subscriptions, services, or event registrations.
Step-by-Step Setup Guide
Step 1: Install the WP EasyPay Plugin
Follow these simple steps to sell products or services on WordPress without a shopping cart using WP EasyPay.
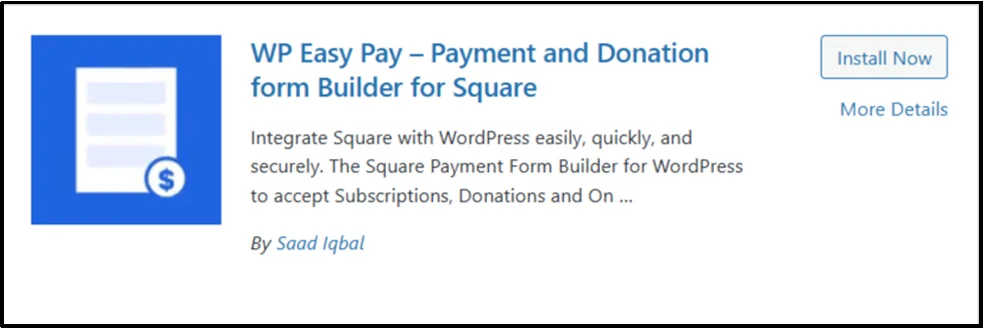
- Navigate to WordPress Admin. Go to Plugins. Click Add Plugin.
- In the search bar, type WP EasyPay.
- Click Install Now.
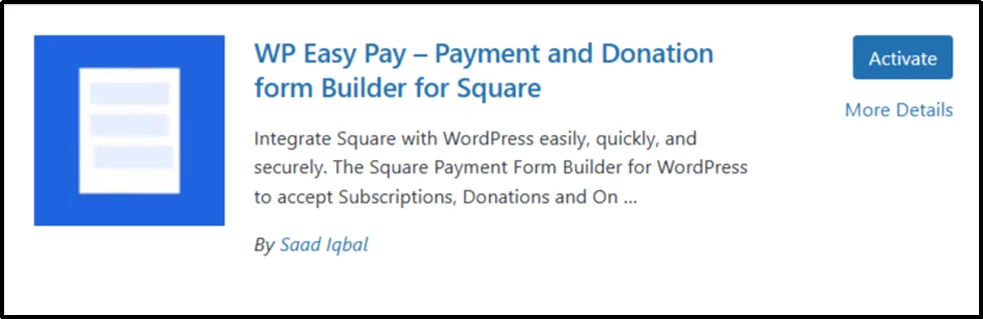
- Once installed, click Activate. The plugin will now be active on your WordPress site.
Step 2: Connect to Square
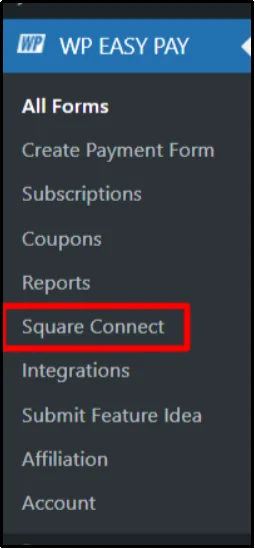
- Open your WordPress Admin Dashboard in a new tab. Navigate to the WP EasyPay menu and go to Square Connect.
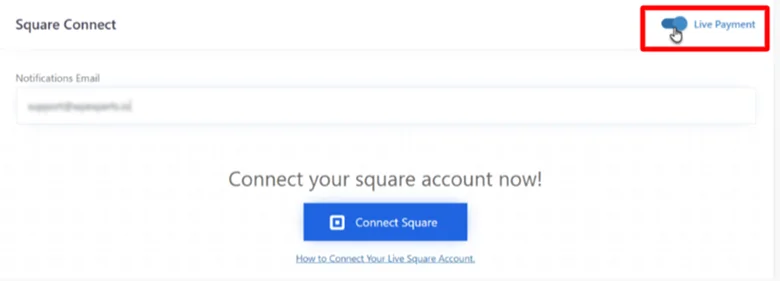
- Switch the Payment Type toggle to Live Payment. Enter your Notification Email and click Connect Square.
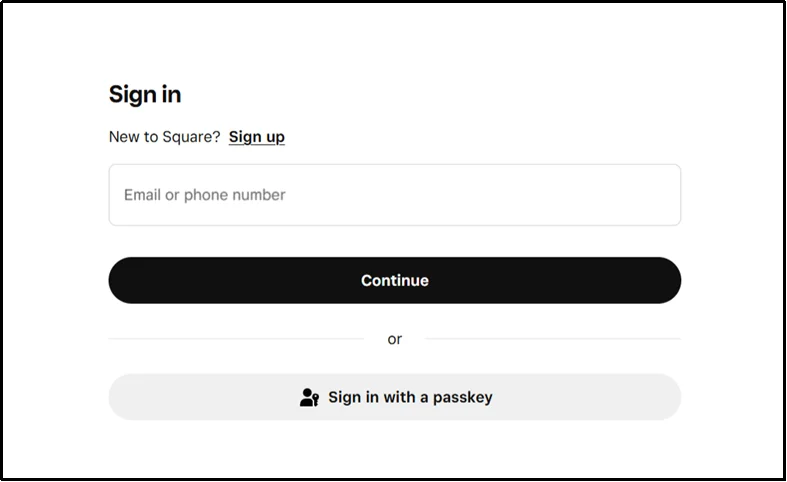
- You will be redirected to the Square login panel. Enter your email and password, then click Sign In.
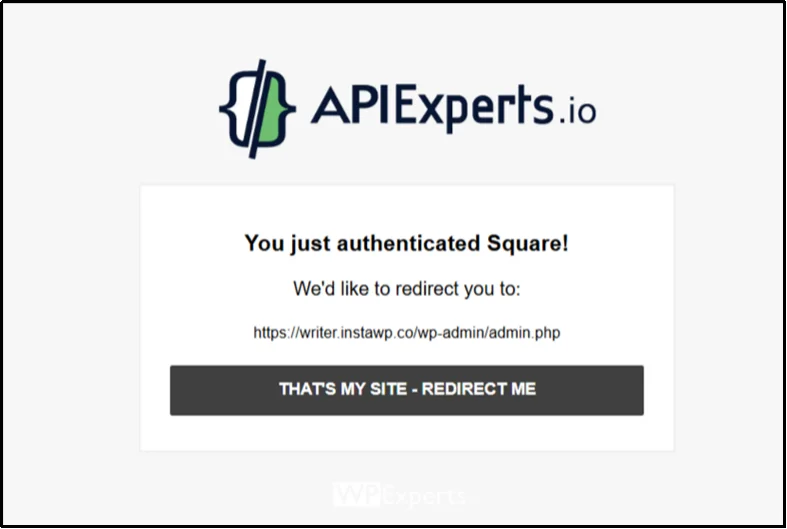
- On the next screen, click Redirect to complete the connection.
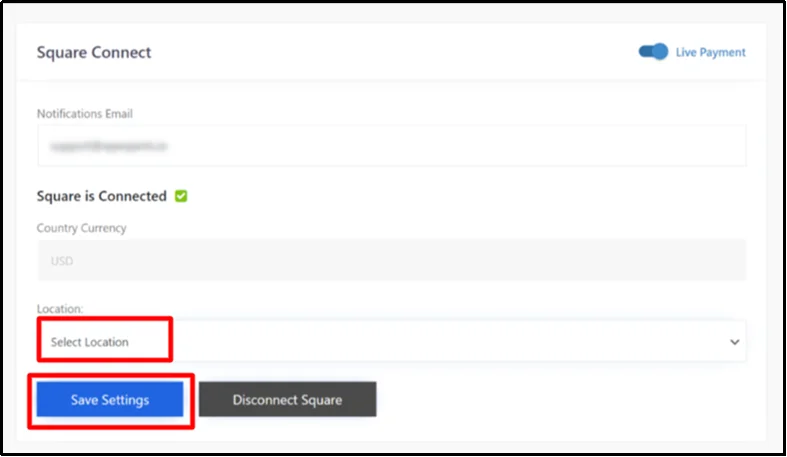
- You will be redirected back to the WordPress Admin dashboard automatically. From the Location dropdown menu, select the store or business location you want to use for payments and click Save Settings. Your Square account is now successfully connected and ready to process payments.
Step 3: Create First Payment Form
- From the WordPress sidebar, click WP EasyPay, then select Create Payment Form from the submenu.

2. Go to form settings.
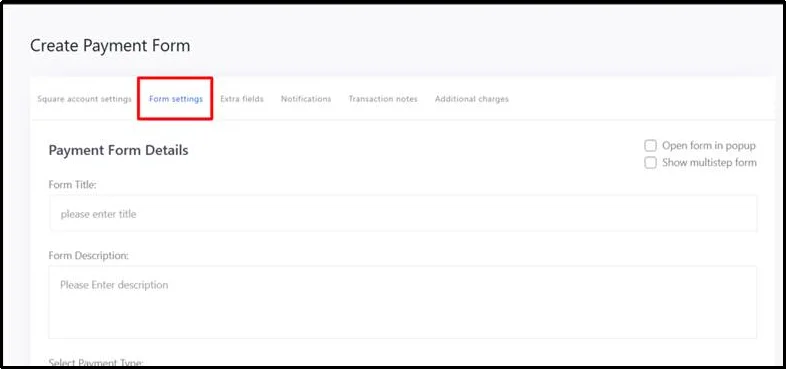
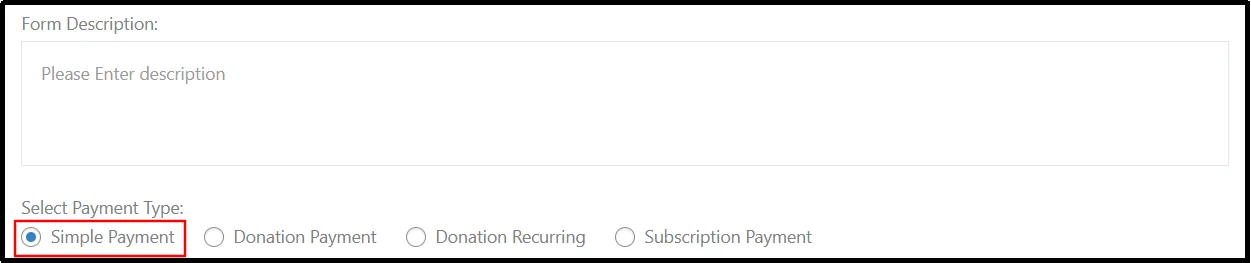
3. Add a form title and description. Enter a clear, descriptive title for your form (e.g., “Workshop Registration” or “Donation Form”). Add a short description to guide visitors about the purpose of the form or what they are paying for.
4. Choose “Simple Payment” for one-time payments for products or services.
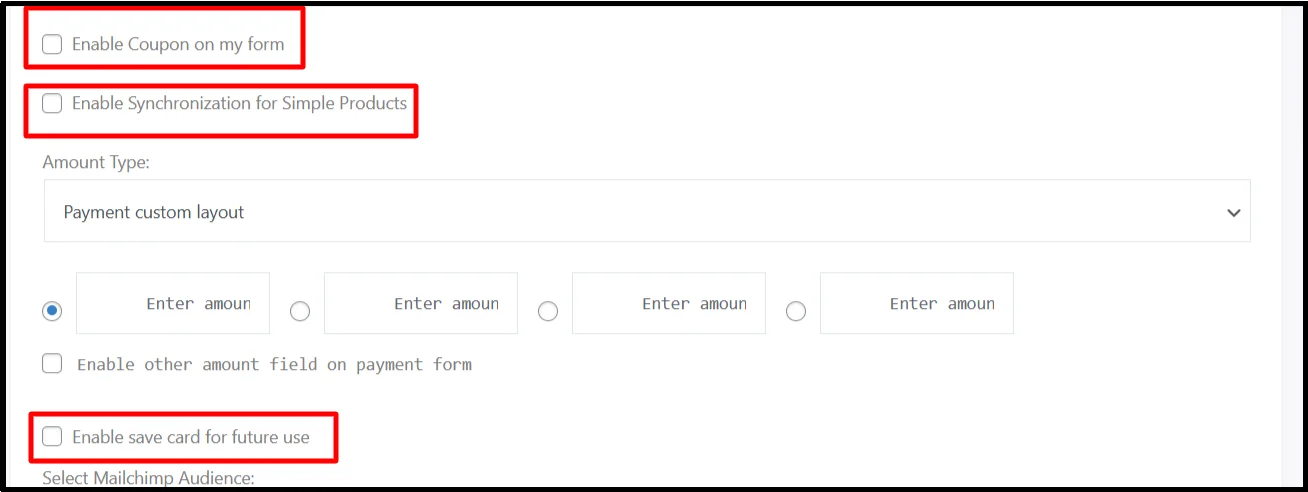
- Enable Optional Features:
- Enable Coupon: Allow customers to use a discount code.
- Enable Synchronization for Simple Products: Sync products from Square POS.
- Enable Save Card for Future Use: Let customers save their card for quicker checkout later.
- Choose Amount Type as Payment Tabular Layout to display multiple pricing options in a clear, table-style format
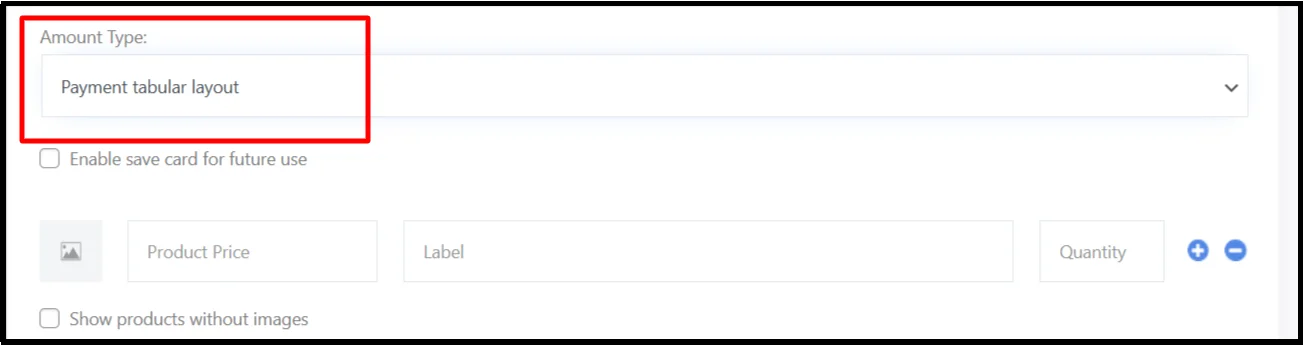
- Add product details. Enter product price, label, and quantity for each item you’re selling. Use the + button to add more products or the − button to remove items
- Select the MailChimp audience. If you want to automatically add users to a Mailchimp list, choose the appropriate audience from the dropdown.
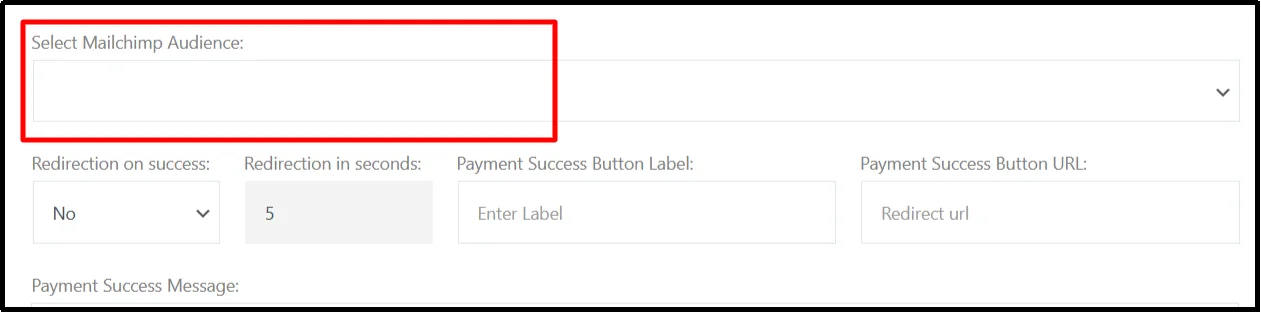
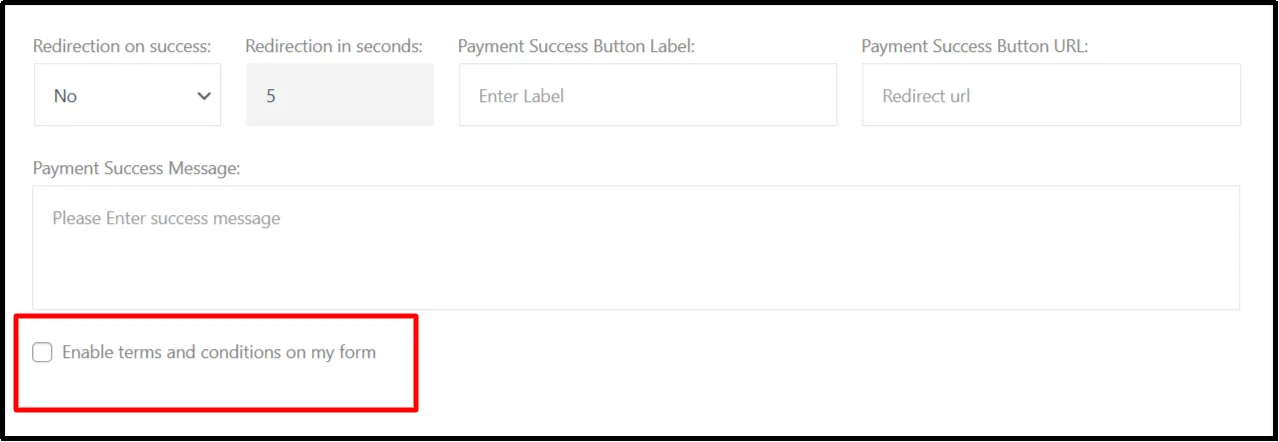
- Set Redirection on Success. Decide whether the user should be redirected after payment (Yes/No). If redirection is enabled, enter the number of seconds before the page redirects.

- Customize Payment Success Button
- Button Label – Enter the text you want to appear on the success button
- Button URL – Enter the URL where the button should redirect the user
- Enter a message to display when payment is successfully completed (e.g., “Thank you for your payment!”).
- Check the box if you want to include terms and conditions on your form. This is recommended for legal and compliance purposes.
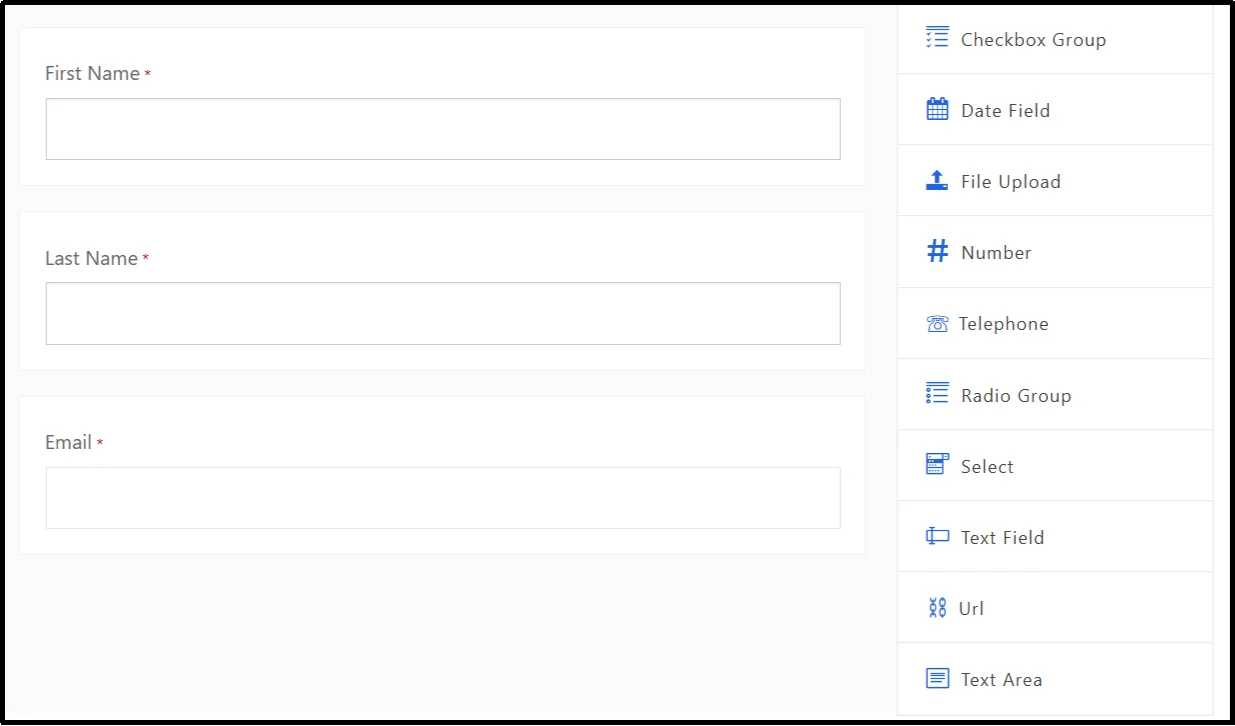
- The extra field options let you add different types of inputs to a form, such as text, numbers, dates, phone numbers, file uploads, URLs, single or multiple choice selections (radio, checkbox, select), and longer text areas, to collect specific kinds of information from users.
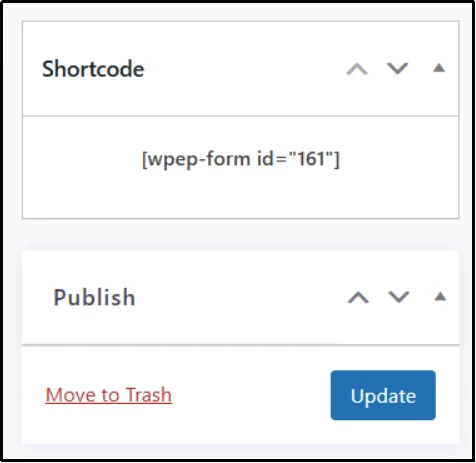
- On the right-hand side, click the Publish button to save your form. Once published, a shortcode will be generated that you can use anywhere on your website.
Step 4: Insert Form Into Page/Post Using Shortcode or Block
- From the WordPress sidebar, go to WP EasyPay and then All Forms.
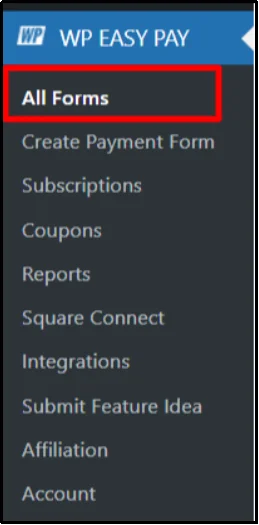
- A page will open displaying all the forms you have created. You can locate and manage your form from this list.
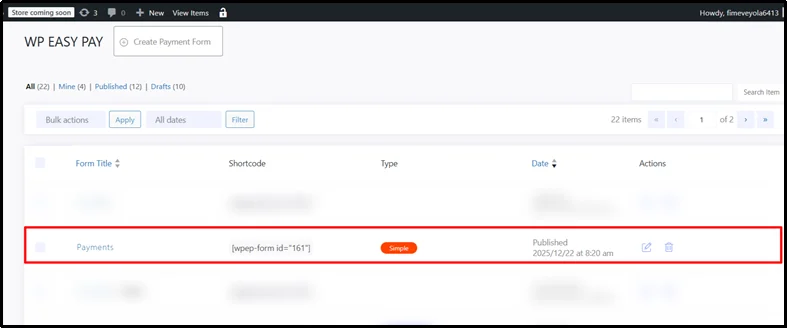
- Click the shortcode to copy.
- From the WordPress sidebar, click Pages and then Add Page.
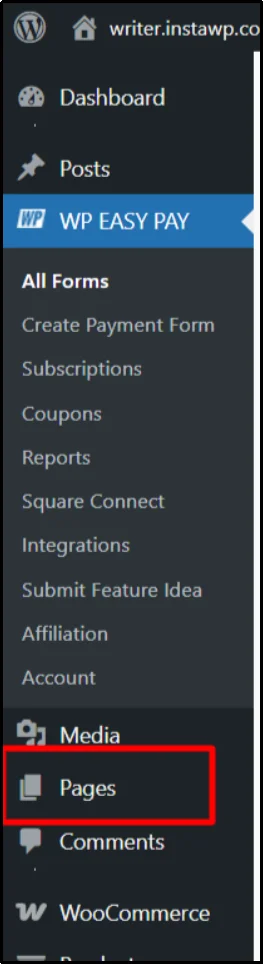
- This will open a blank page where you can add content, including your payment form shortcode.
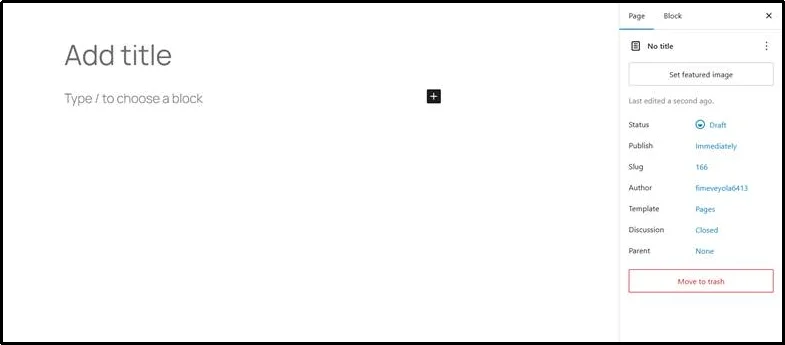
- Enter a title for your new page, for example, “Payment Form.”
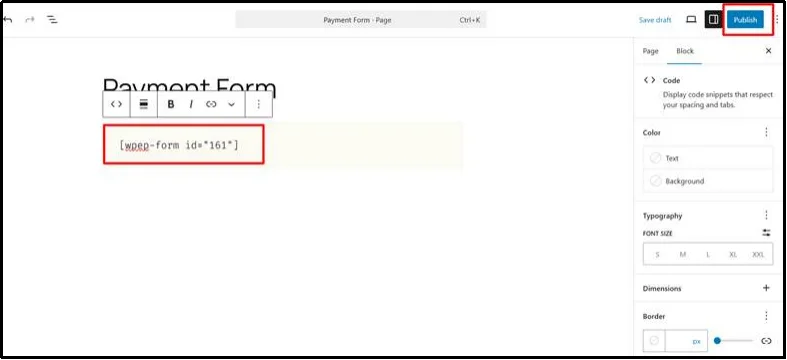
- In the editor, locate the block or section where you want the payment form to appear. Paste the shortcode you copied from WP EasyPay into this block.

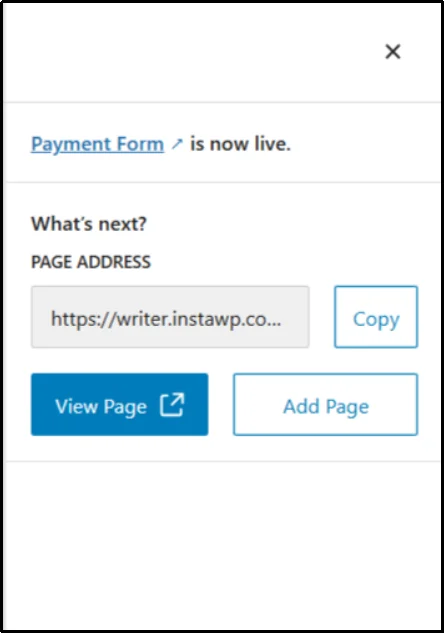
- Once the shortcode is added, click the Publish button at the top right of the page editor to make your form live on the website.
- A tab will appear on the right-hand side. Copy the link from this tab and paste it into a new browser tab, or click “View Page” to see your form live on the website.
Real-World Ways to Sell with WP EasyPay
WP EasyPay is flexible enough to support many types of online selling, especially when you don’t need a full eCommerce store. By using purpose-built payment forms, you can tailor each checkout experience to exactly what you’re selling.
Digital Products
WP EasyPay is ideal for selling digital products on WordPress, including eBooks, templates, guides, videos, and downloadable resources, without using a full eCommerce platform.
Once payment is completed, customers can be redirected to a confirmation page or receive access details via email, allowing for instant fulfillment without complex delivery systems.
Simple Physical Products
If you sell a limited number of physical items, WP EasyPay keeps things simple. You can add a text field to collect shipping details or special instructions, without managing inventory, shipping rules, or bulky cart features.
Service Bookings
For consultants, coaches, and freelancers, WP EasyPay makes service bookings easy. Add a date or time field to your payment form so customers can select a preferred appointment during checkout. This can be paired with external calendar tools for smooth scheduling and follow-ups.
Event Registrations
Use WP EasyPay to collect registrations for workshops, webinars, or in-person events. Offer early-bird, standard, or VIP pricing using dropdowns or tabular payment layouts, making ticket selection clear and user-friendly.
Each form is designed around a single goal: helping customers pay quickly and confidently, resulting in a smoother buying experience and higher conversions.
WP EasyPay vs. Shopping Carts: Quick Comparison
Here’s a quick comparison between WP EasyPay and traditional WordPress shopping cart plugins like WooCommerce.
| Feature | WP EasyPay | Traditional Cart |
| Setup Time | Minutes | Hours or days |
| PCI Compliance | Handled by Square | Manual configuration |
| Best For | Simple sales | Full online stores |
| Maintenance | Minimal | Ongoing |
Best Practices for Smooth and Secure Payments
Even though WP EasyPay removes much of the technical complexity of online payments, following a few best practices can significantly improve security, reliability, and conversion rates. These simple guidelines help ensure that your payment forms work smoothly, protect customer data, and create a trustworthy checkout experience that encourages users to complete their purchase.
- Secure your website with an SSL certificate: An SSL certificate encrypts data exchanged between your site and visitors. This is essential for protecting customer information and reassuring users that your payment pages are safe.
- Enable Square’s fraud protection tools: Square offers built-in fraud detection and transaction monitoring. Activating these features helps prevent unauthorized payments and reduces the risk of chargebacks.
- Keep payment forms short and focused: Limit your forms to 3–5 essential fields. Shorter forms are easier to complete and help reduce abandonment during checkout.
- Clearly explain the purchase details: Make sure customers understand exactly what they’re paying for, including pricing, delivery method, or next steps after payment.
- Test forms before launching: Use Square’s sandbox mode to test payments, confirmations, and receipts to avoid errors after going live.
- Monitor payments from the Square Dashboard: Regularly reviewing transactions helps you track sales, identify issues early, and manage customer data efficiently.
Start Selling on WordPress Today with WP EasyPay
Not every WordPress website needs a full eCommerce store to start accepting online payments. In fact, for many businesses, shopping carts add unnecessary complexity, cost, and maintenance.
If your priority is fast, secure, and hassle-free selling on WordPress, WP EasyPay provides a smarter, simpler solution. With no-code payment forms, seamless Square integration, and built-in security, you can accept payments for products, services, bookings, or events without managing a bulky store.
Whether you’re a freelancer, creator, consultant, or small business owner, WP EasyPay helps you get paid faster and with less effort. Try WP EasyPay’s free version today and start selling on WordPress in minutes, no cart required.
