
Reports suggest nearly 18% of online shoppers abandon their cart due to long or complicated checkout processes—one of the top reasons for lost sales. By placing a “Buy Now” button directly on your product, service, or landing page, you give users a faster path to purchase, which means higher conversions and fewer abandoned carts.
To make this process smooth and secure, we’ll be using WP EasyPay, a powerful WordPress plugin that connects your website with Square payments. WP EasyPay allows you to create customizable “Buy Now” buttons that open a secure Square payment popup, perfect for selling digital products, services, donations, event tickets, or any one-time purchase.
With Square’s PCI-compliant infrastructure and WP EasyPay’s user-friendly interface, you can accept payments instantly without writing a single line of code. Everything takes place inside a clean, mobile-friendly form, keeping customers on your site while ensuring a fast and secure checkout experience.
Continue reading to learn how to create a fully working “Buy Now” button in WordPress that opens a Square-powered payment popup and accepts instant payments.
Essential Requirements and Important Compatibility Details
Before diving into the setup, it’s important to ensure you have the right tools and environment ready.
Start with a fully functional WordPress website and make sure SSL/HTTPS is enabled. This is mandatory for secure payment processing and for Square to work properly. You’ll also need an active Square account and the WP EasyPay plugin installed on your site.
While the free version works for basic needs, the Pro version is highly recommended because it unlocks the complete feature set, including advanced payment forms, recurring donations, and detailed reporting.
Additionally, take a moment to study Square’s supported currencies and regions. Square only operates in specific countries, and payments must be processed in the supported currency of that region.
Ensuring your business location, currency, and customer base align with Square’s availability will save you from unexpected errors or failed transactions down the line.
With these essentials in place, you can move forward knowing your setup will run smoothly.
Step-by-Step Guide to Add a Buy Now Button in WordPress
Step 1: Install the WP EasyPay Plugin
1. Navigate to WordPress Admin Dashboard. Go to Plugins. Click Add Plugin.
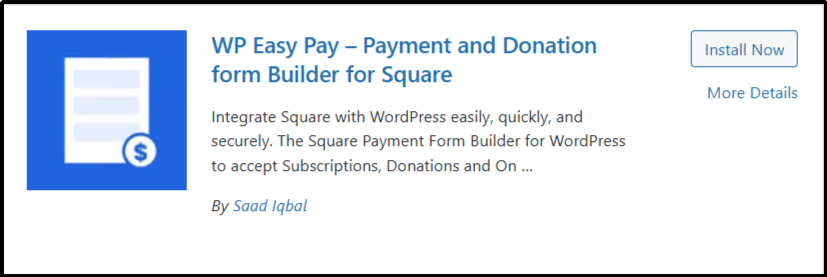
2. In the search bar, type WP EasyPay.
3. Click Install Now.
4. Once installed, click Activate.
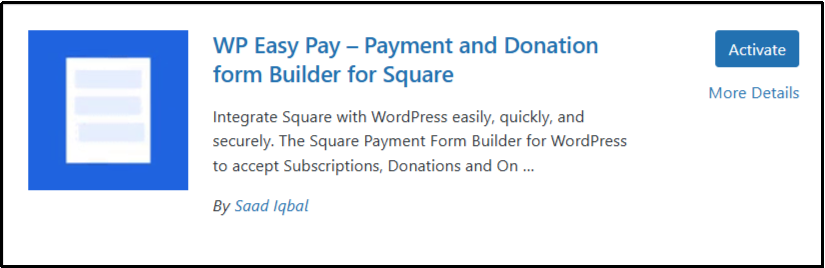
The plugin will now be active on your WordPress site.
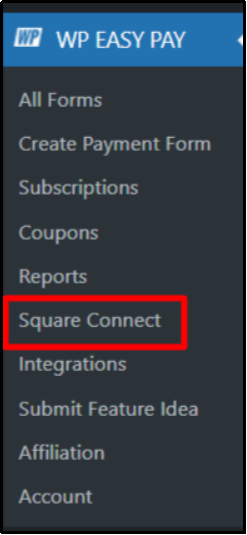
Step 2: Connect WP EasyPay to Square Sandbox
- Navigate to WP EasyPay and go to Square Connect.
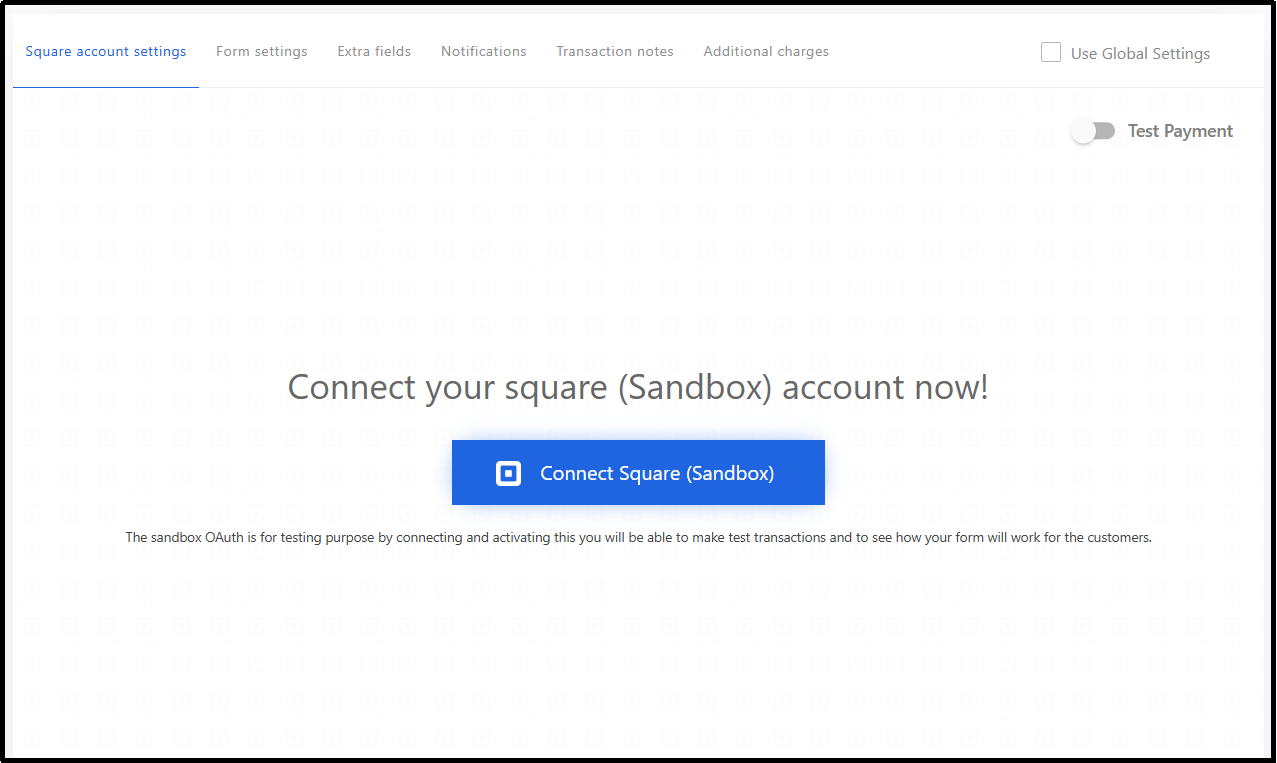
- From the Payment Type toggle, select Test Payment.
- Enter your Notification Email (this is where payment-related emails will be sent).
- Click Connect Square (Sandbox).
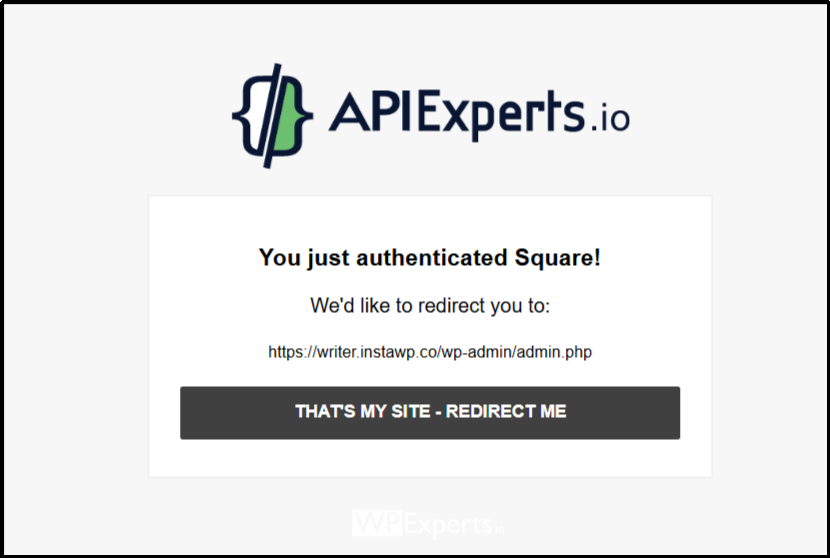
- You will be redirected to the Square. Sign in using your credentials.

- On the confirmation screen, click the “That’s My Site – Redirect Me” button to return to WordPress.
- You’ll be redirected back to the WP EasyPay settings page.
- From the Location dropdown, select “Default Test Account” from the dropdown menu.
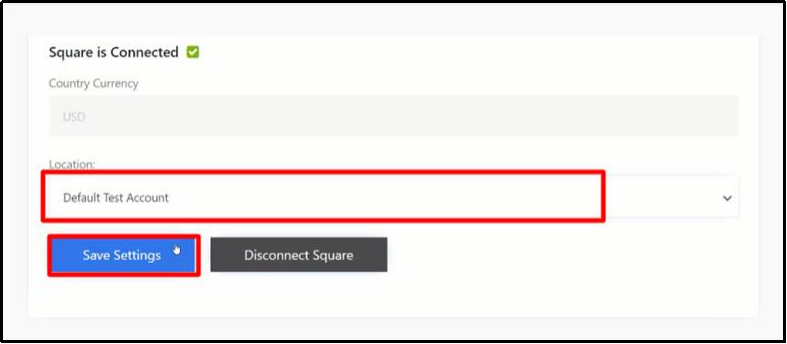
- Click Save Settings.
Your Square Sandbox account is now fully connected, and WP EasyPay is ready for test transactions.
Step 3: Create a Simple Buy Now Payment Form
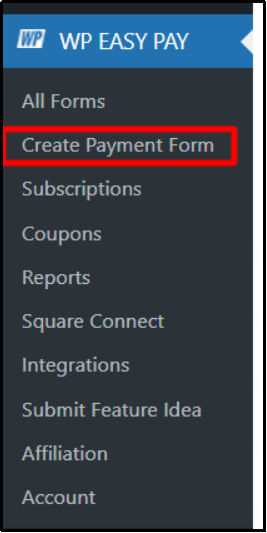
- From the WordPress admin dashboard, go to WP EasyPay in the left sidebar and click the ”Create Payment Form” link.
2. Configure the Payment Form
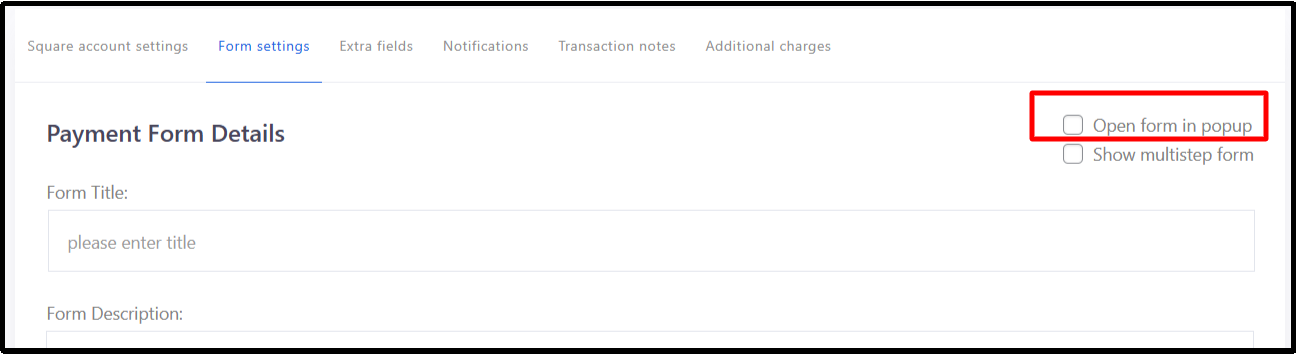
Form Title: Name your form according to what you’re selling (e.g., Course Buy Now, E-book Purchase, Event Ticket).
Form Description: Add a short description that appears above the form if needed.
Select Payment Type: Choose Simple Payment for a one-time Buy Now transaction.
Amount Type / Amount: Set a fixed amount for a classic Buy Now button. You may also add multiple price options if required, but a single fixed price works best for quick purchases.
Redirection on Success: If you want to redirect customers after payment, you can enable Redirect on success, set the success message, and add a redirect delay.

3. From the right hand panel, check the “Open form in popup” box. A new field called Popup Button Title will appear. Enter a user-friendly button label such as Buy Now, Pay Now, or Pay with Card.
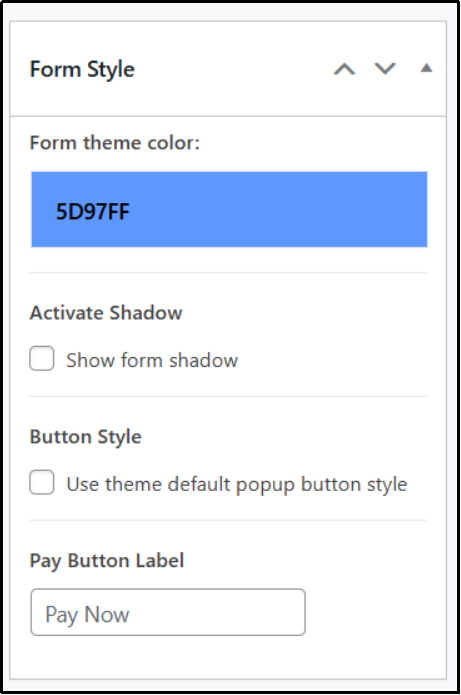
4. On the right-hand side under Form Style, adjust the Form Theme Color and shadow to match your brand.
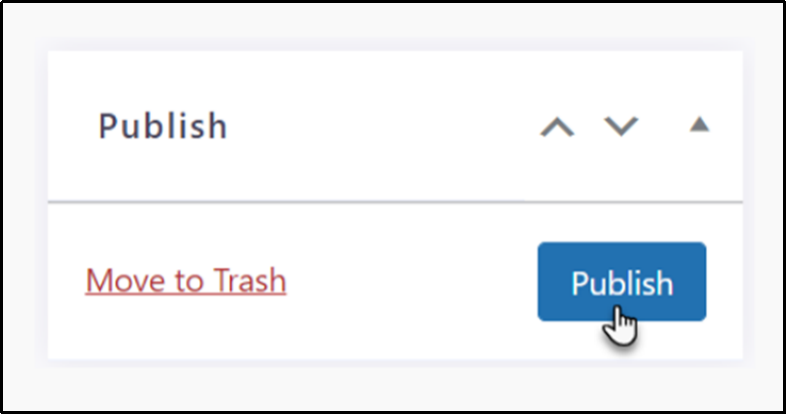
5. Click Publish to save your form. Your “Buy Now” payment form is now created.
Step 4: Copy the Shortcode and Add the Buy Now Button to a Page
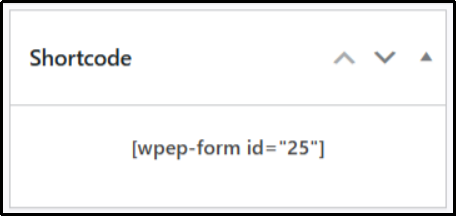
1. After publishing, on the right panel, navigate to the “Shortcode” widget. Copy this shortcode.
- Open the page or post where you want to display the buy now button.
- Using the Gutenberg Editor, add the Shortcode block and paste your WP EasyPay shortcode.
- Update or publish the page. On the front-end, the Popup Button Title you defined (e.g., Buy Now) will appear as your Buy Now button, and clicking it will open the secure Square payment popup.
Tips to Optimize Your Buy Now Button for Conversions
Creating a Buy Now button is just the first step. To maximize its effectiveness and boost your sales, follow these tips:
1. Place the Button Strategically
Position the button above the fold on product or landing pages so visitors see it immediately. Add additional buttons on long-form pages, at the end of product descriptions, or near testimonials to capture potential buyers at multiple points.
2. Use Clear and Action-Oriented Text
Use concise, compelling phrases like “Buy Now”, “Pay with Card”, or “Get Instant Access”. Avoid vague labels like “Submit” or “Next” that don’t communicate value.
3. Create a Sense of Urgency
Highlight limited stock, time-sensitive offers, or countdown timers. Subtle urgency encourages faster decision-making and reduces cart abandonment.
4. Leverage Social Proof
Place reviews, ratings, or testimonials near the Buy Now button. Showing that others have purchased and enjoyed the product builds trust and confidence.
5. Test Different Button Styles
Experiment with colors, sizes, and shapes to see which converts best. Ensure the button contrasts well with your page background to make it stand out.
6. Ensure Mobile Responsiveness
Many users browse and buy on mobile devices. Test your “Buy Now” button and payment popup on multiple screen sizes to ensure a smooth checkout experience.
By implementing these strategies, you can make your “Buy Now” button more compelling, reduce friction in the checkout process, and ultimately increase conversions.
Troubleshooting Common Issues with Your Buy Now Button
Even with WP EasyPay and Square, you may encounter a few hiccups while setting up or using your “Buy Now” button. Here’s a guide to resolve the most common issues:
1. Payment Popup Won’t Open
- Possible Cause: JavaScript conflicts with your theme or other plugins.
- Solution: Temporarily switch to a default WordPress theme and disable other plugins one by one to identify the conflict.
2. Payment Declined or Failed
- Possible Cause: Currency mismatch, unverified Square account, or incorrect payment details.
- Solution: Ensure your Square account is fully verified and that your currency matches the one set in WP EasyPay. Also, double-check test vs. live mode settings.
3. Test Payments Not Showing
- Possible Cause: Test mode not enabled or incorrect Sandbox credentials.
- Solution: Make sure the WP EasyPay form is set to the “Test Payment” mode and connected to the correct Square Sandbox account. Verify the test card numbers in Square’s documentation.
4. SSL/HTTPS Errors
- Possible Cause: Checkout pages are not served over HTTPS.
- Solution: Ensure your WordPress site has an active SSL certificate. All pages with payment forms must use HTTPS for secure connections.
5. Redirection or Email Notifications Not Working
- Possible Cause: Misconfigured settings in the WP EasyPay form.
- Solution: Check the Redirect on Success settings and ensure the Notification Email is correctly entered. Test with a sandbox transaction to confirm emails are received.
By proactively checking these areas, you can ensure your Buy Now button works smoothly, giving your customers a seamless and secure checkout experience.
Streamline Purchases with a High-Converting “Buy Now” Button in WordPress
Adding a “Buy Now” button in WordPress is a simple yet powerful way to reduce friction in the checkout process and boost conversions. By letting customers skip the cart and pay instantly through a secure Square popup, you can increase impulse purchases, improve user experience, and grow your revenue.
For a smooth, code-free setup, WP EasyPay is an excellent choice. It allows you to create customizable Buy Now buttons, configure one-time or recurring payments, and manage all transactions from your WordPress dashboard, all while keeping the checkout process fast, secure, and mobile-friendly.
Once your first “Buy Now” button is live, don’t stop there. Consider creating additional Buy Now pages for your top products, services, or special offers. Each page provides visitors with a direct path to purchase, maximizing the likelihood of conversions. Strategically placing multiple “Buy Now” buttons across your site ensures that more visitors can quickly complete purchases, helping you grow your sales effortlessly.
Start with WP EasyPay, experiment with different products or offers, and watch how multiple Buy Now pages can elevate your online business.
