
If you run a WordPress site and need a quick way to collect payments—whether for donations, event tickets, subscriptions, or one-time purchases—creating a payment form is the smartest move you can make.
Thanks to the WP EasyPay plugin, it’s no longer a developer-only job.
In this guide, you’ll learn how to create a payment form in WordPress using WP EasyPay—no coding required, no fluff, just step-by-step instructions.
Whether you’re a solo creator, a nonprofit, or a growing business, this tutorial will help you create a fully working payment form.
Ready? Let’s get started!
What Is WP EasyPay?
If you want a straightforward way to accept payments on your WordPress site, WP EasyPay is a top choice. It’s a WordPress payment form plugin designed specifically to connect your website with the Square payment system, which lets you handle donations, subscriptions, recurring payments, and one-time purchases without hassle.
Key Use Cases of WP EasyPay
- Donations: Perfect for nonprofits and fundraising campaigns. Set up donation forms that accept any amount or fixed tiers.
- Subscriptions & Recurring Payments: Whether it’s a membership site or service with recurring billing, WP EasyPay makes managing those payments simple.
- One-Time Payments: Sell products, services, or event tickets with custom payment forms tailored to your needs.
Why Pick WP EasyPay Over Other Plugins?
There are plenty of WordPress payment plugins out there, but WP EasyPay stands out because it’s built with Square in mind. That means you get reliable processing, solid security, and an easy setup process. The plugin has a clean user interface that doesn’t overwhelm users with complicated options but allows complete control over your forms.
Some highlights that users love:
- Drag-and-drop form builder for fast customization
- Multi-step forms to break long payments into manageable chunks
- Ability to save cards for future payments, speeding up repeat transactions
- Email and admin notification customization to keep everyone informed
Compatibility with Square Payment Gateway
As we told you earlier in the article, WP EasyPay is made to work hand-in-hand with the Square Payment Gateway. When you connect your Square account, your WordPress forms become a portal for Square’s secure and fast payment processing. This integration gives you access to Square’s features right inside your WordPress dashboard.
Free vs. Premium Features
WP EasyPay offers both free and premium versions. Here’s a quick comparison of what you get in each:
| Feature | Free Version | Premium Version |
| Basic payment form creation | ✔️ | ✔️ |
| Connect to Square | ✔️ | ✔️ |
| Recurring payments | ❌ | ✔️ |
| Multi-step forms | ❌ | ✔️ |
| Custom email templates | ❌ | ✔️ |
| File upload and extra fields | ❌ | ✔️ |
| Export payment and subscription reports | ❌ | ✔️ |
| Save cards for future payments | ❌ | ✔️ |
The premium version unlocks advanced capabilities that are crucial for growing businesses or organizations that need more than just a simple payment form.
04 Easy Steps to Make a Payment Form in WordPress
Step #1: Install and Activate WP EasyPay Plugin
Before building a payment form, you need to install the WP EasyPay plugin on your WordPress site. Whether you’re using the free version or upgrading to premium for advanced features like recurring payments and multi-step forms, the installation process is incredibly simple.
How to Install WP EasyPay (Free or Premium)
- Log in to Your WordPress Admin Panel: Head over to your WordPress dashboard, which is usually found at yourdomain.com/wp-admin.
- Go to Plugins → Add New: On the left-hand menu, hover over “Plugins” and click on Add New.
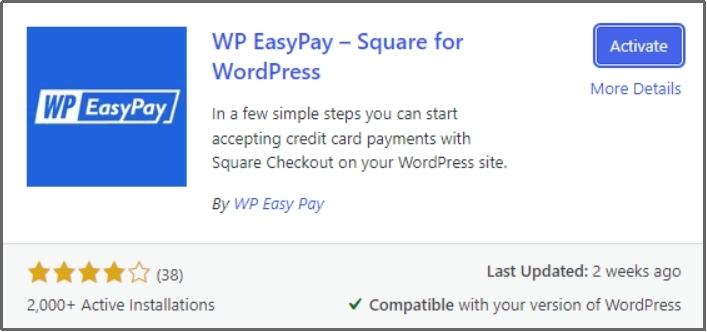
- Search for “WP EasyPay”: In the search bar, type ‘WP EasyPay.’ The official plugin will appear with thousands of active installations and positive reviews.
- Click “Install Now” → Activate: Hit the Install Now button. Once it’s installed, click Activate to enable the plugin.
Please note: If you’ve purchased the Premium version, click “Upload Plugin” instead and upload the .zip file you received after purchasing. Once uploaded, click Install Now and then Activate.
- Activate Your License (Premium Users Only): If you’re using the premium version, you’ll see a prompt to enter your license key. Just copy and paste the key from your purchase email, then hit Activate License.
Once activated, you’re all set to connect your Square account, which we’ll cover in the next step.
Step #2: Connect Your Square Account to WP EasyPay
Now that the plugin is active, the next step is connecting your Square account. This link is what allows your form to process real-time payments directly in your Square dashboard.
Here’s how to connect your Square account in just a few clicks:
- Access Global Settings: In your WordPress dashboard, click Square Connect in the WP EasyPay menu in the left sidebar.
- Choose Environment From Live or Sandbox: In the top-right corner, toggle on if you want to set up for live payments and leave it off if you want to test it first. You can switch later, but it’s a good idea to test everything before going live.
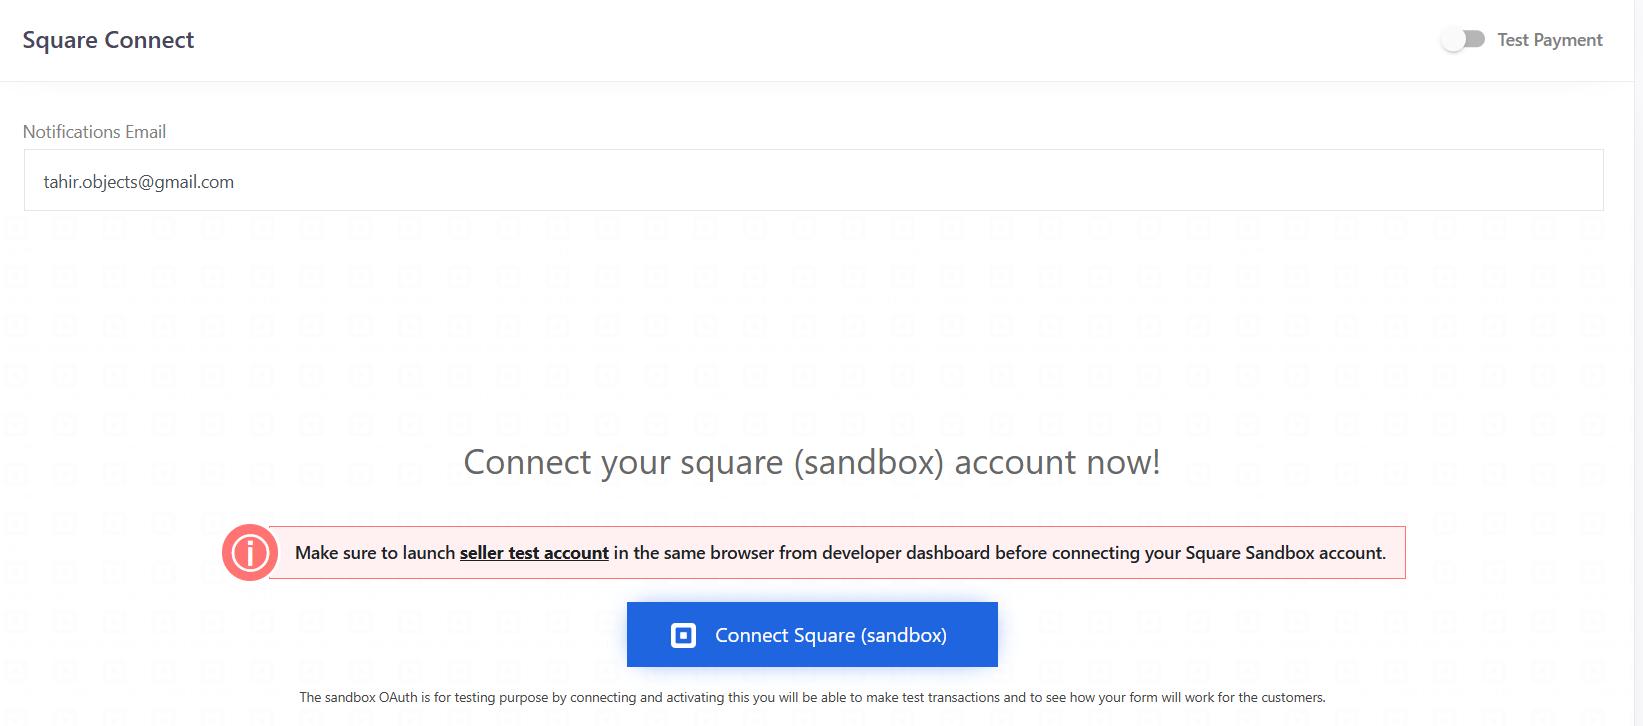
For this guide, we are going with test payments.
- Click “Connect Square”: You’ll see a button labeled Connect Square (sandbox). Clicking it will redirect you to Square’s login page.
- Log into Square and Authorize: Use your Square login credentials and authorize the connection by clicking ‘THAT’S MY SITE – REDIRECT ME.’ WP EasyPay will now pull in your account credentials.

- Save Settings: Once you’re redirected back to WordPress, hit the Save Settings button to lock everything in.

What Happens After You Connect?
Once connected, WP EasyPay retrieves your location ID from Square (used to route payments correctly). This connection is encrypted and follows strict security protocols to protect transaction data.
Now you’re ready to build your first form and start accepting payments.
Step #3: Create a New Payment Form in WP EasyPay
With your Square account connected, it’s time to build the payment form your visitors will actually use. WP EasyPay gives you a drag-and-drop-style interface to create powerful payment forms tailored to your specific needs.
You can also customize input fields, amounts, and button styles, and even redirect users after payment. Each form you create is tied to your Square account, so payments go straight to your dashboard.
Steps to Create a Payment Form
As discussed, you can build payment forms for many purposes, but today we will show you how to create your first donation payment form:
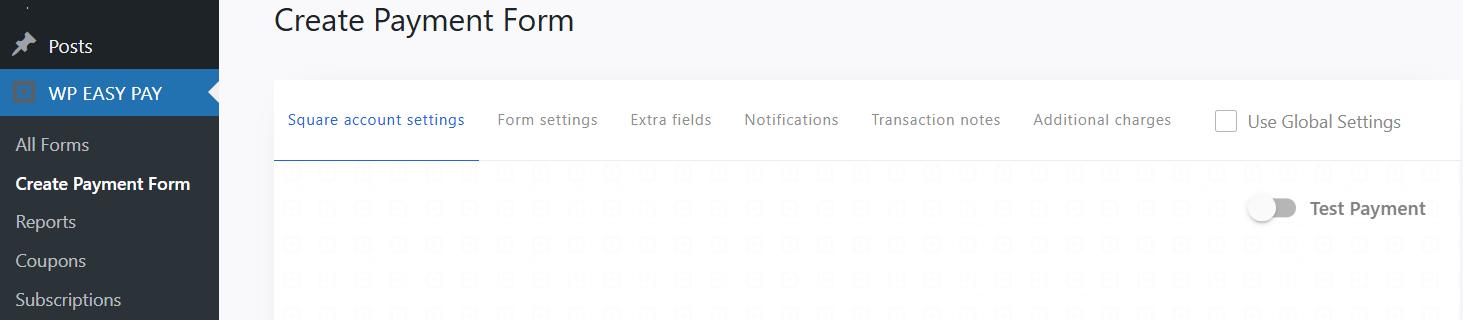
- Go to WP EasyPay → Create New Form: From your WordPress sidebar, click WP EasyPay and then choose Create New Form from the submenu.
As you can see in the screenshot below, you can connect a separate Square account for sandbox or live payments. But we will go with Global Settings.
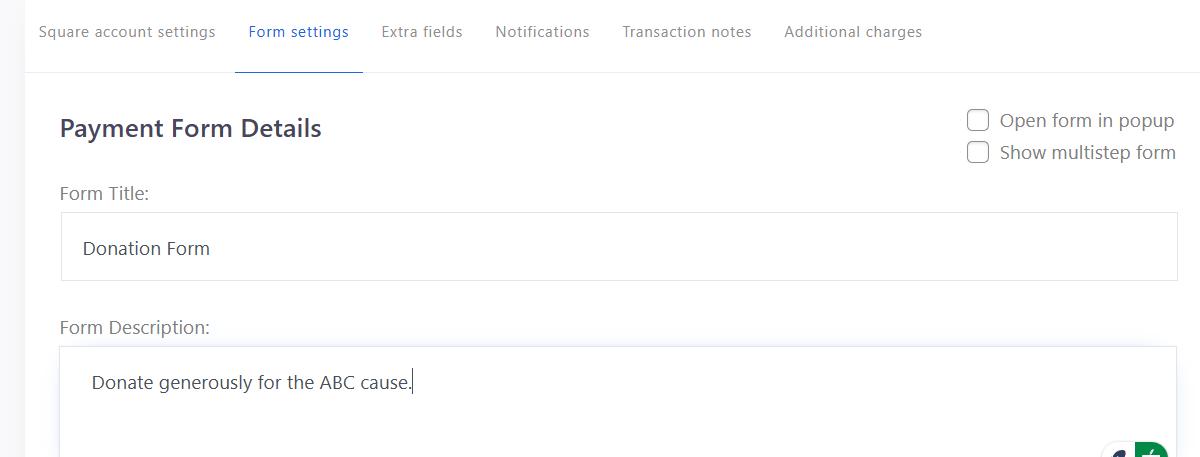
- Add a Title and Description: Switch to the Form Settings tab and first give your form a meaningful title (e.g., “Donation Form”) and, optionally, a description to guide your visitors.
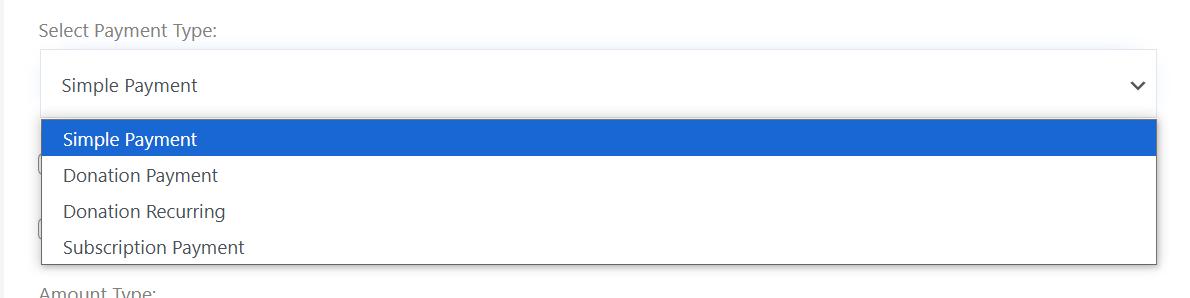
- Choose a Payment Type: WP EasyPay supports multiple payment types:
- Simple Payment
- Donation Payment
- Donation Recurring
- Subscription Payment
Pick the one that matches your goal. For example, if you’re collecting fixed donations, choose the Donation Payment.
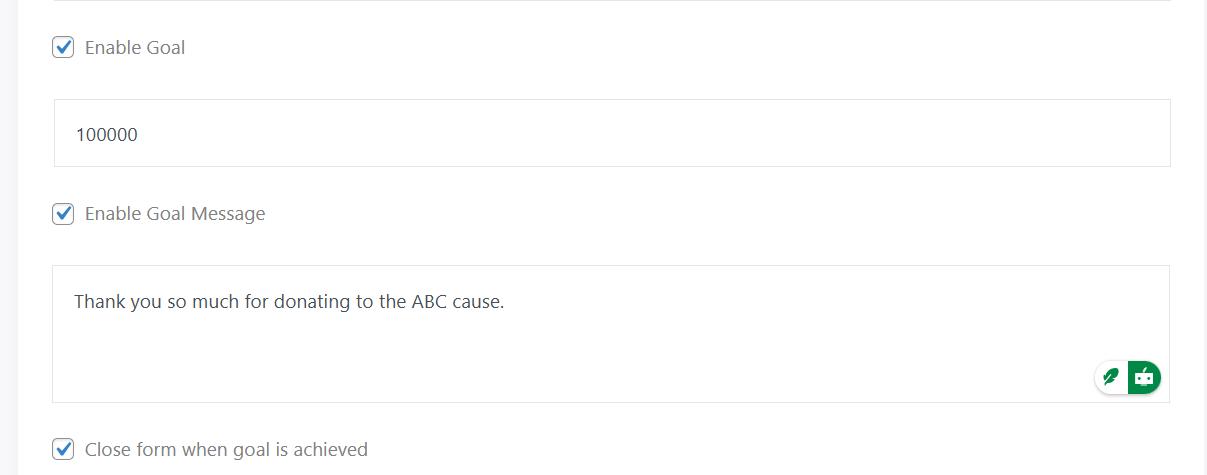
- Enable Donation Goal: Tick the Enable Goal checkbox and set a message that will appear once the goal is achieved. If you want to close the form after achieving the goal, check the box saying ‘Close form when goal is achieved.’
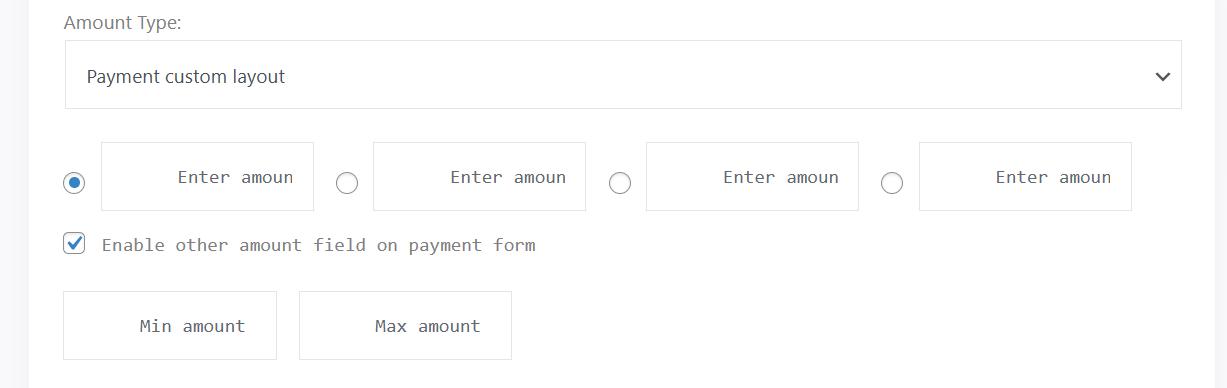
- Customize the Payment Options
- Set a fixed amount, or let users enter their own with minimum and maximum limits.
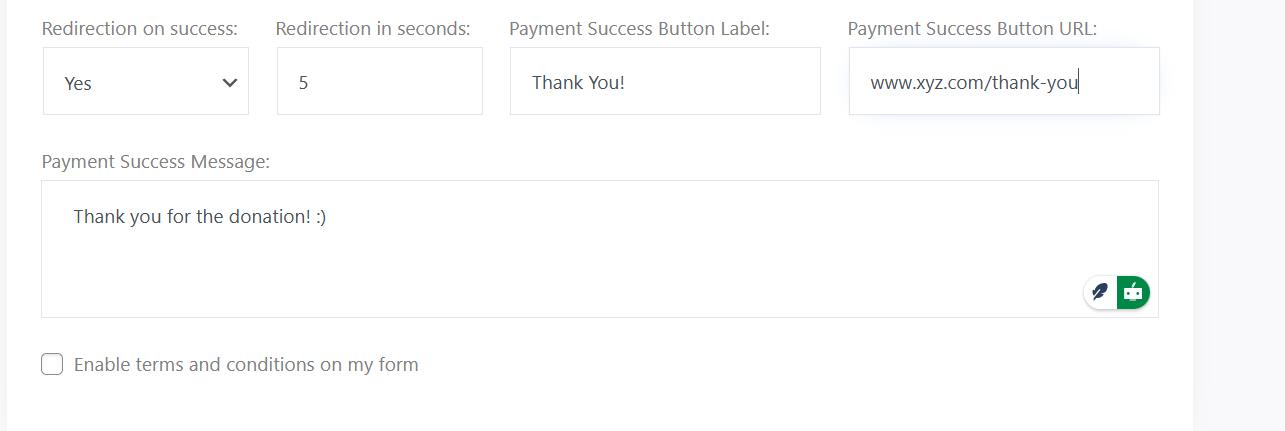
- Set up redirection and final payment success message: If you want to redirect the donor after completing the payment, then set ‘Redirection on success’ to ‘Yes’ and specify the URL where you want the customer to go.
- Add necessary fields: Now, go to the ‘Extra Fields’ tab and add (drag-and-drop) all the required fields that are suitable for your donation form.
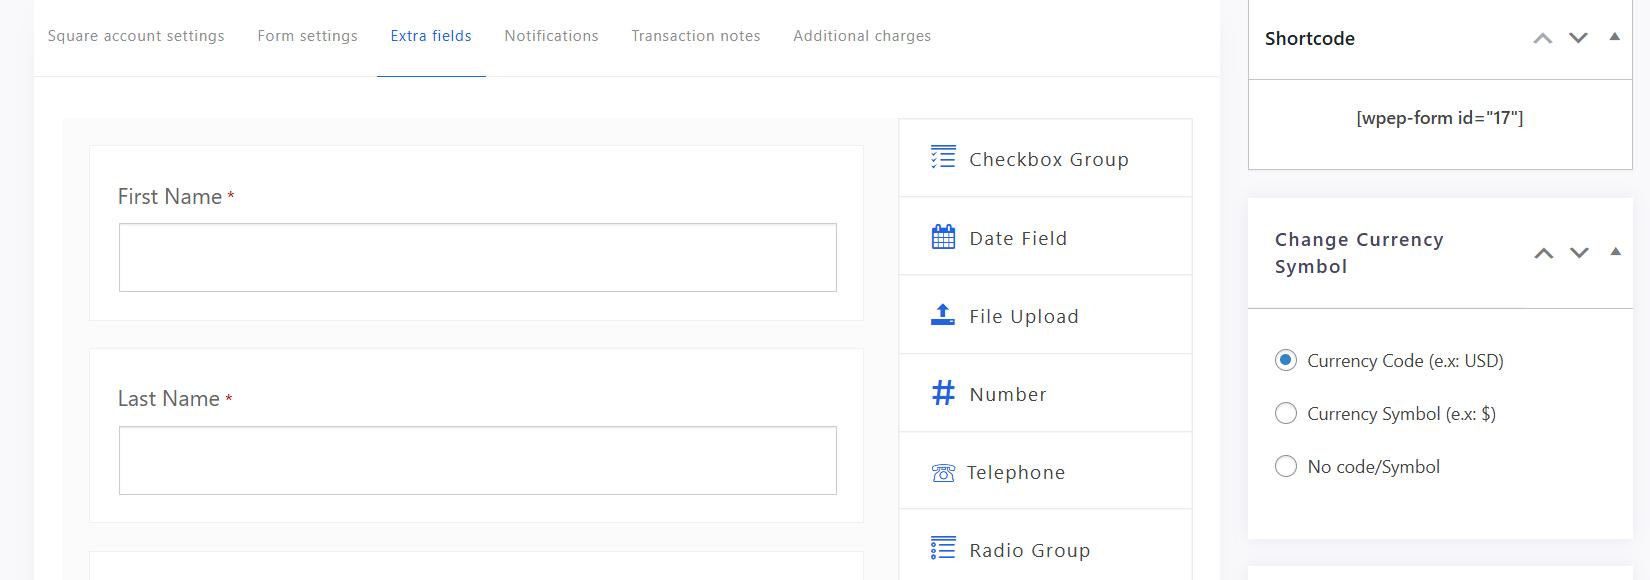
- Save and Publish: Click the ‘Publish’ button to save your form. You’ll now see a shortcode that you can use anywhere on your website.

Step #4: Add the Payment Form to a WordPress Page or Post
Now that your form is ready, it’s time to display it to your visitors. WP EasyPay provides a shortcode that makes embedding your form as simple as copying and pasting.
Where to Place Your Form?
Before adding it, think about where it fits best:
- A dedicated donation page
- A checkout page for services or digital products
- A pop-up modal triggered by a “Pay Now” button
- Even in a blog post asking for reader support
How to Embed the Form
- Copy the Form Shortcode: After creating your form, WP EasyPay will display a shortcode like this: Form does not exist
The ID number will be unique to your form.

- Paste it into a Page or Post:
- Go to Pages > Add Page (or choose an existing page).
- In the WordPress editor, add a Shortcode block and paste the code.
- Alternatively, paste it directly into a Classic Editor box or any custom HTML module in your page builder (Elementor, WPBakery, etc.).

- Preview the Page: Before hitting publish, click Preview to see how the form looks. Check that:
- All fields are loading correctly
- The submit button stands out
- The form works well on mobile
- Publish the Page: Once you’re happy with the setup, click ‘Publish/Save.’ Your payment form is now live and ready to collect payments.
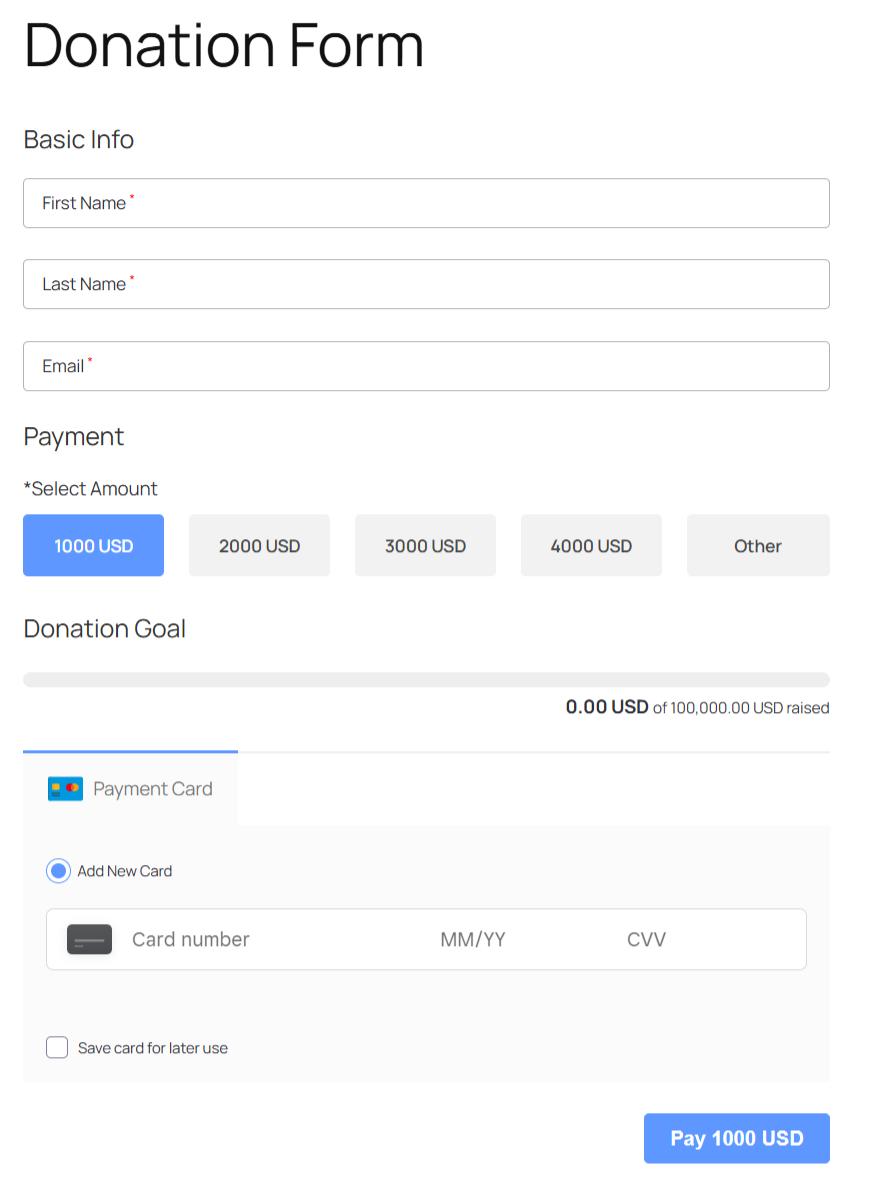
Front End View 👇
Bonus Tips to Get the Most Out of WP EasyPay
- Set Up Email Notifications Smartly: Personalize your admin and customer notifications. A well-written confirmation email builds trust and reduces refund requests.
- Use Conditional Fields: Create flexible forms that show or hide fields based on user input. This improves user experience and helps you collect cleaner data.
- Track Performance with Google Analytics: Integrate WP EasyPay form submission events with tools like Google Analytics or MonsterInsights. Know what’s working and what needs tweaking.
- Offer Multiple Payment Amount Options: If you’re collecting donations or offering services, let users pick from preset amounts. It can increase the average payment size.
- Keep Everything Updated: Make sure your plugin, theme, and WordPress core stay updated. This helps avoid security issues or broken forms.
Final Thoughts
Building a reliable payment form in WordPress doesn’t have to be complicated, especially when you’re using WP EasyPay. Whether you’re selling digital products, collecting donations, or accepting service payments, this plugin gives you everything you need to get paid fast and securely through Square.
Let’s quickly recap what we covered:
- You installed and activated WP EasyPay in a few simple steps.
- You connected your site to Square using real credentials or sandbox keys.
- You created a fully customizable payment form without writing a single line of code.
- You embedded that form anywhere on your site using a shortcode.
By now, your WordPress site is ready to accept real payments, 24/7. That’s a big win for your business.
Start Accepting Payments Today
You don’t need expensive developers or complex setups to collect payments. Just a WordPress site, WP EasyPay, and a few minutes of your time.
Ready to get paid?👉 Download WP EasyPay Now and start building your payment form today.
