
Note: There is a limit of 60 characters for transaction notes in Square API, so if you exceed this limit it will automatically ignore.
- The Admin can set the transaction notes through which the transactions can be identified in the Square Transactions.
- These Transaction Notes are added in the Form Edit section.
- Go to the WordPress Admin Dashboard → WP EASY PAY → Create Payment Forms or Edit the current form in the All Forms.
- Go to the Transaction Notes tab.

- Copy the Default Note Tags that you want to add.
- Paste them in the Transaction Notes section.
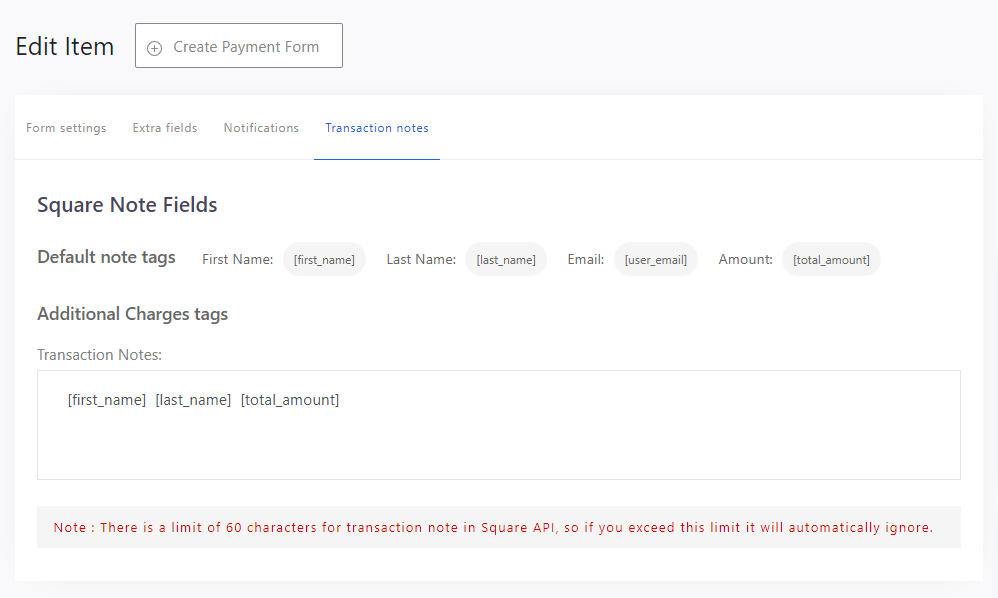
- Click the Update or Publish button.
Impact on Front-End
- Go to your website.
- Open the WP EasyPay Form page.
- Submit the payment form.
- After a successful payment, go to the Square Up Account.
Square Dashboard (Test Mode)
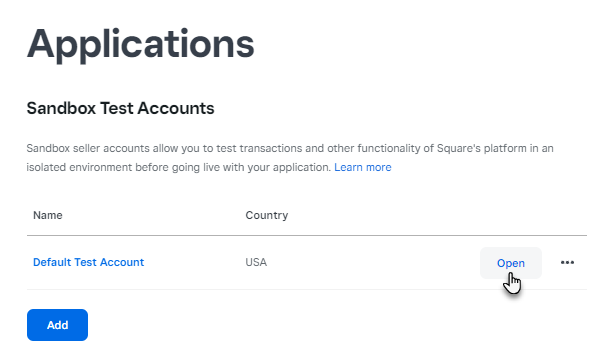
- Go to the Square Developer Dashboard: https://developer.squareup.com/
- Go to the Applications.
- Navigate to the Sandbox Test Accounts.
- Open the SandBox Dashboard.
- Now you are in the Square up Sandbox Dashboard.
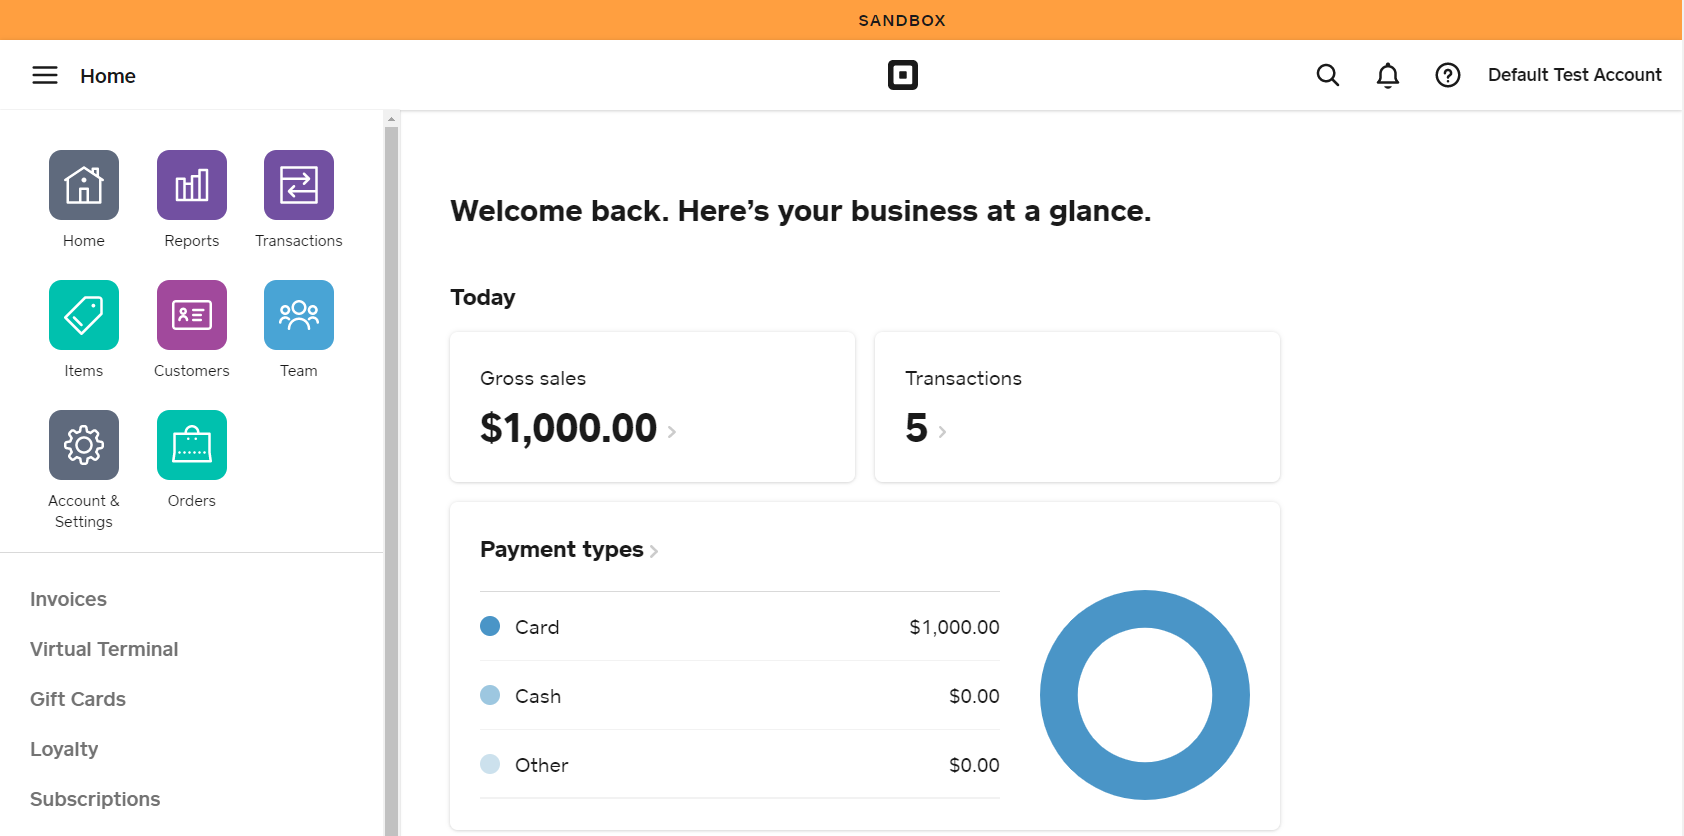
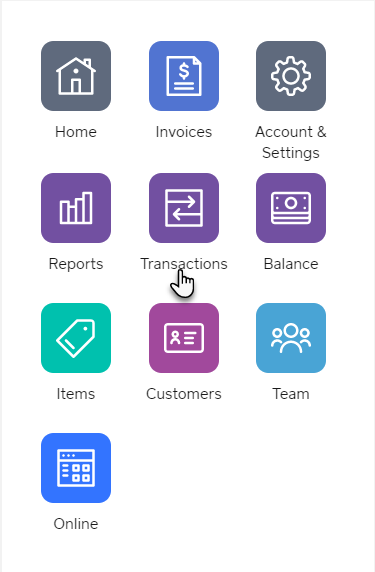
- From the side menu, click on the Transactions.
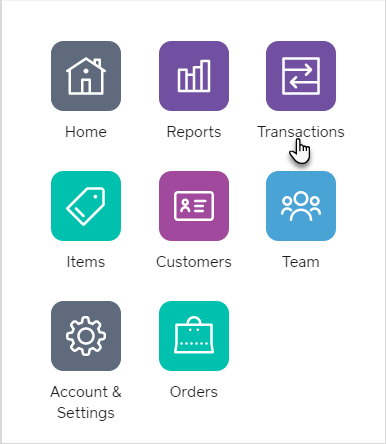
- All the transactions are displayed here and can be identified with the transaction notes.
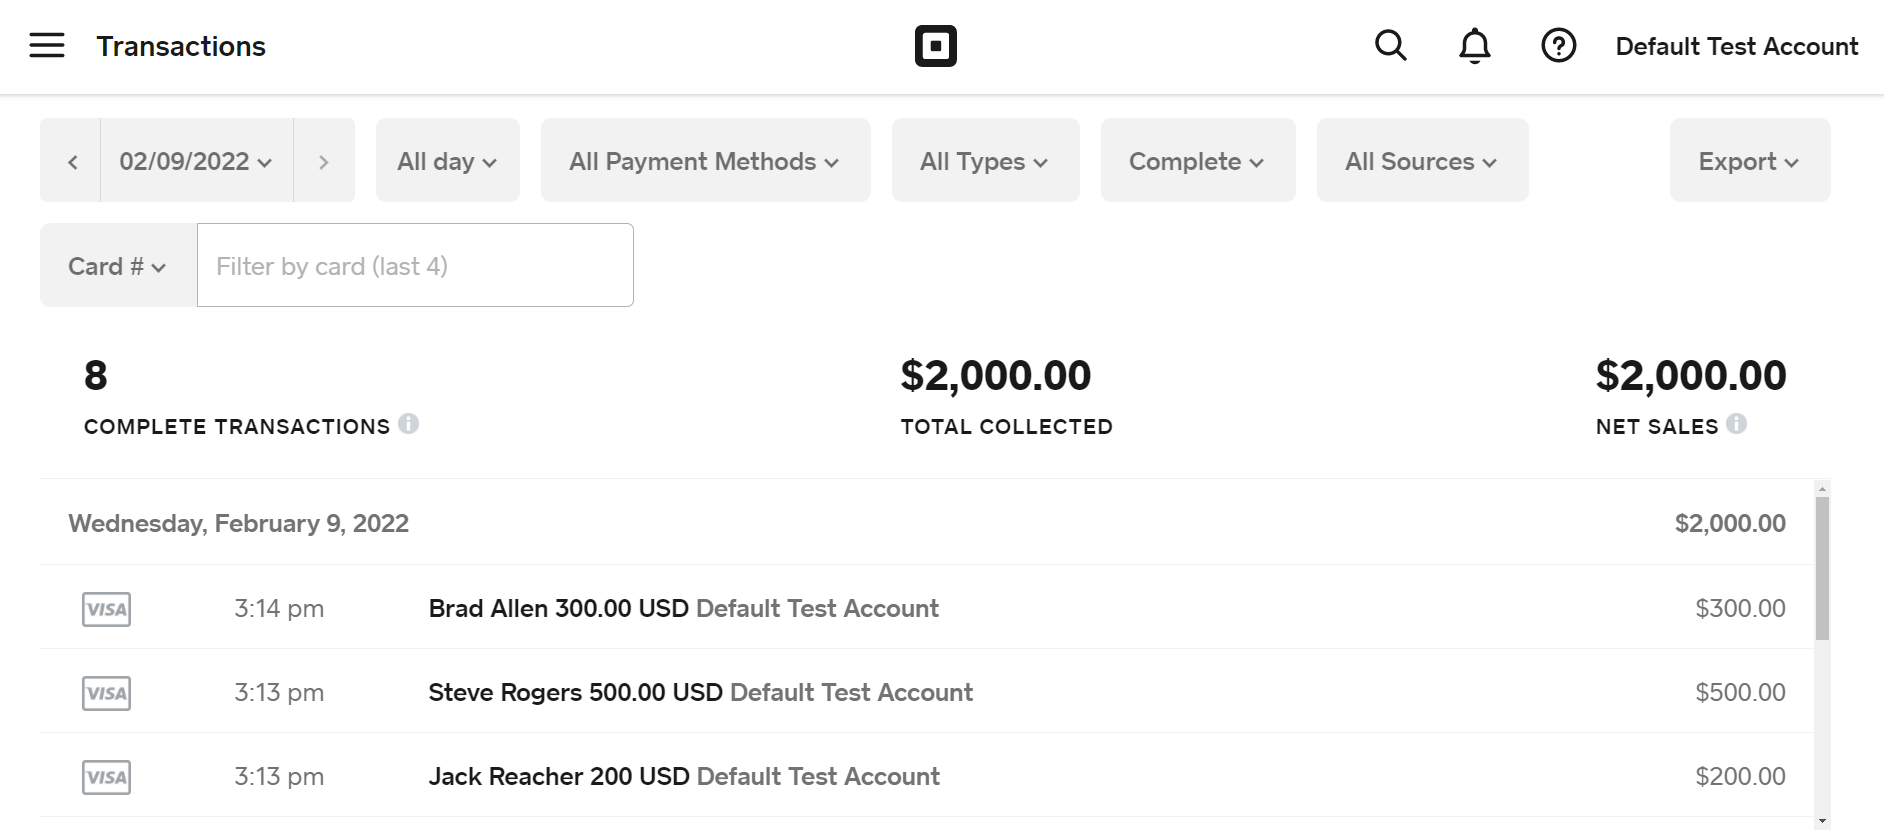
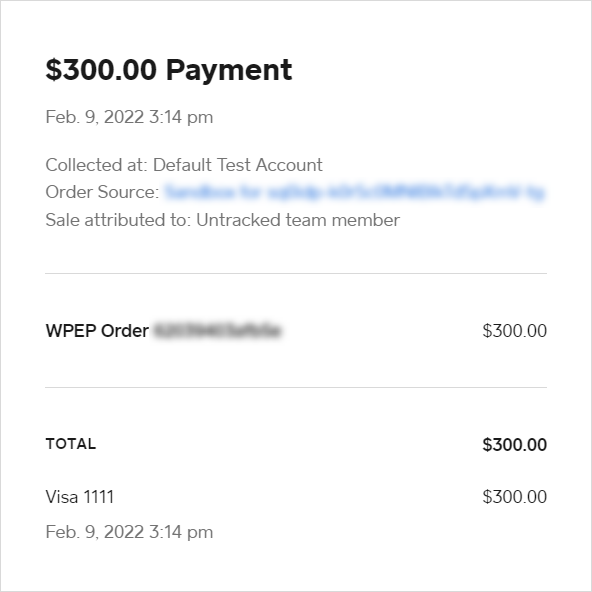
- Click on any Transaction to view the details.
Square Dashboard (Live Mode)
- Go to the Square Up Dashboard: https://squareup.com

- From the side menu, click on the Transactions.
- All your transactions will be displayed in this section.