
How to Create Quick Payment Forms with Simple Form Settings
How to Add More Customization to Your Forms
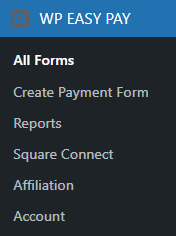
- To set up a payment form, navigate to the WordPress Admin Dashboard → WP EASY PAY→ Create Payment Form.
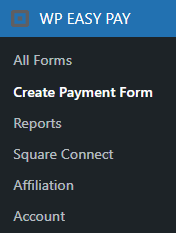
Select the Form Settings tab.
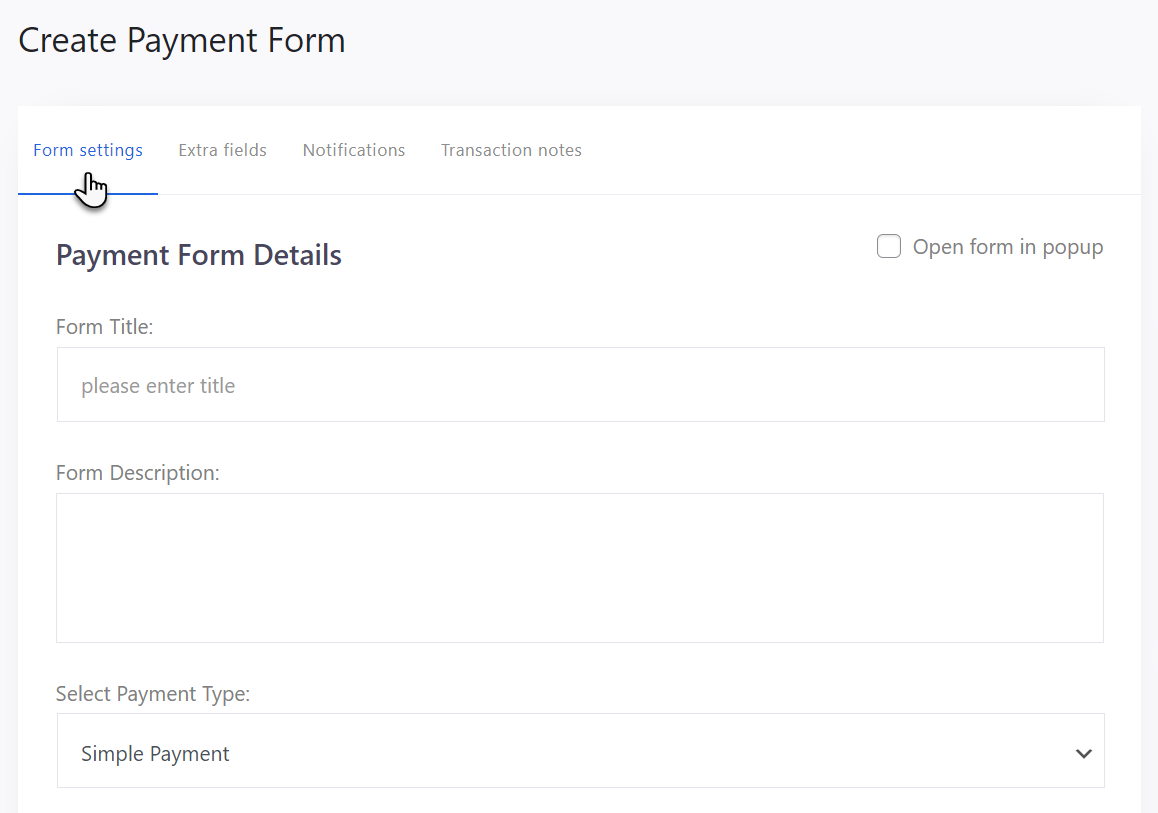
Payment Form Details
- Fill out the form details in the Payment Form Details section.
- Enter the title of the form in the Form Title field.
- Enter the description of the form in the Form Description field.
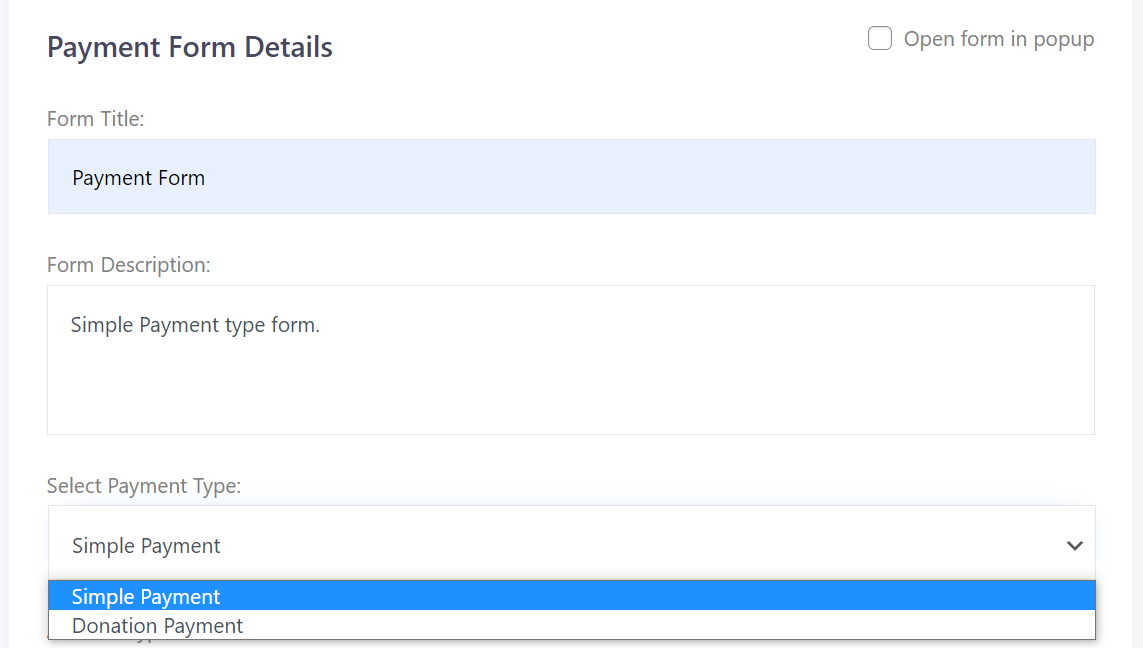
- Select Simple Payment or Donation Payment type from the Select Payment Type drop down menu.
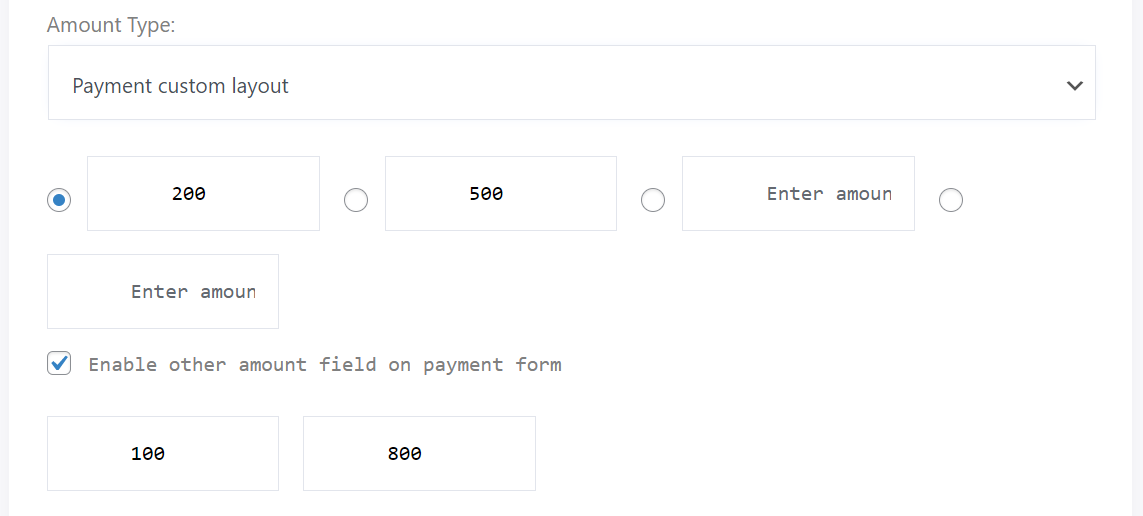
- Select the Amount Type layout if you have any layout.
- Enter the amount that will be paid through the form.
- You can enter multiple amounts.
- If you want to enable other amount field click the Enable other amount checkbox.
- After enabling this field, the Min Amount and Max Amount field will be enabled where the admin can enter the range of the amount.
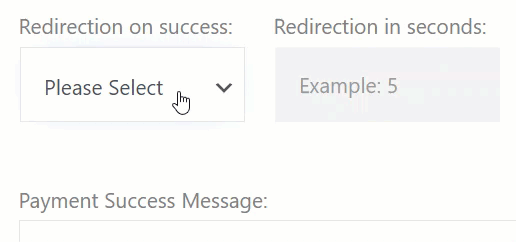
- You can also enable redirection on success.
- For this, select the Yes or No from the Redirection on success dropdown menu.
- When you select Yes, you can enter the duration of redirection in seconds.
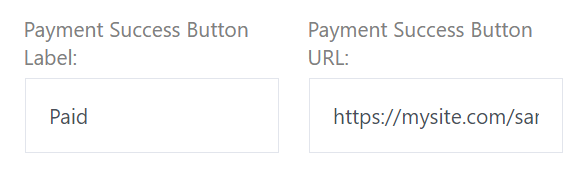
- Enter Payment Success Button label. This will be displayed when the payment is successful. When the user clicks this button, the site will be redirected.
- Enter Payment Success Button URL. On Payment Successful button click, the site will be redirected to the URL entered in this field.
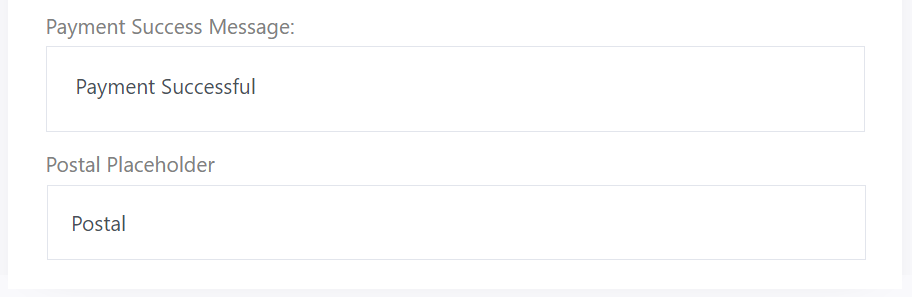
- Enter message text that will be displayed on successful payment in the Payment Success Message field.
- Enter the Postal Placeholder.
Payment Form Styling
Popup Form
- Payment form can be displayed in a Pop-up window.
- To enable the popup window, click on the Open form in popup checkbox.
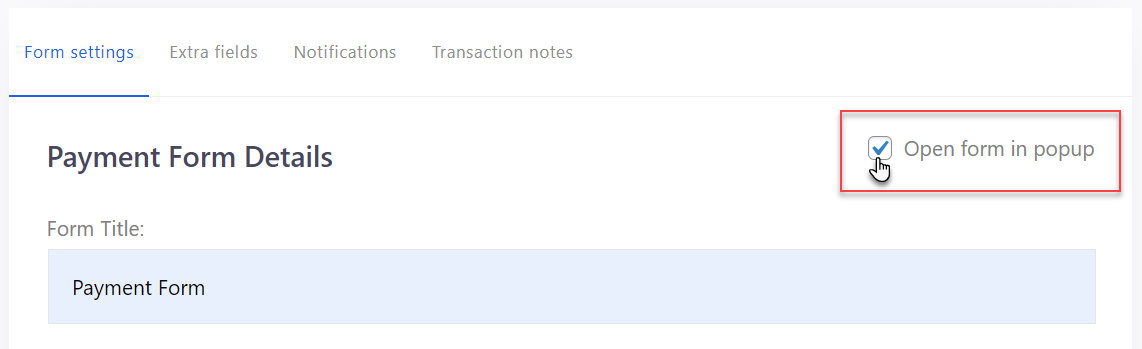
- A new field, Popup Button Title field will appear under the Form Description field.
- Enter the Popup Button Title, this will be displayed on the front-end and will be used to open the popup form window.

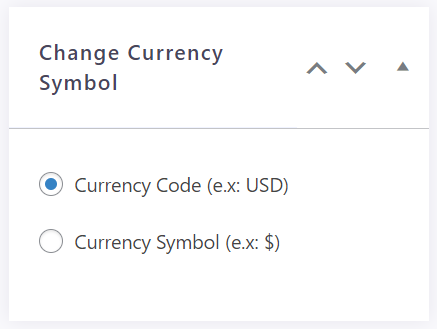
Change Currency Symbol
- You can also change the currency symbol.
- Navigate to the right side of the form.
- Change the symbol between Currency Code and Currency Symbol from the Change Currency Symbol section.
Form Style
- Now you can style your form.
- Navigate to the Form Style section on the right side.

- Change the form theme color from the Form Theme Color palette.
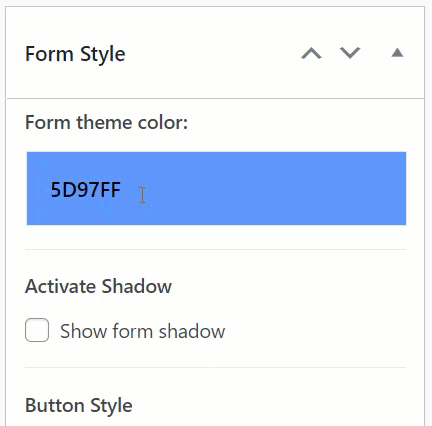
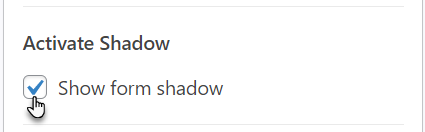
- To show the shadow of the form, click on the Show Form Shadow checkbox in the Activate Shadow section.
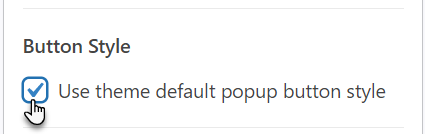
- If you want to use the default button style, click on the Use theme default popup button style checkbox in Button Style.
- Enter the button label text in the Pay Button Label field.

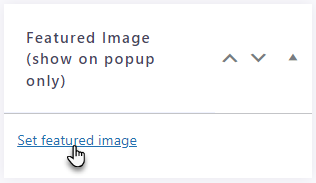
Featured Image
- The Admin can also set the Featured Image.
- This image will be displayed in the popup window only.
- Click on the Set Featured Image button.
- Select the image from the Media Library or Upload new.
- Your image will be displayed.

- After setting up the form, click on the Publish button to save and create the form.

Payment Form Shortcode
- The Shortcode for the form is located on the right side of the page.
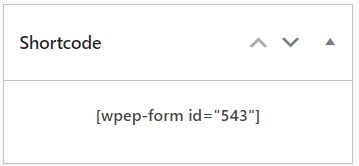
- The Admin can copy this shortcode after publishing the form and paste it anywhere in the page editor to display the form in the front-end.
All Forms
- Now, navigate to the WordPress Admin Dashboard → WP EASY PAY→ All Forms.
- You are in the All Forms section.
- All the created forms will be displayed in this section.
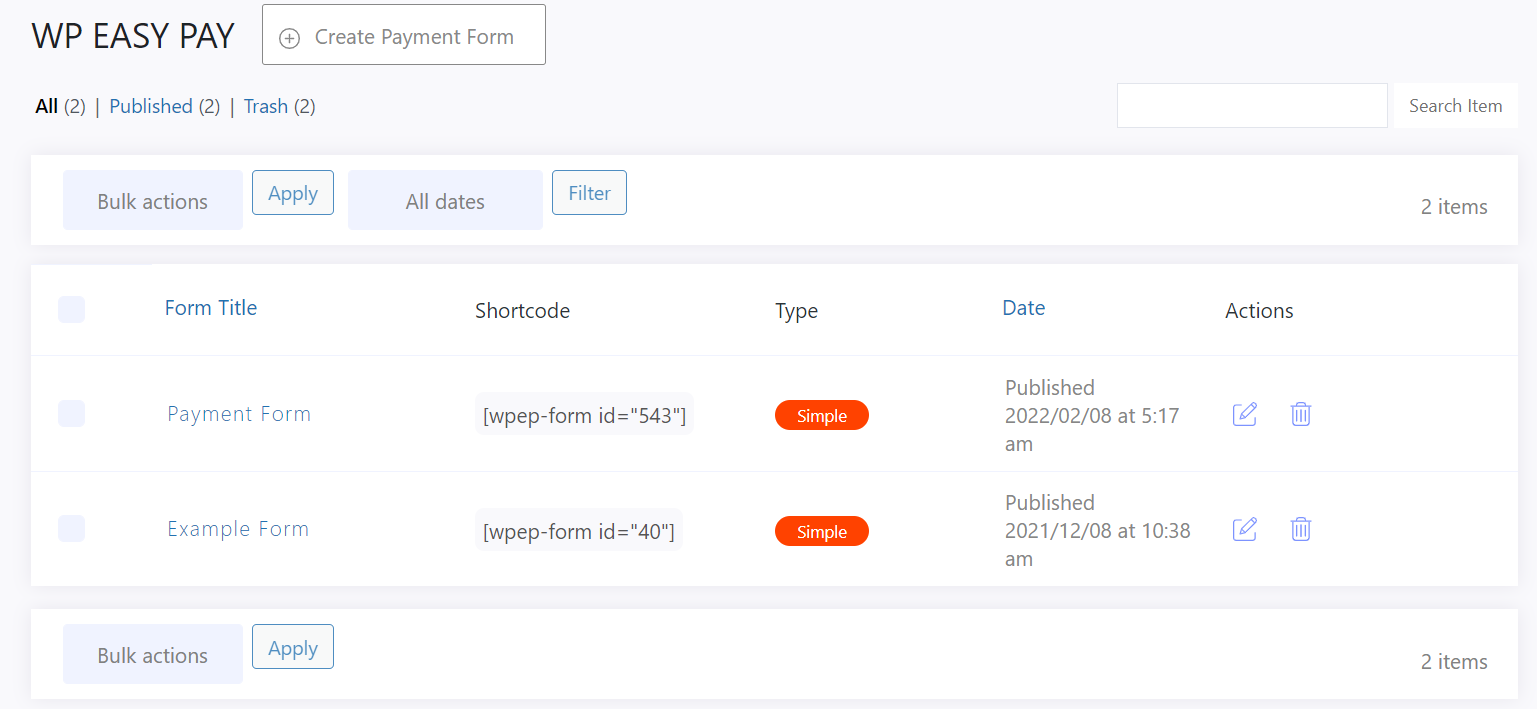
- The Admin can Edit or Delete the form in bulk using the Bulk Actions option.
- The Admin can Filter the forms date wise from the Filter options.

- The Admin can also copy the payment form ShortCode from here.

Edit a Form
- To edit the form, click on the Edit Icon button.

- The Edit Form page is the same as the Create Form page.
Delete a Form
- To delete the form, click on the Delete button.

- The form will be moved to the trash.
- You can undo the deletion and restore the form if you have accidentally deleted the form.
- If you want to delete the form permanently, go to the Trash section and delete it from there.