A private payment form in WordPress can be useful when you want transactions to be accessible only to specific people.
This can come in handy for multiple reasons that we will learn about in the following section.
By keeping the form hidden behind a password, you add a layer of privacy that prevents unauthorized users from viewing or submitting it.
In this guide, we will show you how to create a secure payment form and then restrict access to it, ensuring only those you want to can access or submit to your form.
You will learn how to set up the form, connect it to Square for payment processing, restrict access to it, and everything in between. The process is straightforward and requires no coding skills, making it suitable for users regardless of their technical expertise.
Before that, let’s discuss why a private payment form can be useful.
Why Set Up a Private Payment Form in WordPress?
Not every payment form needs to be public. In many cases, restricting access ensures security, professionalism, and a better user experience. Here are some scenarios where a private payment form can be valuable:
- Exclusive events. Ticket sales or registrations are meant only for invited guests.
- Client-specific invoices. Such payment forms can help process payments from an individual or multiple clients without exposing the form to the general public.
- Internal company use. These private payment forms can work for staff payments, reimbursements, or internal orders.
- Limited-time offers. To share payment links with a select audience during special promotions. For example, returning user offers are meant only for specific users.
By limiting access, you reduce the risk of spam submissions, unauthorized payments, and unwanted exposure of sensitive transaction details. It also helps keep your payment workflow organized and relevant to the intended audience.
Prerequisites For Setting Up a Private Payment Form in WordPress
Before jumping into the steps, let’s understand the process and a few things you must have ready before we begin. Below are the tools that we will use throughout the setup, and in the following sections, we will also discuss why we chose these specific plugins over others.
- A WordPress account or permission to install plugins. If you are doing it for a client’s website, ensure you have the necessary permissions required for managing plugins.
- WP EasyPay. The plugin that creates the form and connects with Square for payment processing. It does much more than just create forms; look at all the features.
- A square developer/seller account. To accept payments through Square, you must have a Square developer/seller account.
- Password Protected. The plugin that will privatize the page or post where the form will be placed.
4 Steps to Set Up a Private Payment Form in WordPress
Now that you understand why setting up a private form can be helpful, let’s get right into the steps.
Step 1. Install WP EasyPay
Let’s begin with installing WP EasyPay first.
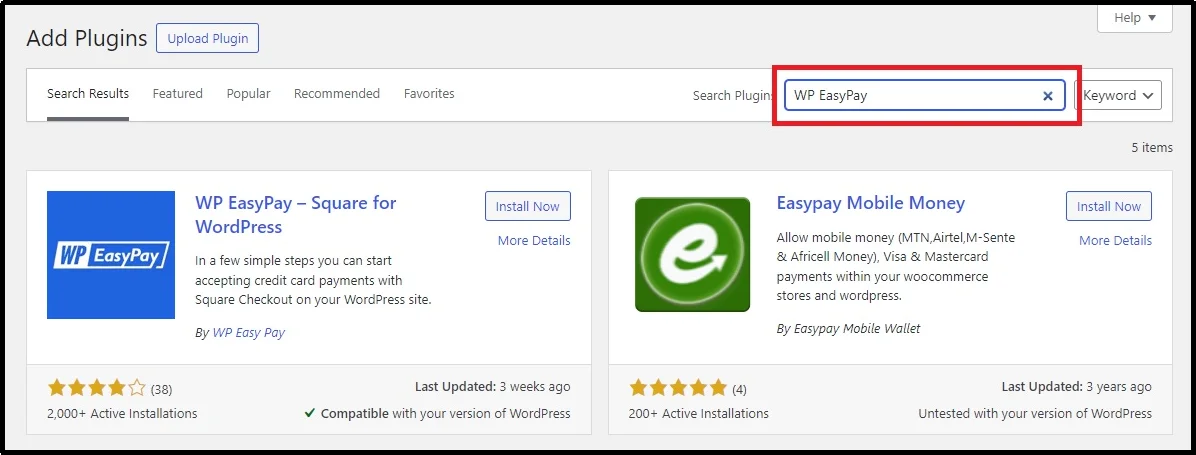
- Head over to Plugins → Add Plugin
- Search for WP EasyPay
- Install and activate the plugin.
Although creating a form is free, advanced features, such as multi-currency support, recurring billing, digital cards and wallets, multi-step forms, and many other helpful features can only be obtained by opting for a premium plan. Check out the plans.
Note: WP EasyPay Premium will not work with the free version of the plugin. If you want to go for the premium one, delete the free version before following the next steps.
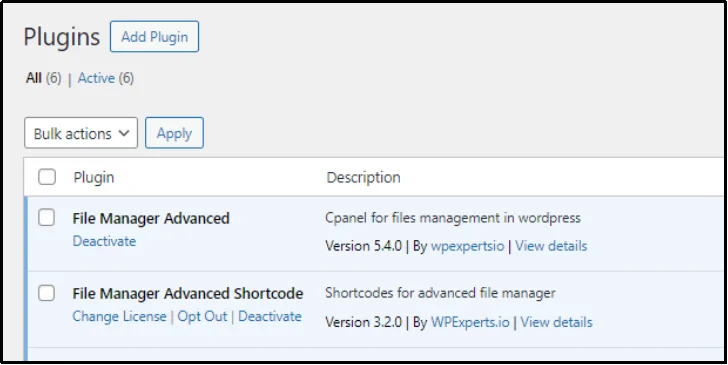
- After getting your favorite plan, go back to your WordPress and click the Add Plugin button → Upload Plugin at the top.
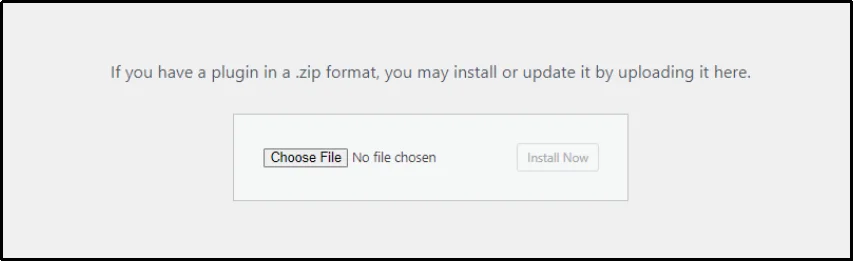
- Select the Choose File button, browse, open the ZIP file of the premium plugin, and click Install Now.
- Add the license key, and you are good to use the premium features available in your plan.
WP EasyPay is designed to make WordPress payment form building both simple and powerful.
Key Features That Set WP EasyPay Apart:
- Custom and fixed payment options for donations, products, or services.
- Recurring billing and subscription management for memberships or repeat payments.
- Digital wallet support including Apple Pay, Google Pay, Cash App, and Afterpay.
- Square POS and Square Terminal compatibility for online and in-person payments.
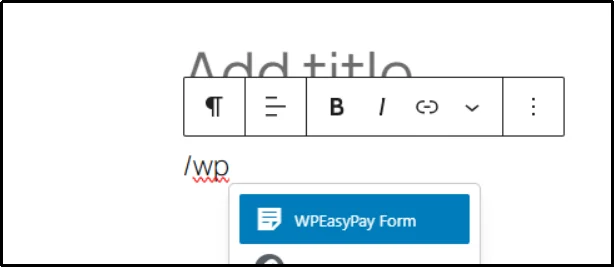
- Gutenberg block and shortcode integration to embed forms anywhere on your site—as we will see later in this article.
- Robust security through Google reCAPTCHA, OAuth Square connections, and PCI compliance.
- And much more.
These features make WP EasyPay a reliable solution for WordPress users who want flexibility without complexity.
Step 2. Connect with Square.
Now for the second step, let’s connect to Square. WP EasyPay offers two modes, Test and Live Payment, that you can switch between using the toggle button at the top right.
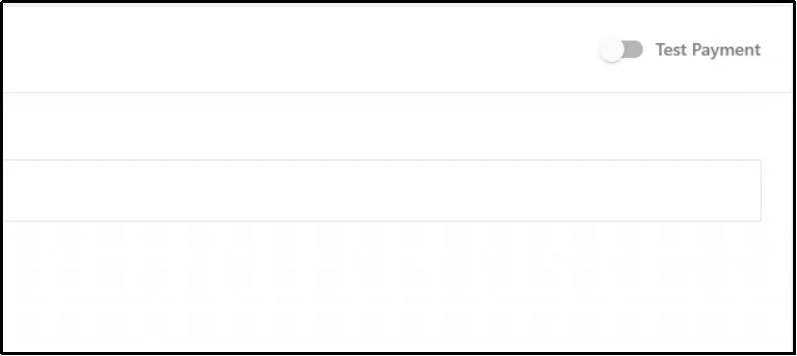
As the name suggests, test payment allows for testing the transactions before accepting them to ensure actual payers don’t come across any problems while purchasing or making transactions.
The Live Payment is the mode that allows accepting real payment, which is what we will be setting up here.
- Switch the toggle button to Live Payment.
- Click Connect Square.
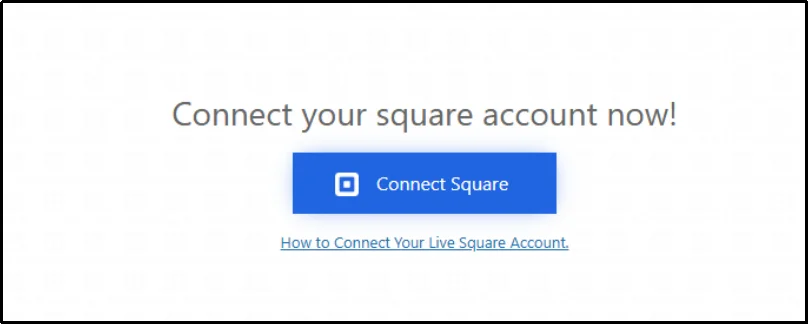
- Login using your Square Developer account login credentials.
- Finally, you will be redirected to the confirmation screen, click “THAT’S MY SITE – REDIRECT ME.”
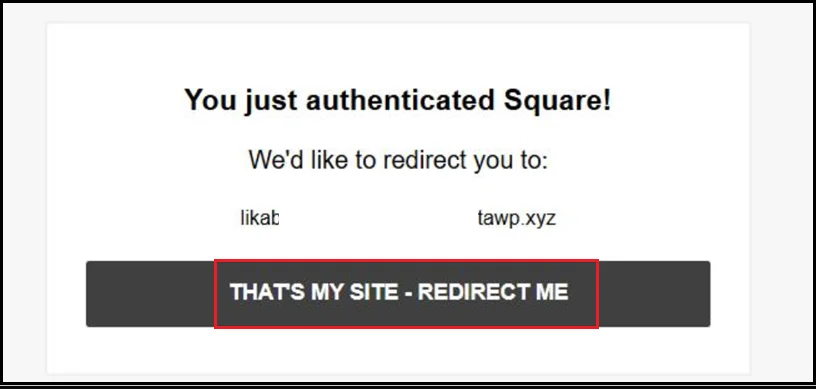
Just like that, you should be in your Square Dashboard.
- Lastly, check the payment options that you need on your payment forms. WP EasyPay offers multiple wallets to choose from.

Let’s create a Payment form now, and then we can move on to making it private.
Step 3. Create a Payment Form.
WP EasyPay offers a wide range of features for creating a form. Let’s do it together.
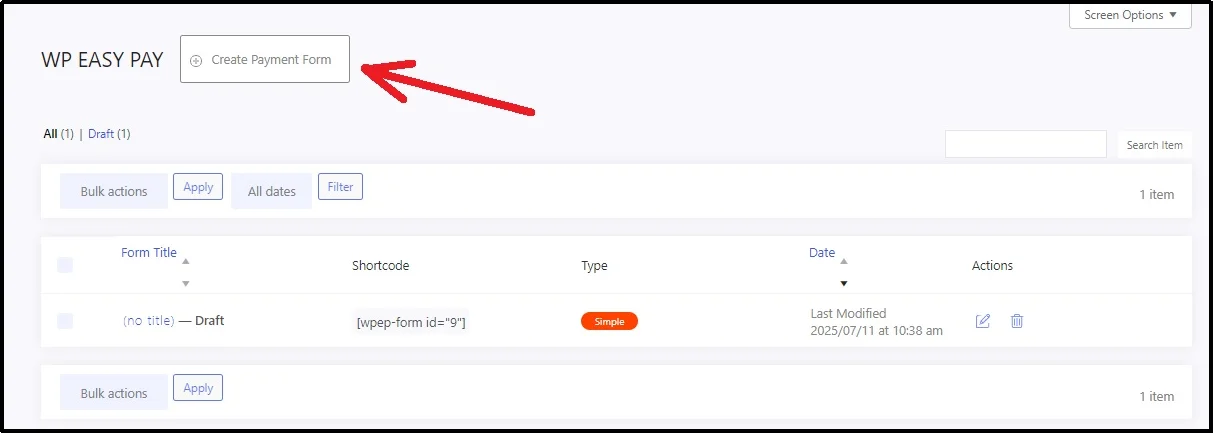
- Navigate to WP EasyPay → Create Payment Form
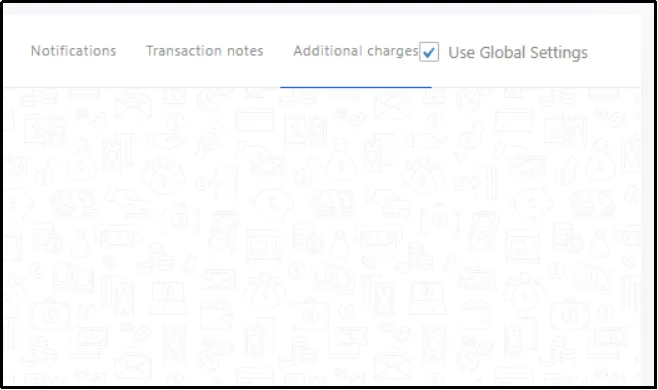
- Check the Use Global Settings checkbox in the top right corner. Now that it’s checked, it will ensure to use WP EasyPay’s global settings—the ones we did in the last step.
- Switch to the Form Settings tab.
- Start creating your payment form by naming and adding a description.
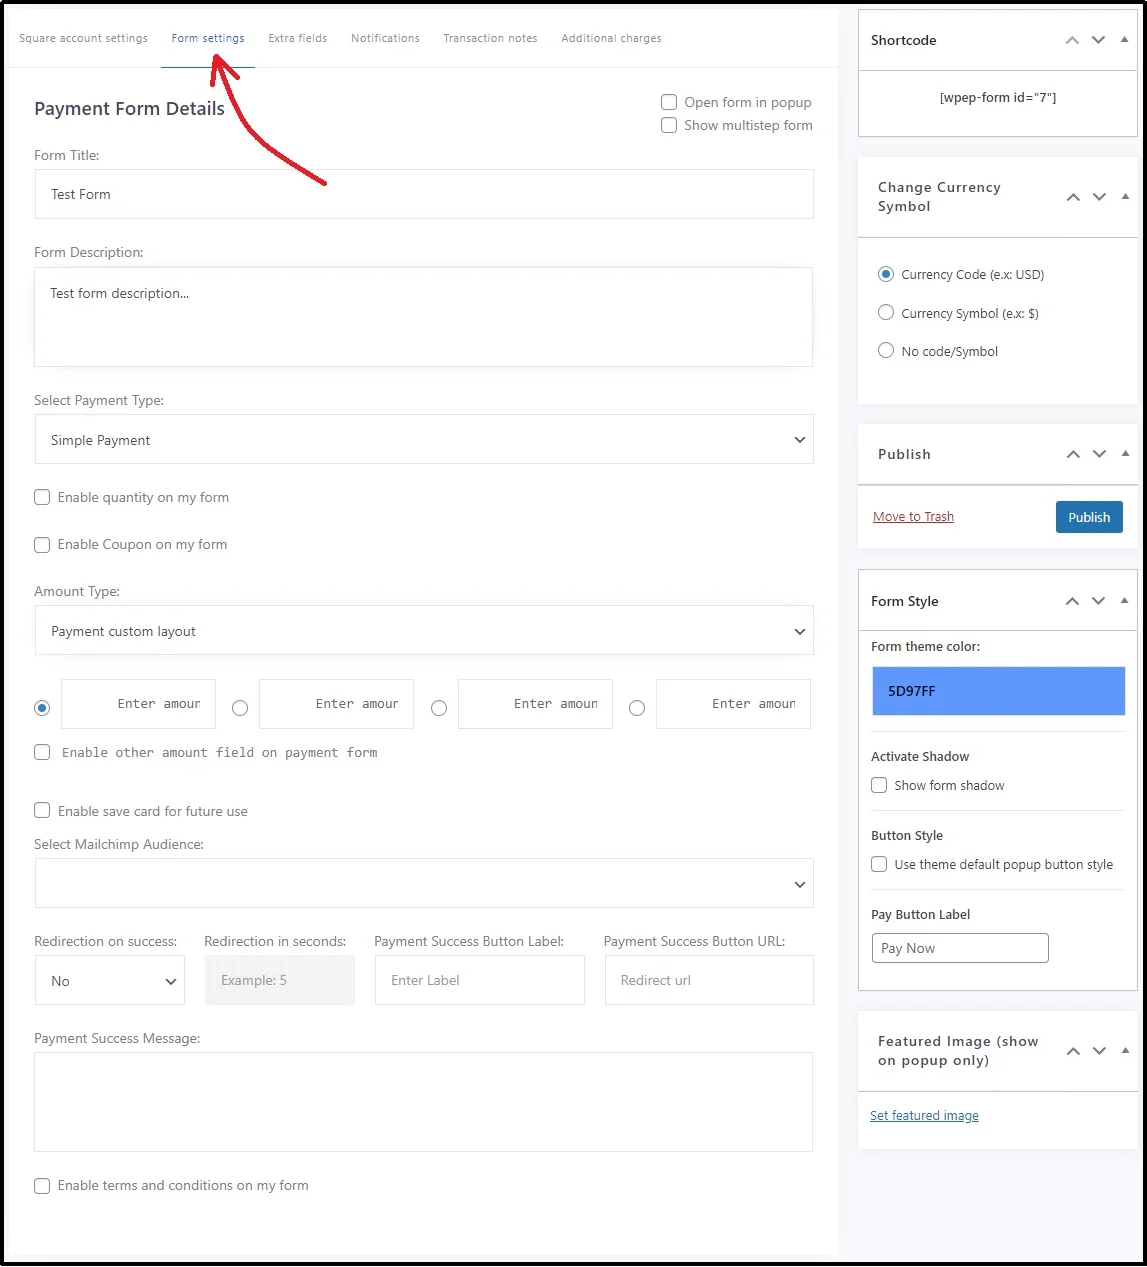
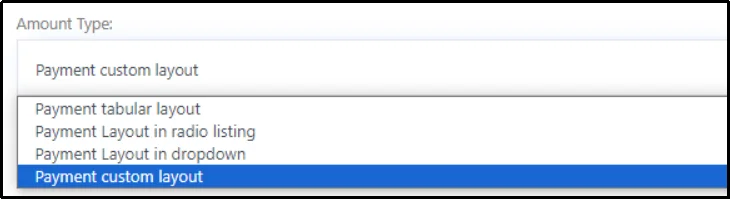
- Select payment and amount type from the respective drop-downs.
- Finally, enter the success message that appears after a successful transaction.
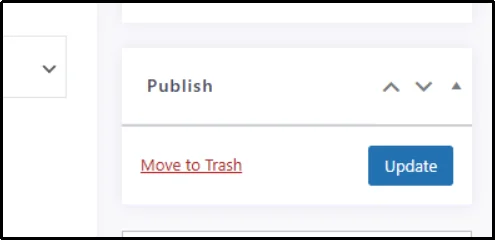
- Once done, publish the form.
The form is ready and you can now place it on any page or post. You can do so either via a Shortcode or a Gutenberg block.
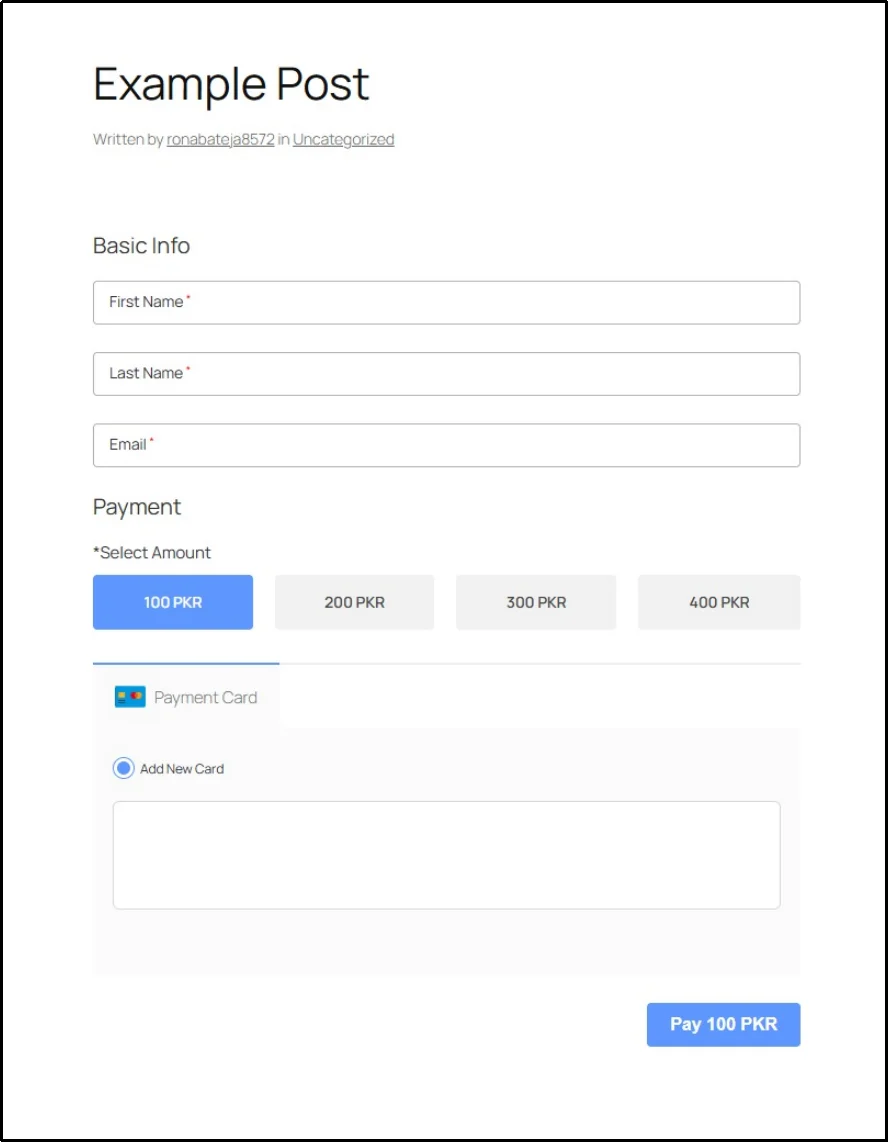
Here’s how the form should look.
Step 4. Privatize the Payment Form.
For the final step, let’s make the form private.
As discussed, we will be using Password Protected for that.
Unlike traditional membership plugins, which are often complex, Password Protected offers a simpler and more efficient way to secure content.
Membership tools are designed for full-scale communities, subscription websites, or role-based access systems. While powerful, they can be excessive when all you need is to protect a single page or a handful of posts. They also introduce additional charges for better control.
Password Protected, on the other hand, is lightweight yet versatile. It lets you apply restrictions exactly where needed without the extra complexity. This makes it ideal for cases where you want quick, secure, and flexible control over access.
Key Features That Make Password Protected a Better Choice
- Protect unlimited posts, pages, and custom post types with ease.
- Create and manage multiple passwords per page or category.
- Limit login attempts to block brute force attacks.
- Set expiration dates for time-limited access.
- Generate bypass links for VIP or internal access without sharing passwords.
- Lock down entire categories or taxonomies in one step.
- Track password activity with IP, browser, and timestamp data.
For protecting a specific page, navigate to Password Protected settings → Content Protection → Post Type Protection.
Here, you have chosen to protect pages or posts individually or globally. The global one, protects the post or pages section entirely. The individual one allows for setting up passwords for individual posts or a page.
Since we have placed the payment form on a post. Let’s go on to protect an individual post.
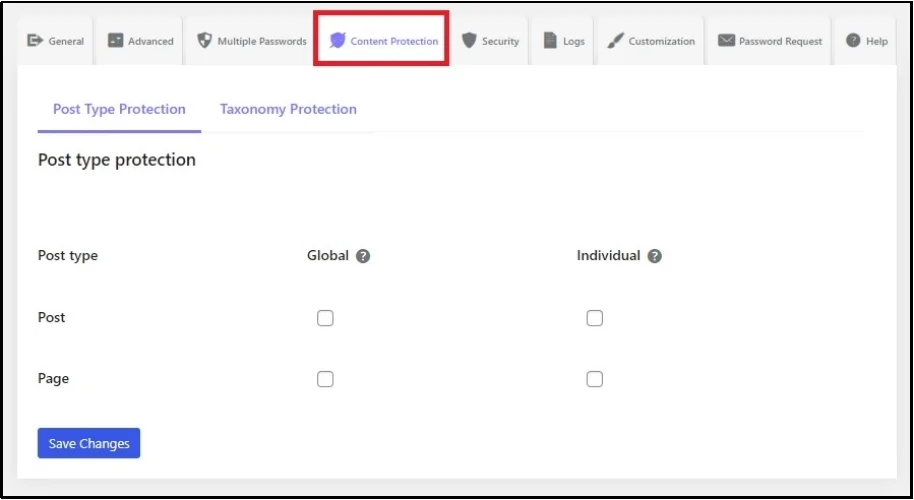
- Check the box in the Post row and Individual column.

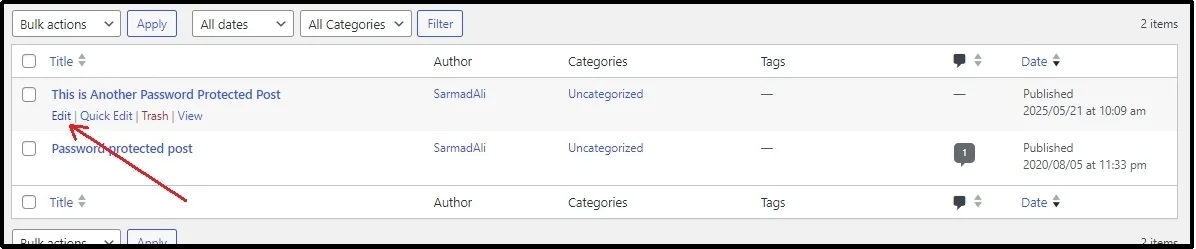
- Save changes. Go back to all posts and edit the one you want to protect.
- Scroll down until you find the plugin’s section.
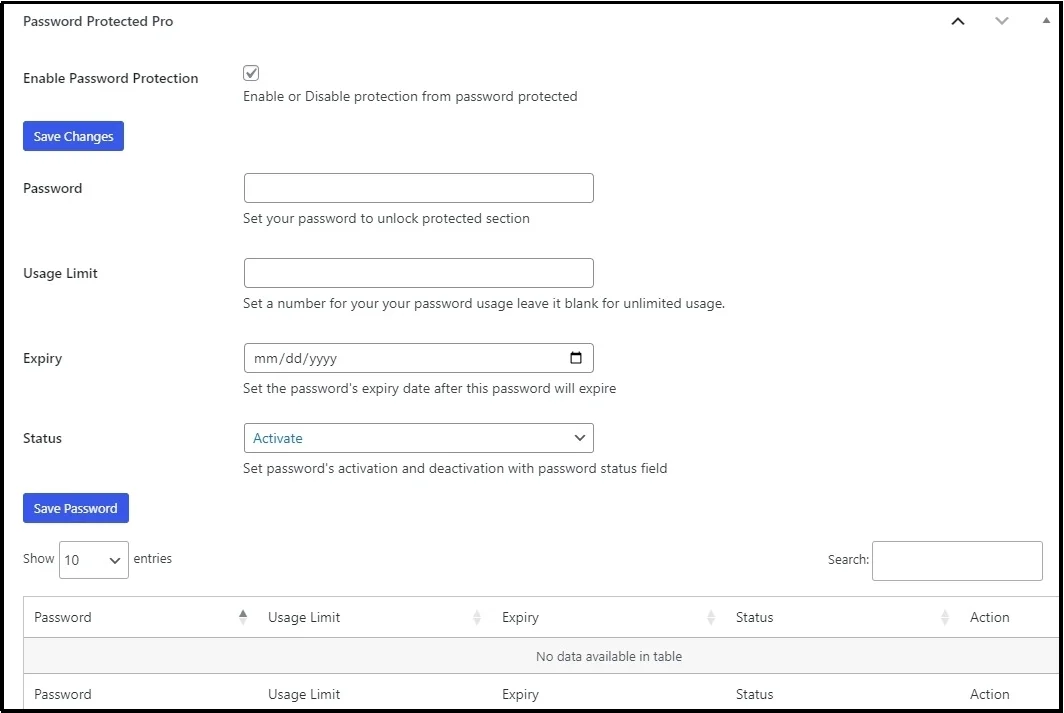
- Check the Enable Password Protection.
- Enter the password, set usage limit, and expiry.
- Once you are done with the settings click Save Password.
Now, every person who visits the page, will see a Enter Password field
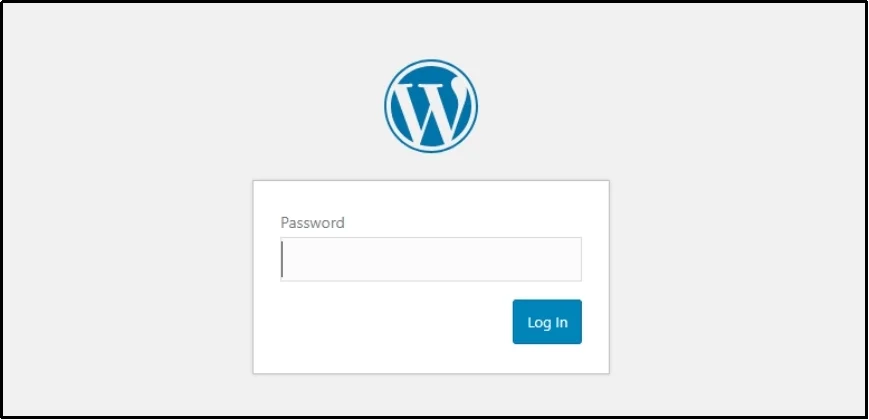
This would require you to share the password with everyone who should be allowed to access the private form.
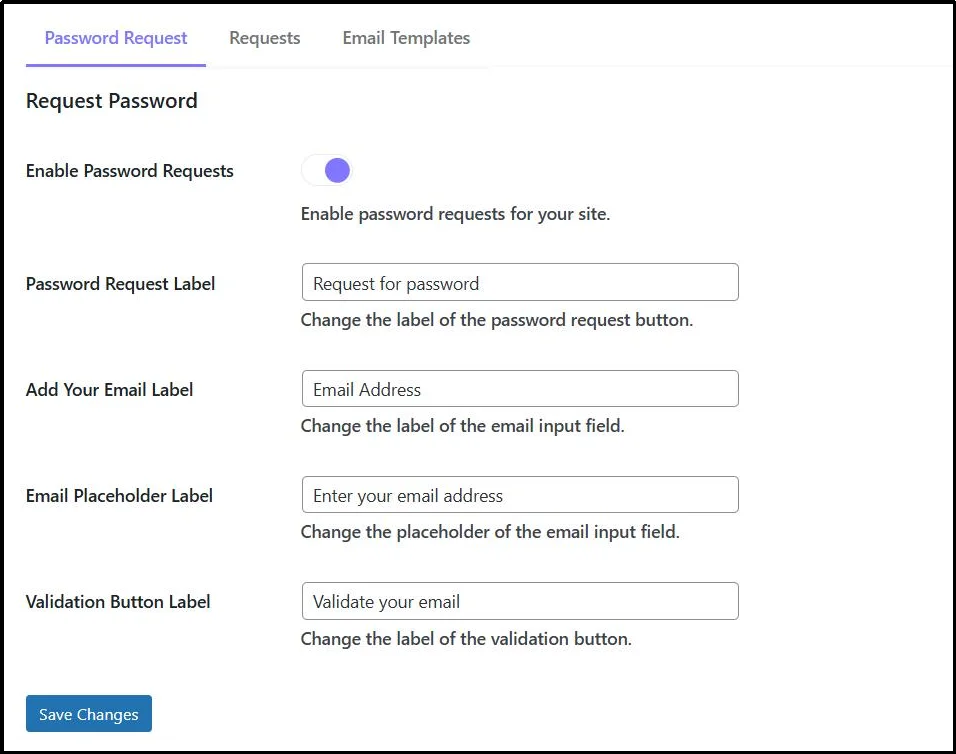
Alternatively, you can set up a Request Password feature. To do so:
- Navigate to the plugin’s settings.
- Request Password tab → Password Request sub tab.
- Enable Password Requests using the toggle button and set it up according to your requirements.
- Next, switch to Email Templates subtab and enter email subject and body.
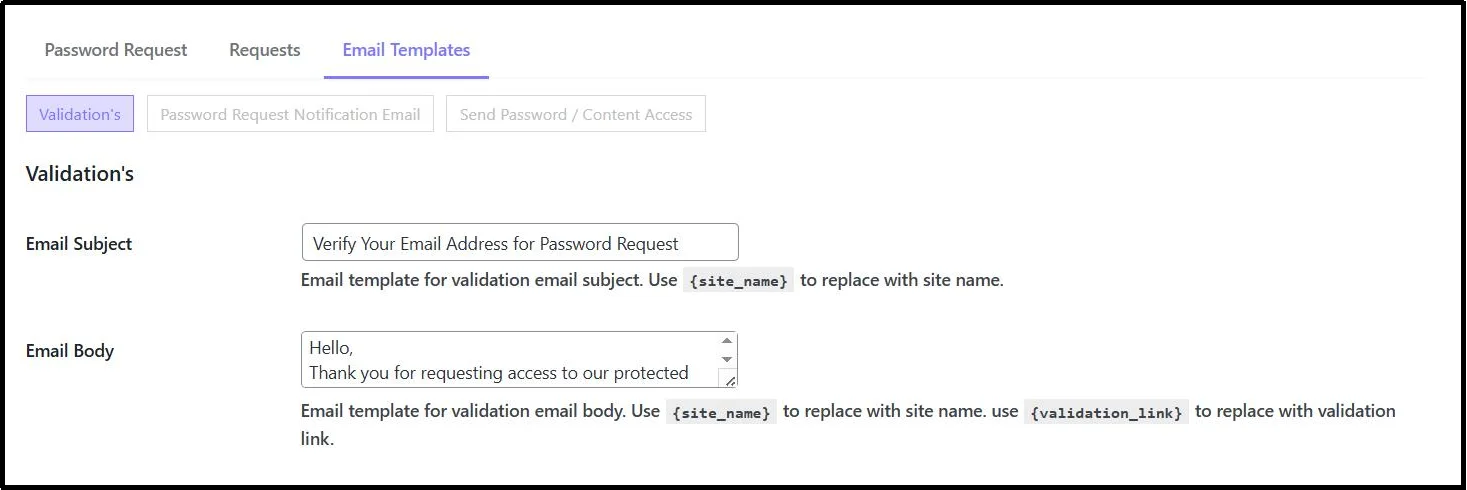
- Don’t forget to save progress using the Save Changes button.
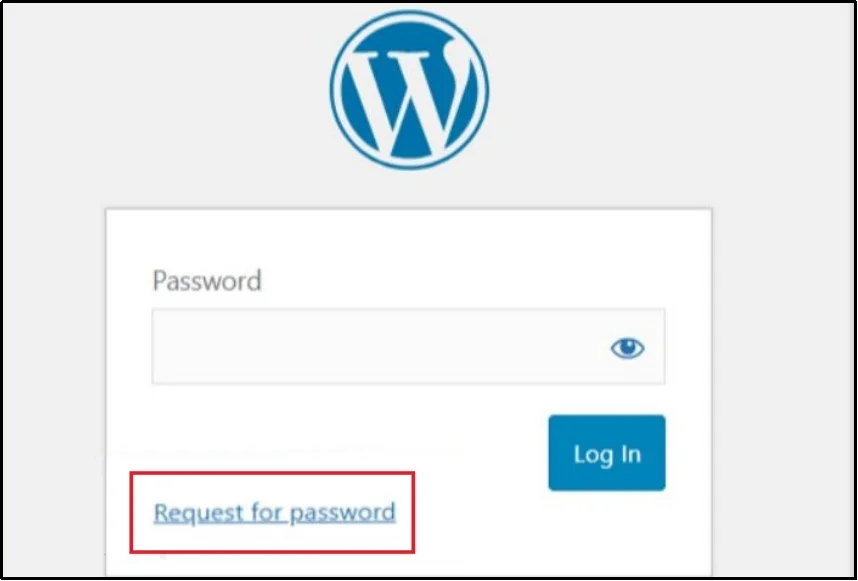
Afterward, visitors will see this specific button, which upon pressing, triggers a pop-up form that records their email address.
The visitors will receive a confirmation email and it will notify you simultaneously.
You can then filter requests in the Request subtab and Request Password tab.

Every entry has specific details, including:
- Request ID
- Page/post requested access
- Request status
- Date and time
Along with Approve and Reject buttons, enabling you to allow or reject the request with a single click.
Final Words
Setting up a private payment form in WordPress does not have to be complicated. By combining WP EasyPay with Password Protected, you get a solution that balances powerful payment processing with straightforward content privacy.
WP EasyPay, along with Square, ensures your transactions are safe and secure, while Password Protected keeps your form accessible only to the people you choose.
This approach is ideal for businesses of all sizes. Whether you are handling client invoices, event registrations, or internal company transactions, this setup gives you full control over who can access and use your form.If you are looking for an easy yet effective way to manage private payments in WordPress, this method is one of the most efficient routes you can take. Download WP EasyPay today and pair it with Password Protected! Together, they can create a private payment form that is functional, reliable, and just right!