
Crowdfunding has become one of the most powerful ways to raise money online for nonprofits, community projects, creative ventures, and local causes. According to reports, the global crowdfunding market is set to grow at a 17.6% CAGR from 2024 to 2030, reaching $5.53 billion by 2030. This rapid growth shows how strongly people believe in supporting meaningful campaigns through small, collective contributions.
Crowdfunding works because it brings communities together. Supporters feel emotionally invested when they understand the story, the purpose, and the real impact their donations can create. Transparent goals, visible progress bars, and easy online payment options encourage more people to participate and keep a campaign’s momentum going.
For anyone using WordPress, launching a crowdfunding campaign becomes even more accessible. WordPress gives you complete control over your content, storytelling, and branding, without relying on high-fee third-party platforms. And with plugins like WP EasyPay, you can accept secure Square donations, display fundraising goals, offer preset or custom donation amounts, and provide donors with a seamless giving experience. This makes online fundraising not only simple but also secure, mobile-friendly, and highly effective.
With the right tools and an inspiring cause, your WordPress site can quickly become a central hub for successful crowdfunding and meaningful community impact.
Step-by-Step Guide to Set Up Crowdfunding in WordPress
Setting up a crowdfunding campaign in WordPress might sound complicated, but with the right tools, it’s straightforward and highly effective. Using WP EasyPay, you can create a secure, fully customizable donation form, track campaign goals in real time, and provide your donors with a seamless giving experience.
In this step-by-step guide, we’ll walk you through the entire process, from connecting your Square account to publishing your donation form, so you can start raising funds for your cause quickly and confidently.
Step 1 — Install and Activate WP EasyPay Pro
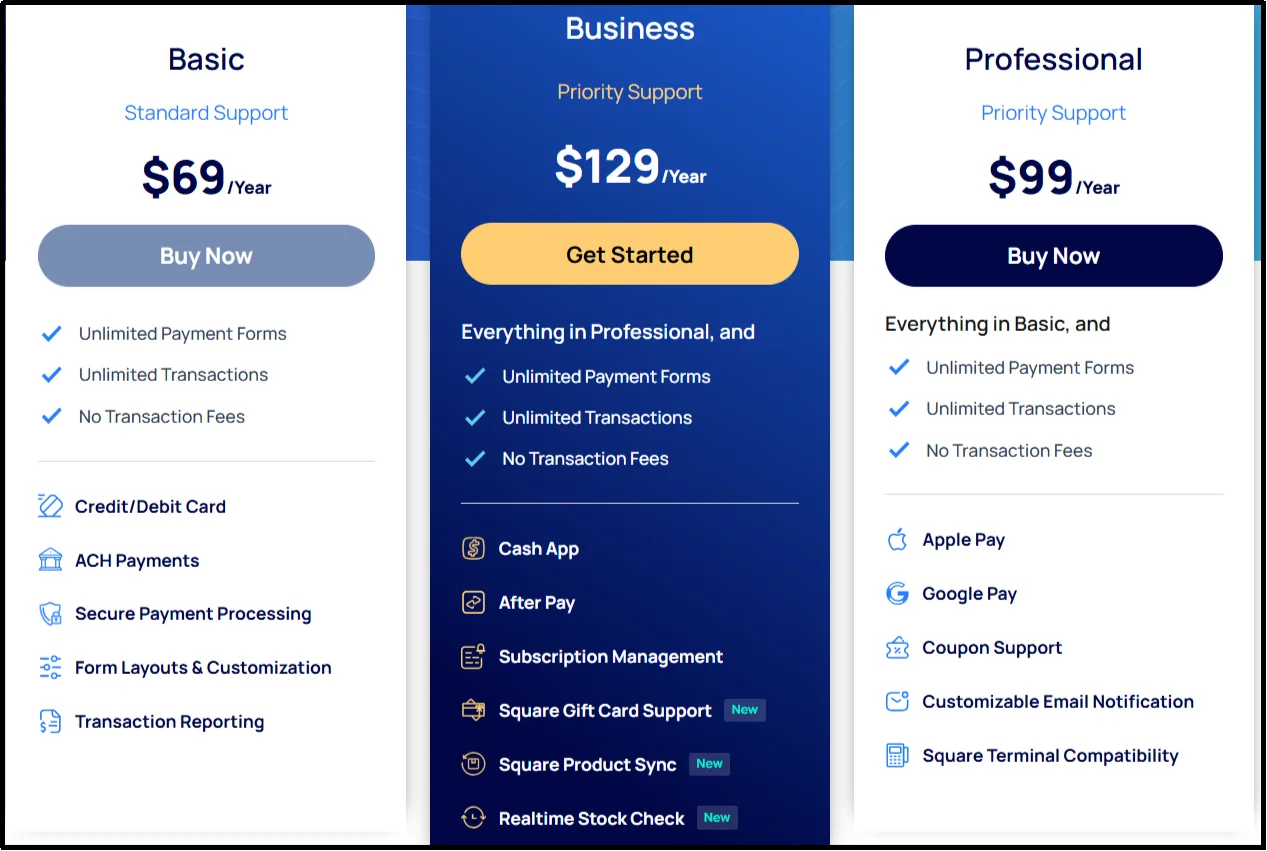
- Go to https://wpeasypay.com/pricing/. Select the plan you want (Annual or Lifetime).
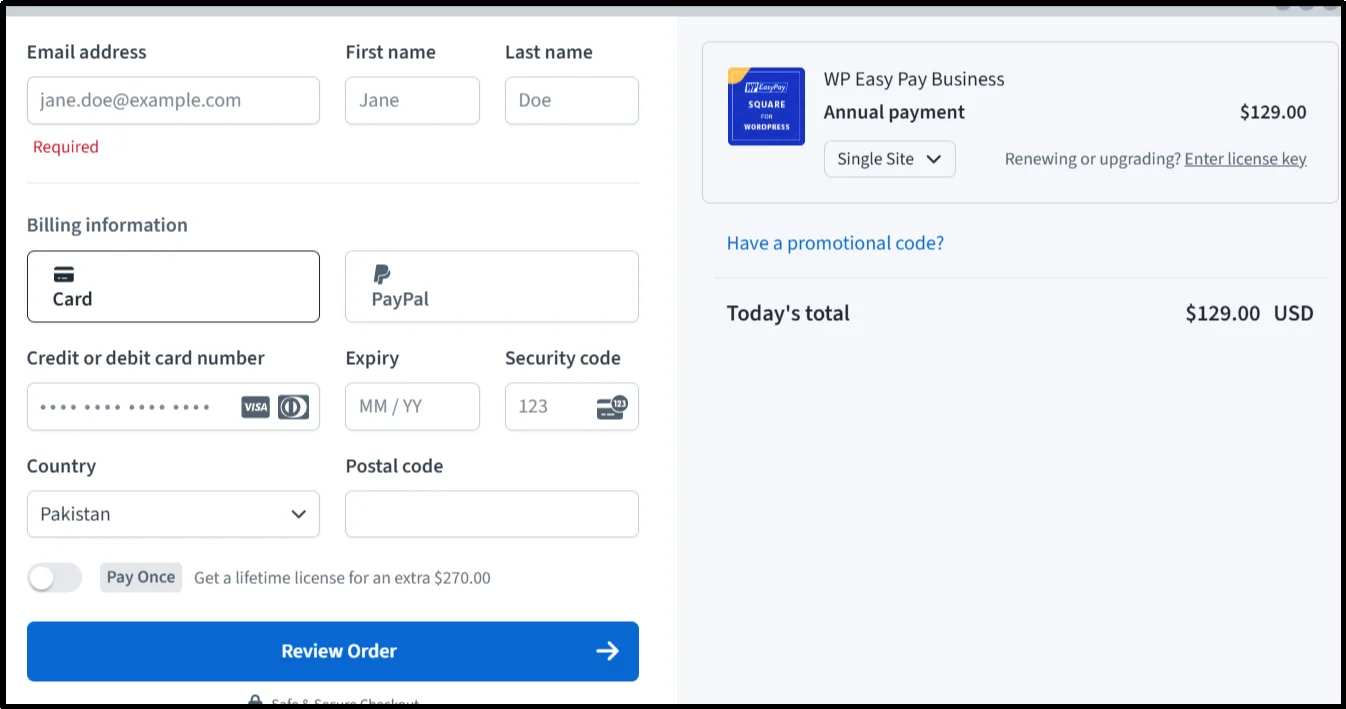
- Enter your personal details and card information. Click Review Order.
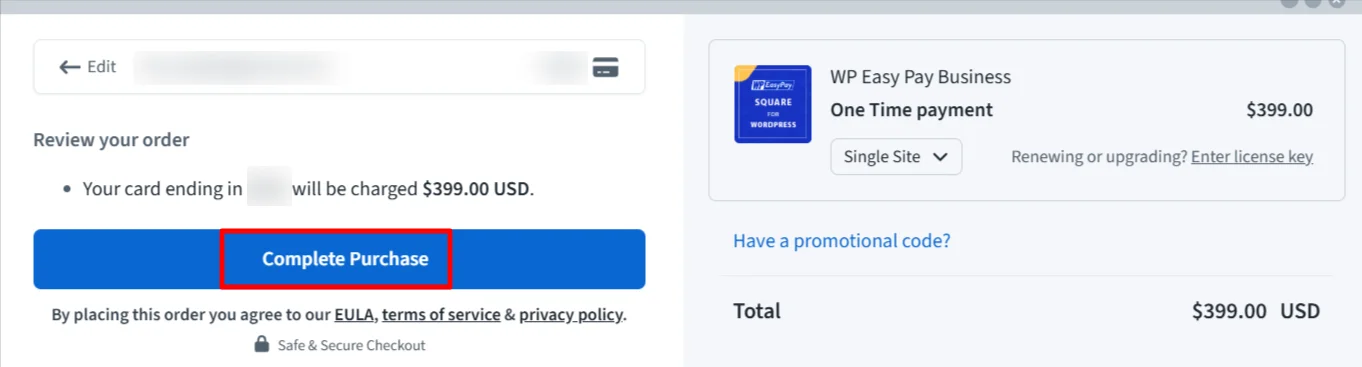
- Then, click Complete Purchase.
- Check your inbox for the confirmation email. If you received it, click Got it. If not, click Resend Email.
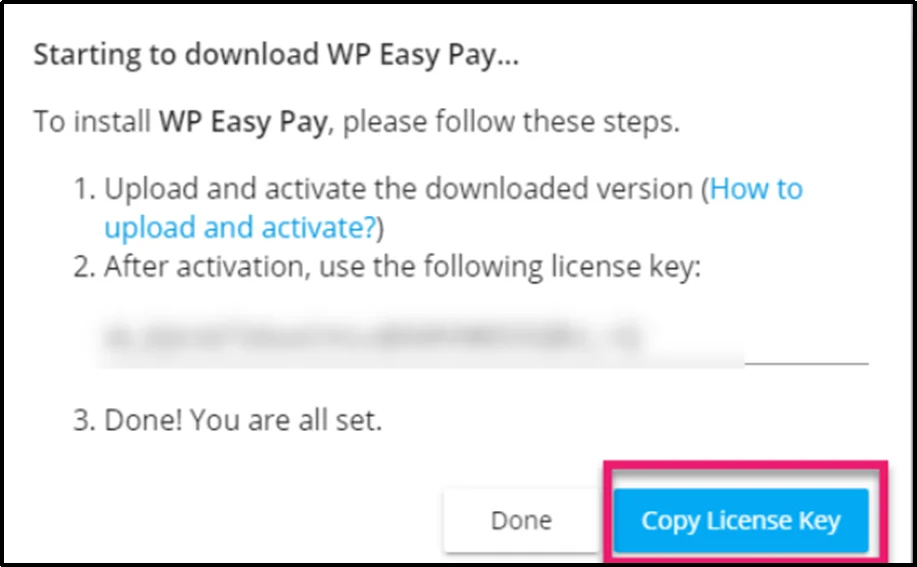
- In your email, you will find:
- The plugin download link
- Your License Key
- In your WordPress dashboard, go to Plugins, then click Add New Plugin, and select Upload Plugin.
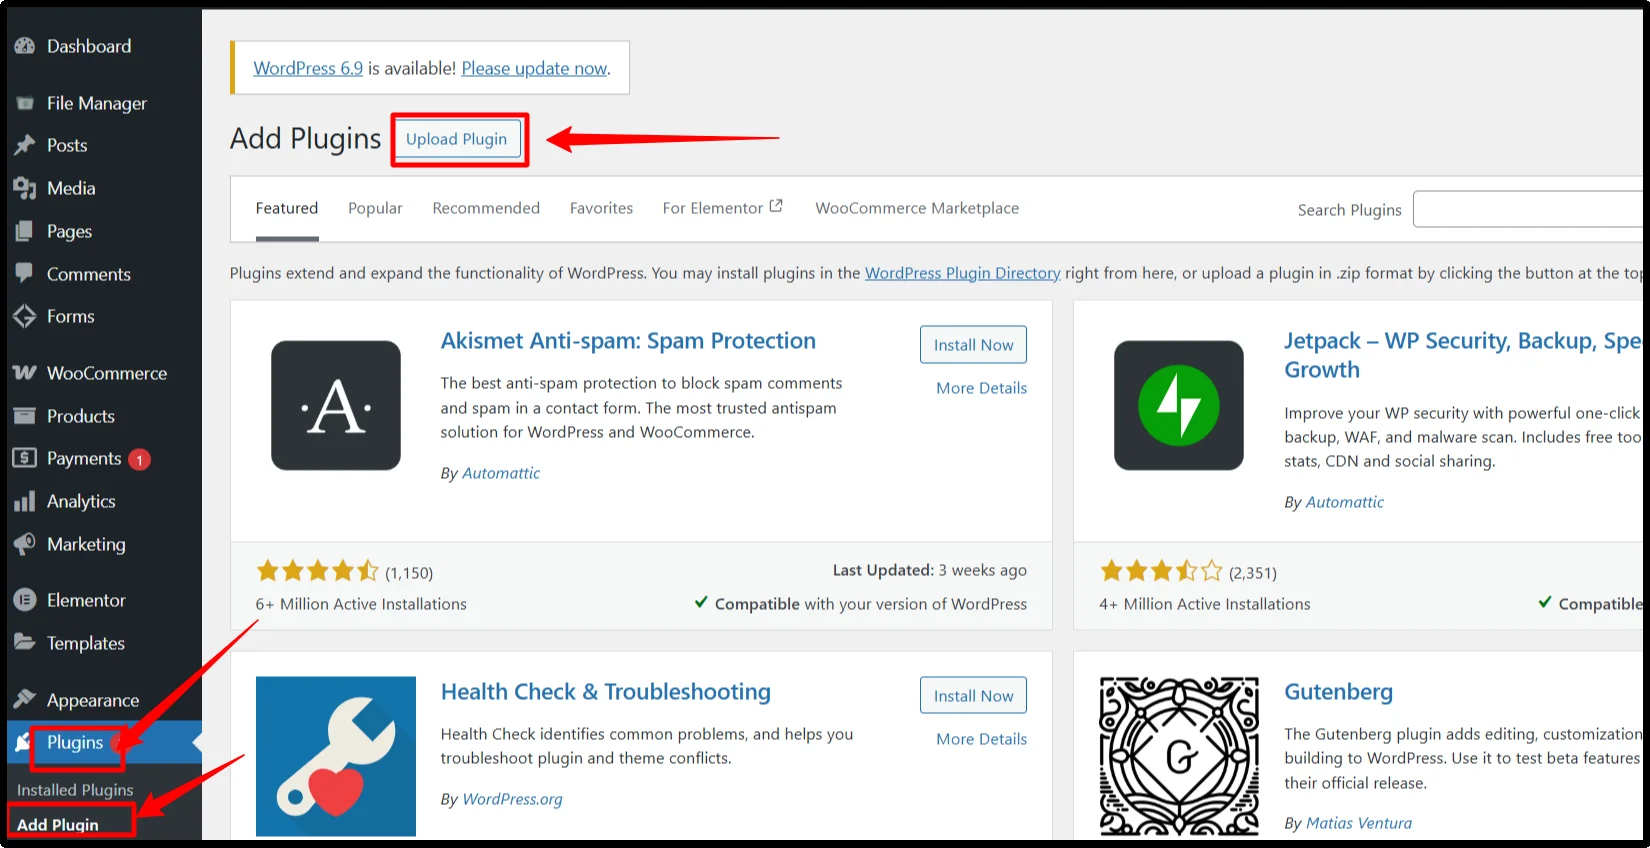
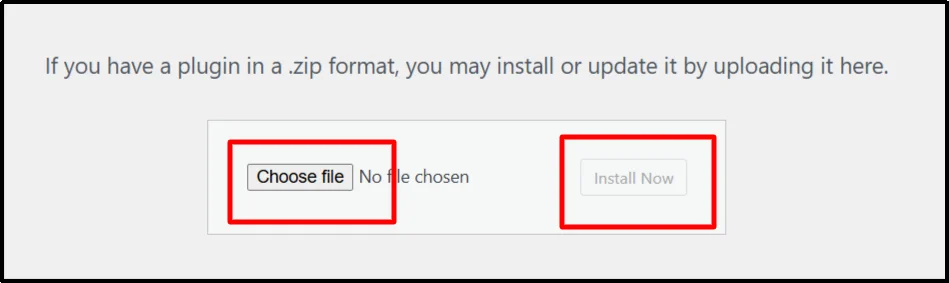
- Click Choose File, select the WP EasyPay ZIP file, then click Install Now.
- Once installed, navigate to Plugins. Go to Installed Plugins and then Activate License.

- Paste your License Key into the field. Click Agree & Activate License.
Once activated, WP EasyPay will appear as a menu item in your admin panel.
Step 2 — Connect Your Square Account
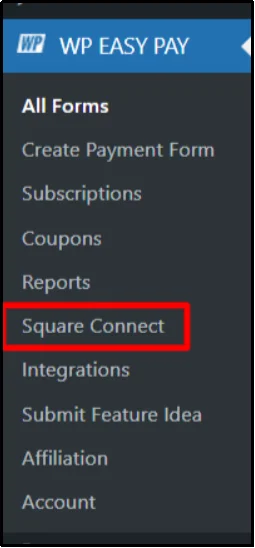
- Open your WordPress Admin Dashboard in a new tab. Navigate to the WP EasyPay menu and go to Square Connect.
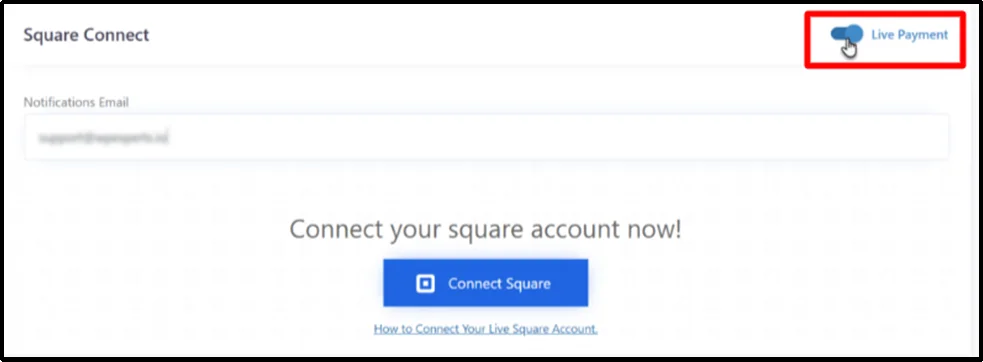
- Switch the Payment Type toggle to Live Payment. Enter your Notification Email and click Connect Square.
- You will be redirected to the Square login panel. Enter your email and password, then click Sign In.
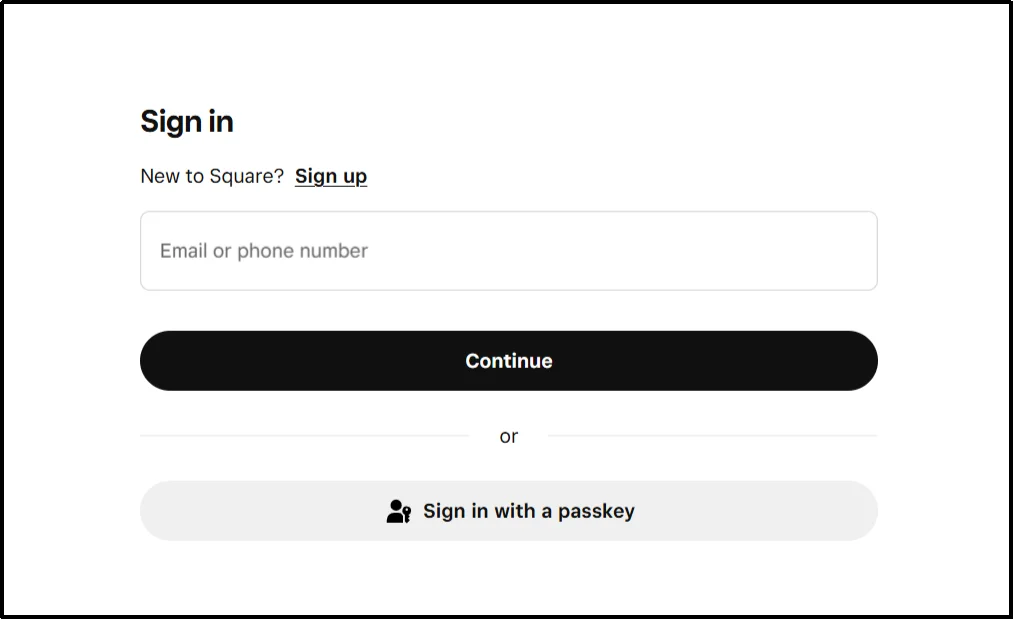
- On the next screen, click Redirect to complete the connection.

- You will be redirected back to the WordPress Admin dashboard automatically. From the Location dropdown menu, select the store or business location you want to use for payments and click Save Settings.
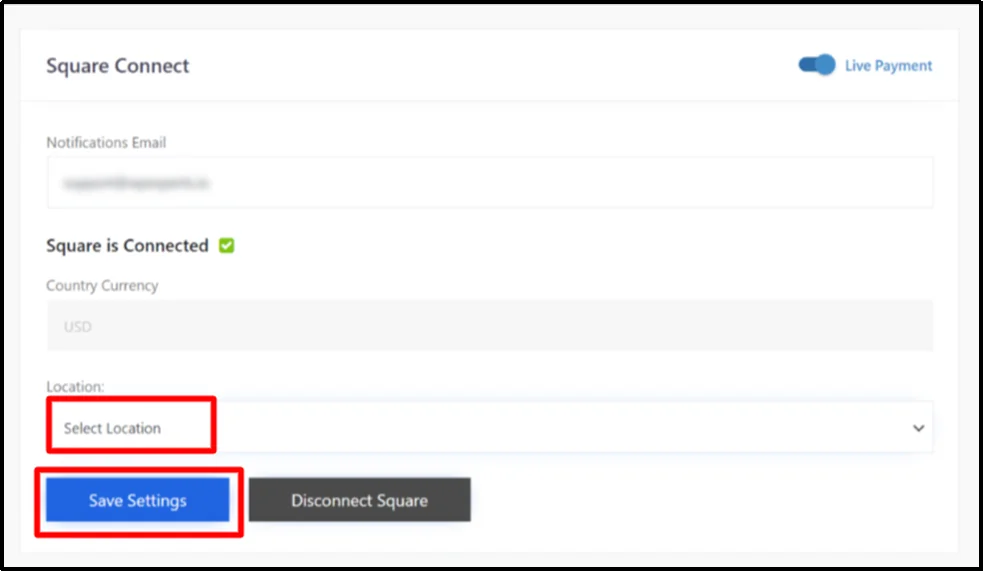
Your Square account is now successfully connected and ready to process real donations.
Step 3 — Create a Donation Form
Once your Square account is connected, you can create a dedicated crowdfunding form for your campaign.
- Go to your WordPress Admin Dashboard.
- Navigate to WP EASY PAY. Select Create Payment Form.

- Select the Form Settings tab.
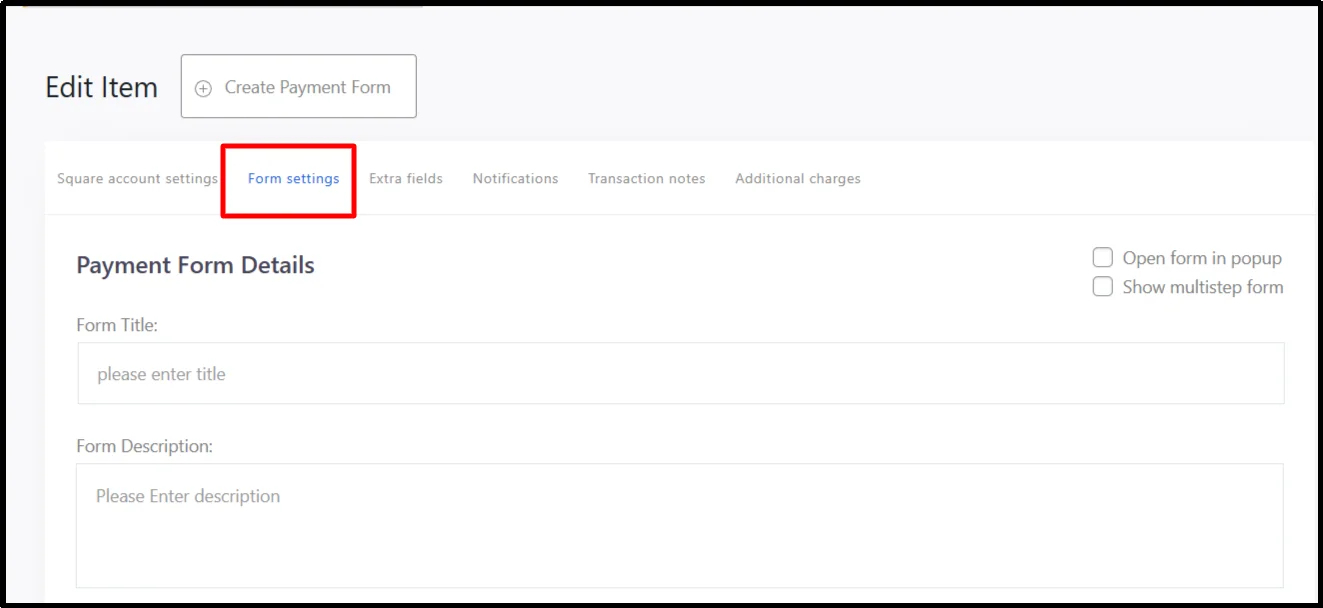
- In the Payment Form Details section, enter the core information for your crowdfunding form.
- ☐ Form Title: Enter the name of your campaign
Example: “Help Build Our School” - ☐ Form Description: Add a short, compelling summary of your cause.
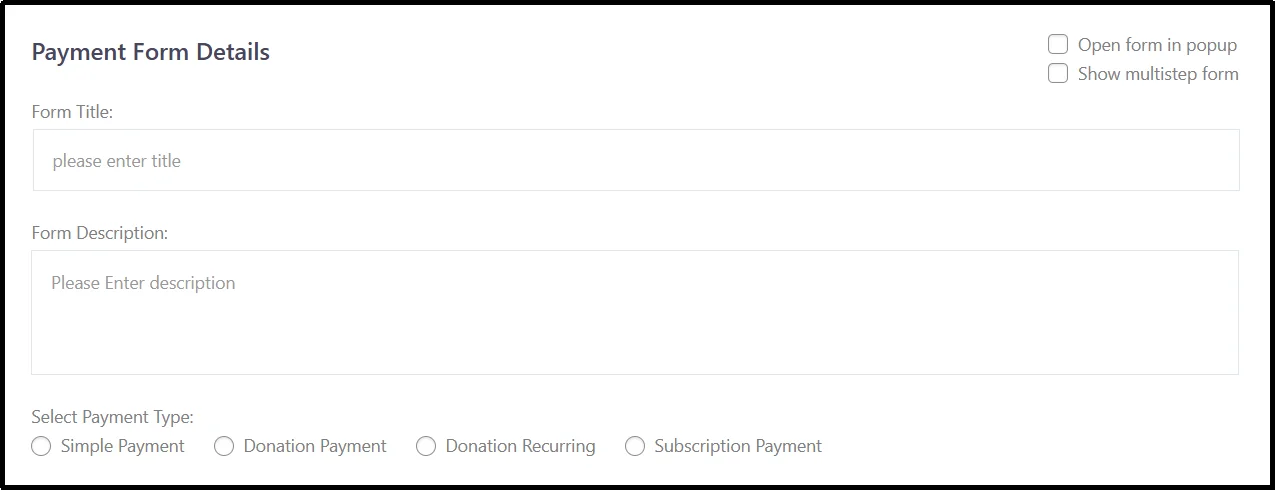
- From the Select Payment Type, choose Donation Payment. This option unlocks additional fields specifically designed for crowdfunding campaigns in WordPress.
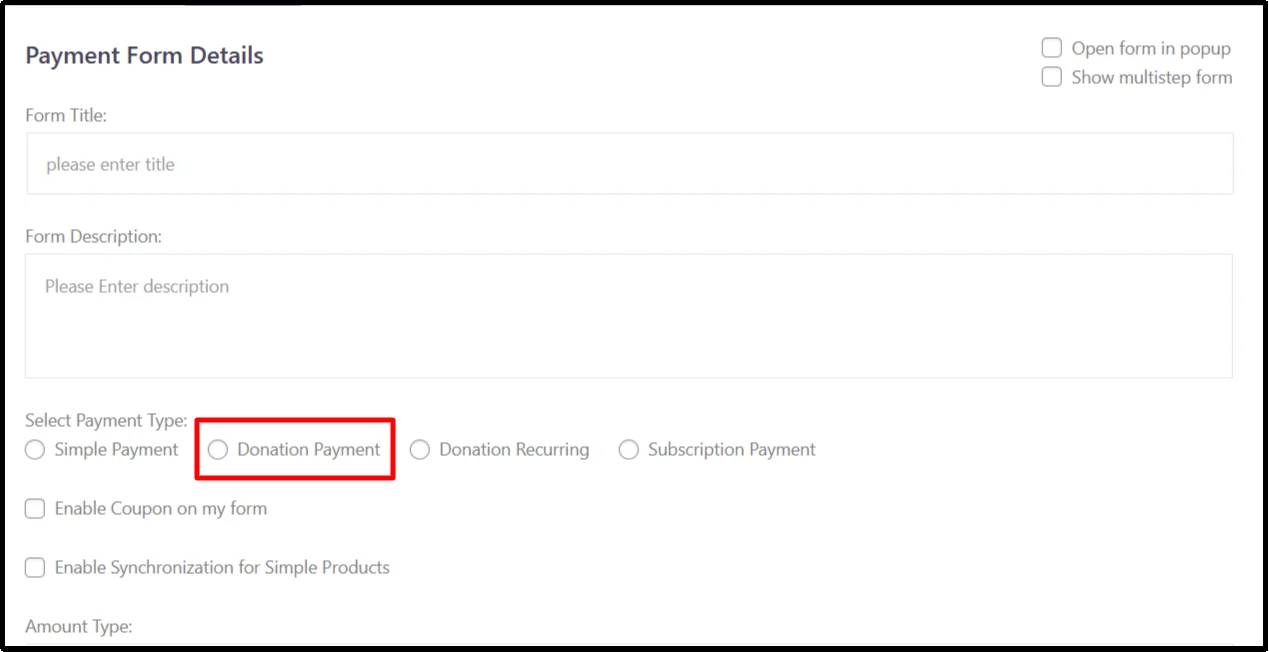
- After choosing Donation Payment, new donation-related settings will appear.
- Enter your Organization Name or campaign title (e.g., Hope Foundation).
- Check the Goal box. This allows donors to see real-time progress as contributions come in.
- Enter your Goal Amount (e.g., 200,000 BDT)
- Add a Goal Message. This message will display when the fundraising target is reached.

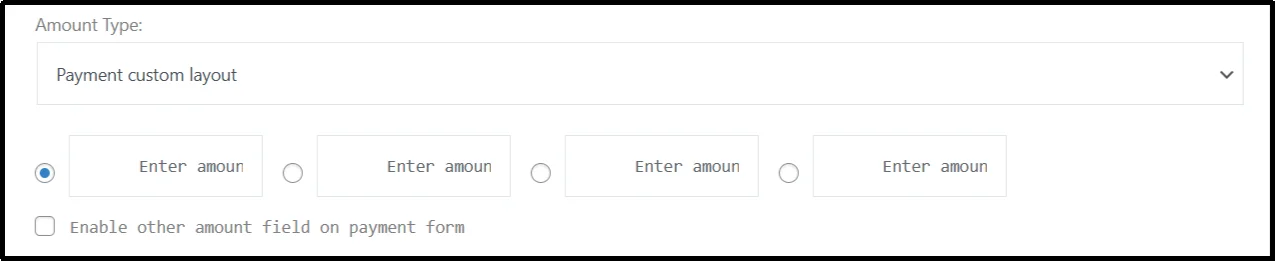
- In the Amount / Amount Type section:
- Add one or more preset amounts such as 500, 1000, 5000, etc.
- Optionally enable Other Amount, allowing donors to enter any custom donation value.
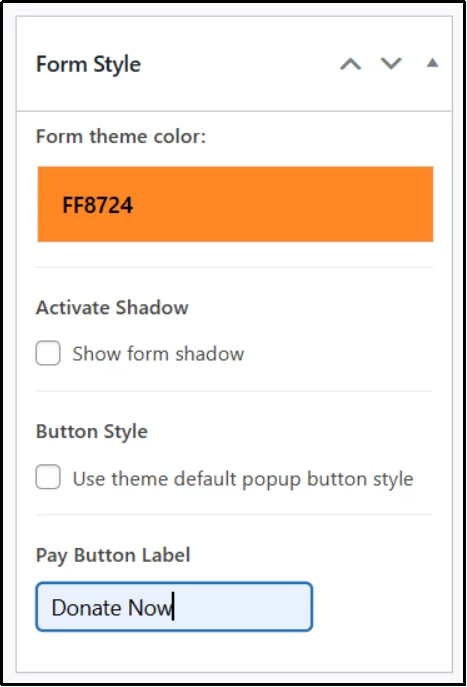
- WP EasyPay allows you to style your crowdfunding form to match your campaign page:
- Adjust labels, fields, and colors.
- Choose between inline or modal form layouts.
- Align the form with your website’s design for a cohesive donor experience.
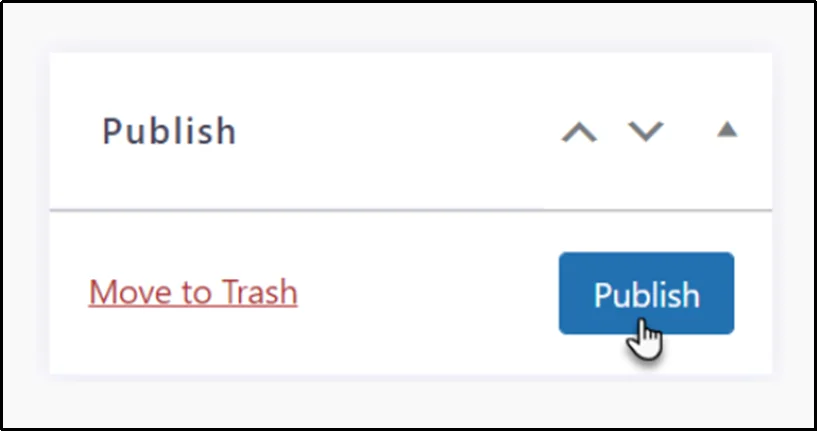
- Next, click Publish to save your donation form.
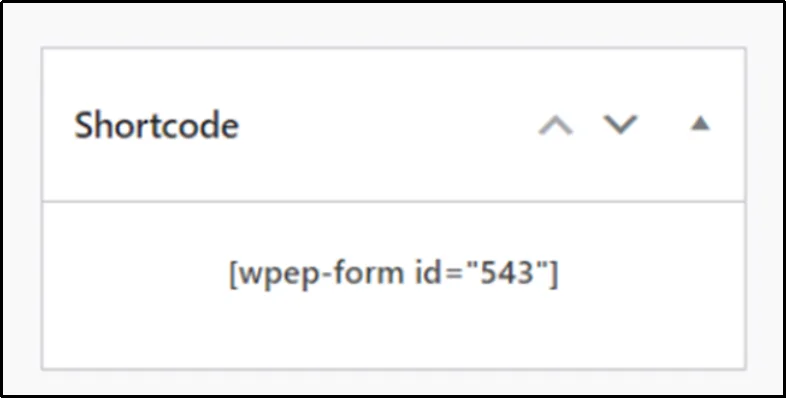
- A Shortcode will appear on the right side of the form editor. Copy this shortcode and paste it into a dedicated Donate Now page or any section of your homepage or landing page.
Your crowdfunding form is now ready to accept donations.
Step 4: Publish Your Crowdfunding Form
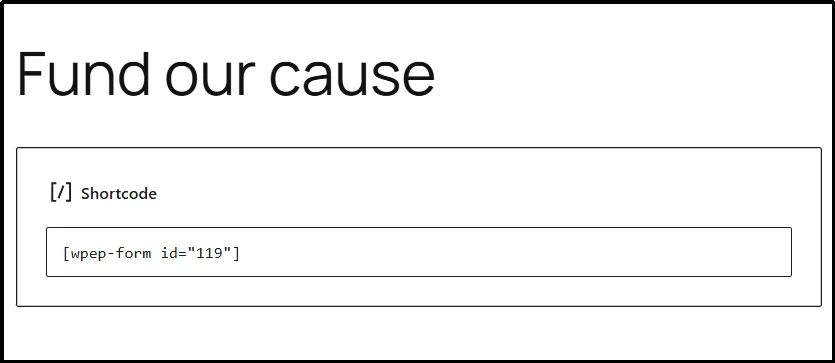
The crowdfunding form is ready, but you need to display it properly for it to collect funds. All you need to do now is create a new page and add your WP EasyPay form shortcode. From the left menu bar of your WP Dashboard, click Pages and then Add Page.

A new screen will open. Enter your Page tile and then paste the shortcode in the first block after the title. Your page should look like the screenshot below:
On the corner right, hit the “Publish” button. When it is published, you will see a new widget with the link to your page.
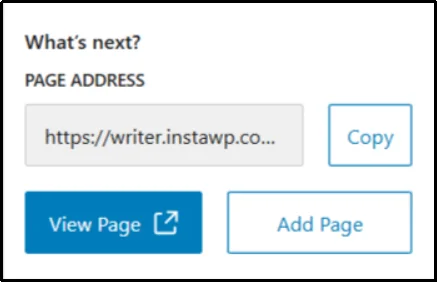
Copy the link and paste it in a new tab to view your form. However, it is much easier to hit the “View Page” to see your new Page.
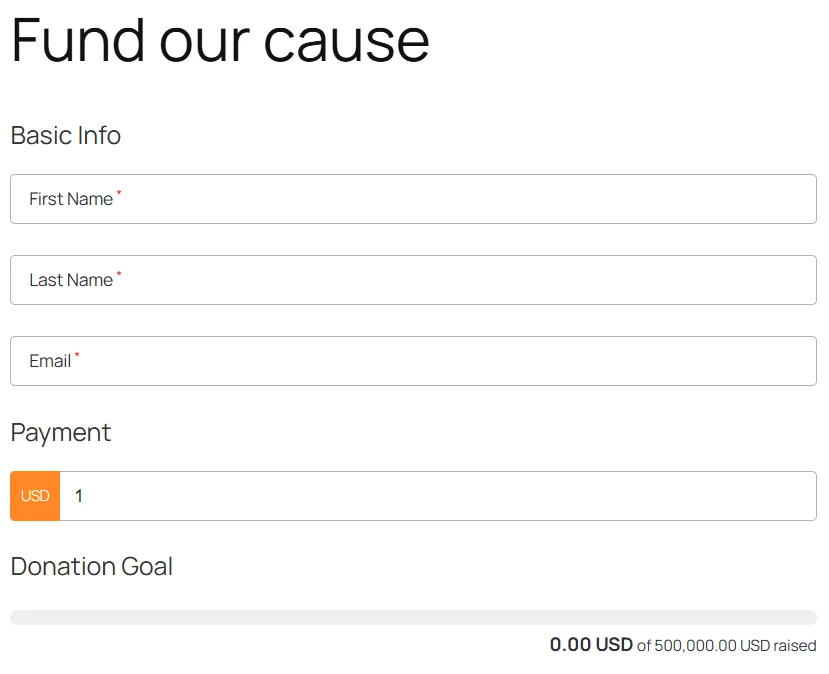
Your form is now ready for action.
Here’s a small list of things of what you need to check:
- The payment processes successfully and redirects users to the correct thank-you page.
- The campaign goal, progress bar, or total raised updates immediately after the donation.
- All confirmation emails or notifications are delivered as expected.
- Donation shows in the WP EasyPay dashboard
This ensures a smooth experience for real donors.
Tips for Successful Crowdfunding in WordPress
Launching a crowdfunding campaign in WordPress is only the first step. The real success comes from how well you promote, communicate, and track your progress. Here are key strategies to maximize donations and keep your campaign growing.
1. Encourage Sharing and Make Your Campaign Easy to Spread
Crowdfunding thrives on visibility. The more people who see your campaign, the more support you gain. Make sharing effortless by:
- Adding social share buttons near your donation form
- Creating shareable graphics or posters for Facebook, Instagram, and WhatsApp
- Writing short and compelling messages that supporters can copy and share
- Posting updates that inspire donors to spread the word
When donors share your campaign, you unlock new networks of potential supporters.
2. Optimize for Mobile Donations
A large percentage of online donations now come from mobile devices. If your campaign isn’t mobile-friendly, you could be losing donors without realizing it.
Make sure:
- Your donation form loads quickly
- Buttons and fields are easy to tap
- The progress bar appears clearly on smaller screens
- Images and text are well-organized and readable
- WP EasyPay’s responsive layout options are enabled
A smooth mobile experience increases conversions and encourages impulse giving.
3. Use Clear Messaging and Strong Campaign Goals
Donors act when they clearly understand:
- What the campaign is about
- Who benefits from the donations
- How much money is needed
- How their contribution makes an impact
Keep your storytelling simple, specific, and emotional.
Also, ensure your campaign displays:
- A realistic fundraising goal
- A visible progress bar
- A short goal message that motivates donors
WP EasyPay’s goal and progress features make transparency effortless, helping build trust and credibility.
4. Monitor Donations and Adjust Your Strategy
Tracking your incoming donations helps you understand what’s working and what isn’t.
Inside your WP EasyPay dashboard, you can:
- View total donations
- Track individual contributions
- Identify donation spikes
- See which pages convert best
- Spot failed or incomplete payments
Use these insights to refine your messaging, post timely updates, or reach out to your community when momentum slows.
Launch Your Crowdfunding Campaign in WordPress with WP EasyPay Today
Crowdfunding has transformed the way individuals, nonprofits, and community groups raise funds, turning small contributions into meaningful, collective impact. With WordPress as your platform, you gain full control over your storytelling, branding, and donor journey without relying on expensive third-party fundraising sites.
And when it comes to accepting secure online donations, tracking campaign goals, and offering donors a smooth payment experience, WP EasyPay stands out as the ideal solution. Its Square integration, built-in fundraising features, responsive design, and easy setup make it perfect for any crowdfunding campaign in WordPress, whether you’re supporting a community project, running a charity appeal, or organizing a personal fundraiser.
If you’re ready to launch your next campaign with confidence, transparency, and professional-grade donation tools, WP EasyPay is the plugin to use. Start today and turn your WordPress site into a powerful platform for meaningful change.
